Everywhere we look, we see inspiration. Whether it’s a mural on the side of a building or a bone-inlaid table at our favourite furniture store. And most of the time, that same look can be achieved with a Cricut, Cricut Design Space, and a roll of stencil vinyl. Now you too can be an amazing muralist and furniture designer with Cricut stencil material! DIY-not?
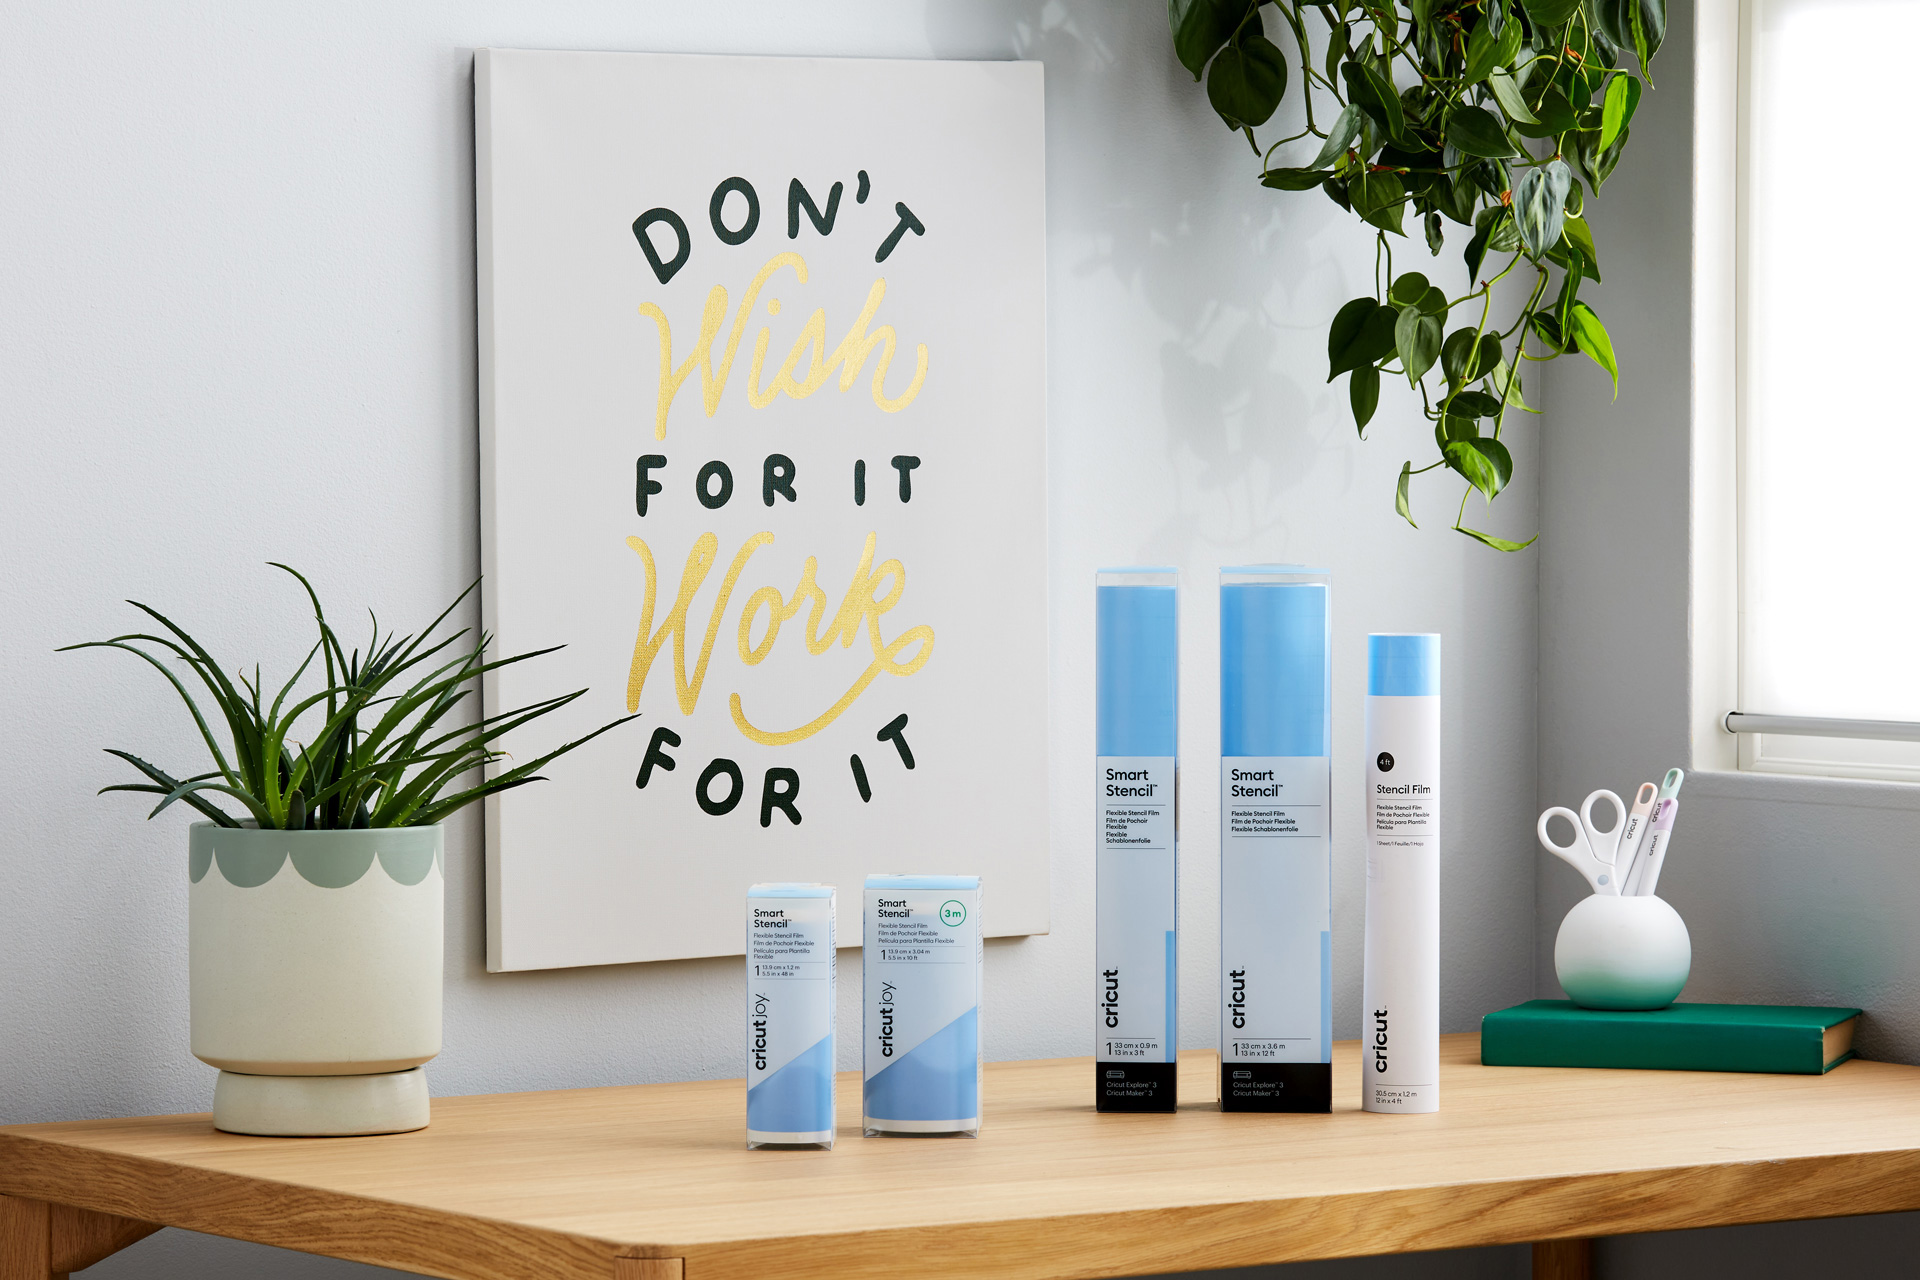
There are a few different options of stencil material that Cricut offers, so let’s break them down: Smart Stencil for Cricut ExploreTM 3 and Cricut MakerTM 3, Smart Stencil for Cricut JoyTM, and Cricut Flexible Stencil Film for other machines using a mat.
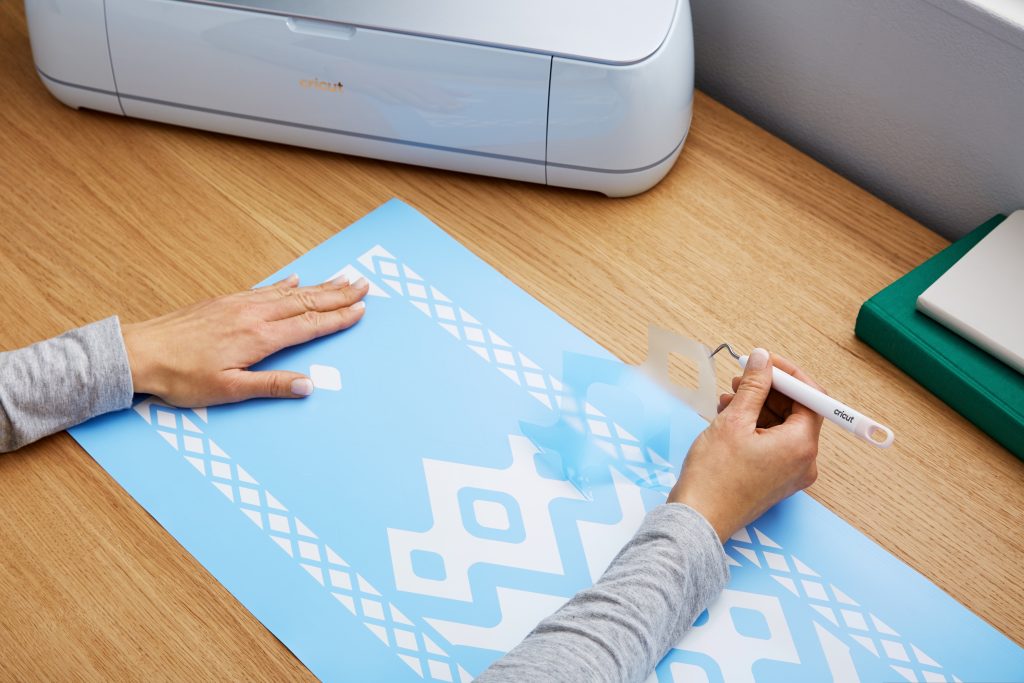
Smart Stencil for Cricut Explore 3 and Cricut Maker 3
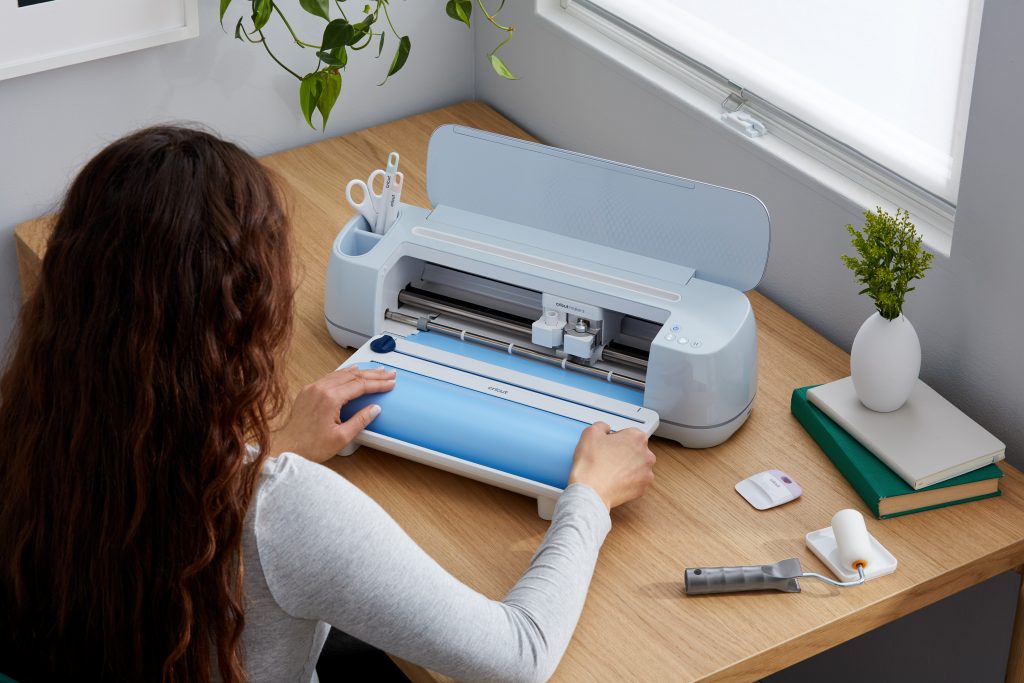
Cut beyond the mat. Just imagine what you can stencil now that you can cut single images up to 12ft. We see many a mural in your future. However, not everything has to be larger than life, Smart Stencil is great for all kinds of surfaces like wood, canvas, or glass. With upcycling thrifted objects trending, how cool would it be to add a painted element to a long, wooden table?
1. Design and cut
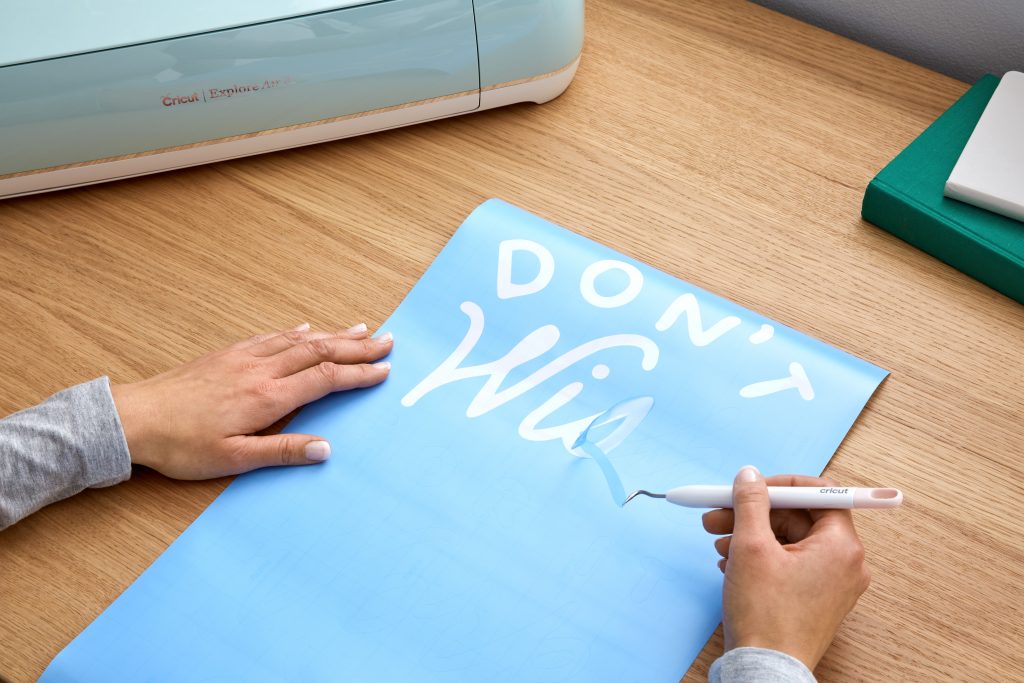
2. Weed out the pieces where you want the paint to transfer – this process may feel opposite from how you normally weed vinyl.
3. Apply Transfer Tape to Smart Stencil and transfer stencil to table. Make sure to prep your project by first cleaning the surface before applying stencil or transfer tape. If you’re applying stencil on top of something that is already painted, test a small area of your table first to make sure the paint doesn’t pull up. If it does, you may need to coat the first layer of paint with some sort of clear sealant before applying your next layer of paint.

4. Remove transfer tape and paint over stencil design

5. Remove stencil material to reveal the design.


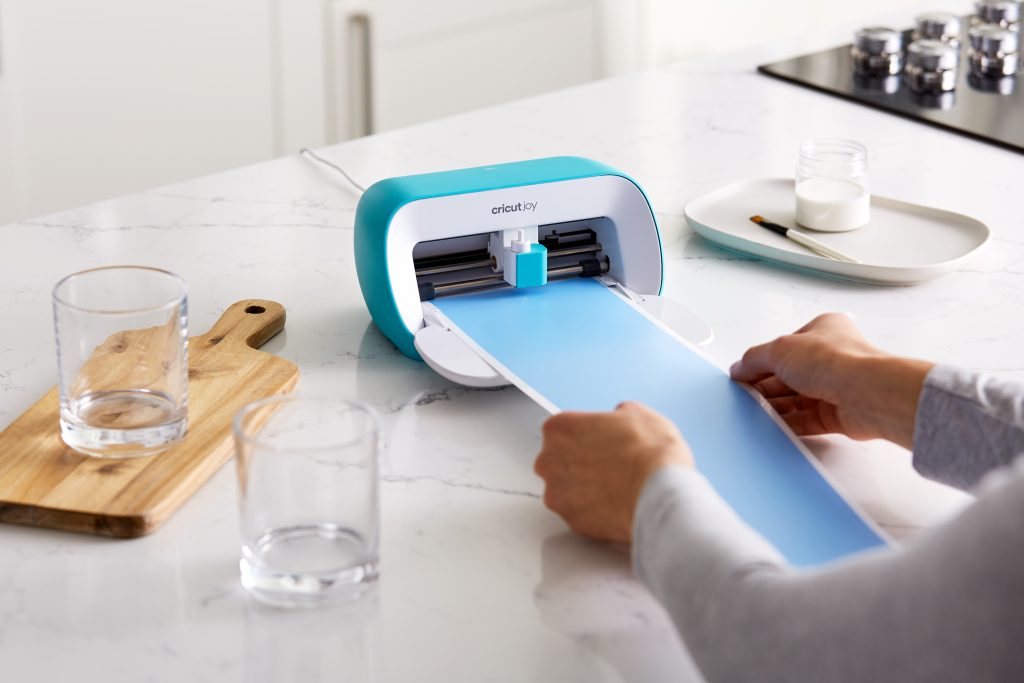
Smart Stencil for Cricut Joy
Right-sized for Cricut Joy, Smart Stencil also comes in rolls perfect for quick, everyday stencil projects. Cricut Joy Smart Stencil can create clean lines on both curved & flat surfaces.
1. Design and cut
2. Make sure to remove stencil in the areas where you want colour/paint/etc to transfer to the project. The rest of the stencil will protect the rest of the surface.
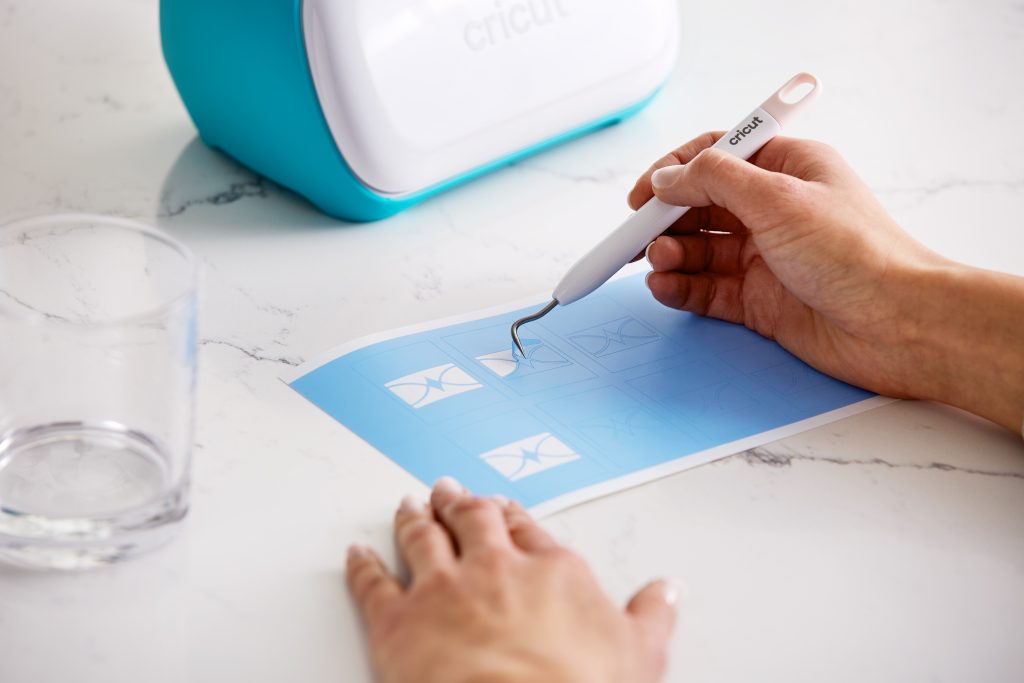
3. Apply Transfer Tape to Smart Stencil and transfer stencil material to glass.

4. Remove transfer tape and apply etching cream over stencil design.
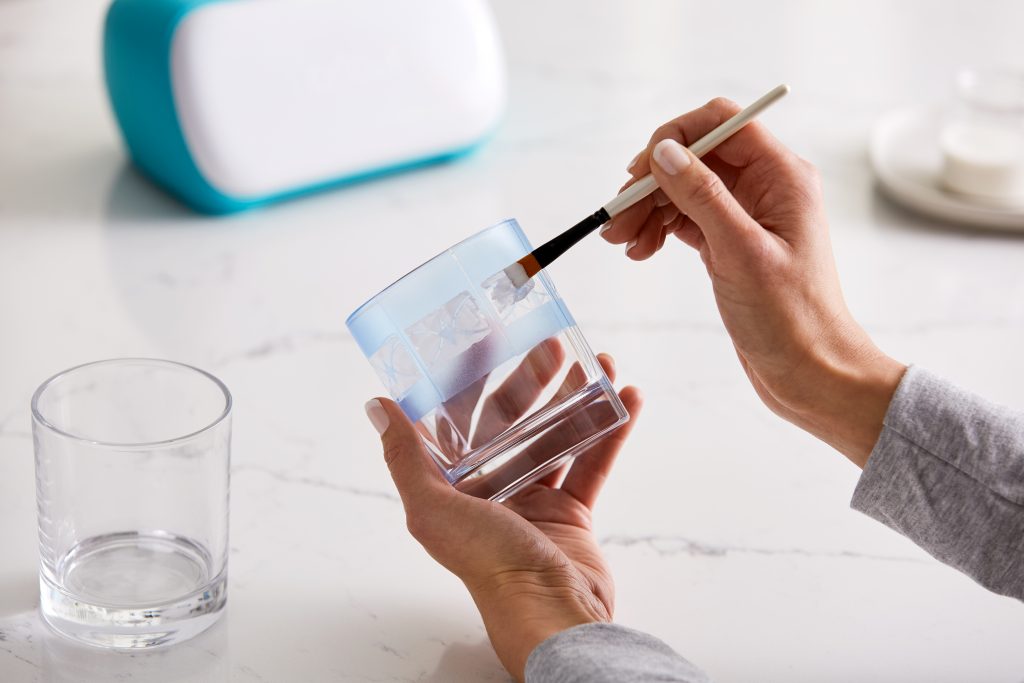
5. Remove the stencil to reveal the design.


Cricut Flexible Stencil Film
Cricut Flexible Stencil Film is an improved stencil material with an adhesive backing for easy application. Flexible Stencil Film would be your go-to stencil material if you are cutting on a mat. It is durable, yet removes without residue. Like Smart Stencil, Flexible Stencil Film is great for walls, glass, and canvas. We really love using it to turn blank canvases into custom home décor pieces.
1. Design and cut – make sure to stick this material to a mat

2. Weed out the pieces where you want the paint to transfer – this process may feel opposite from how you normally weed vinyl.
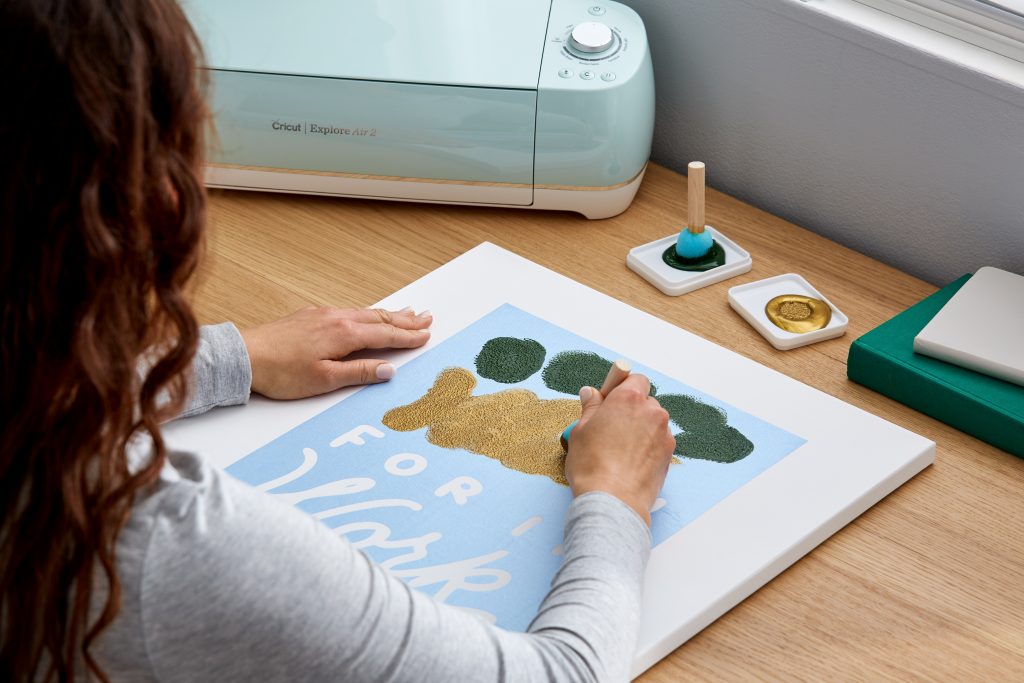
3. Apply Transfer Tape to Flexible Stencil Film and transfer stencil to canvas.

4. Remove transfer tape and paint over stencil design.
5. Then it’s time to reveal your final project.

No matter which Cricut machine you have, Cricut has a stencil vinyl just for you. And all of the projects we’ve show you could be made with any Cricut machine.
For more stencil inspiration, visit Cricut Design Space and search “stencil” on the project page. Once you’ve made your next stenciled project, please share it with us but tagging @cricut_uk
You Might Enjoy…