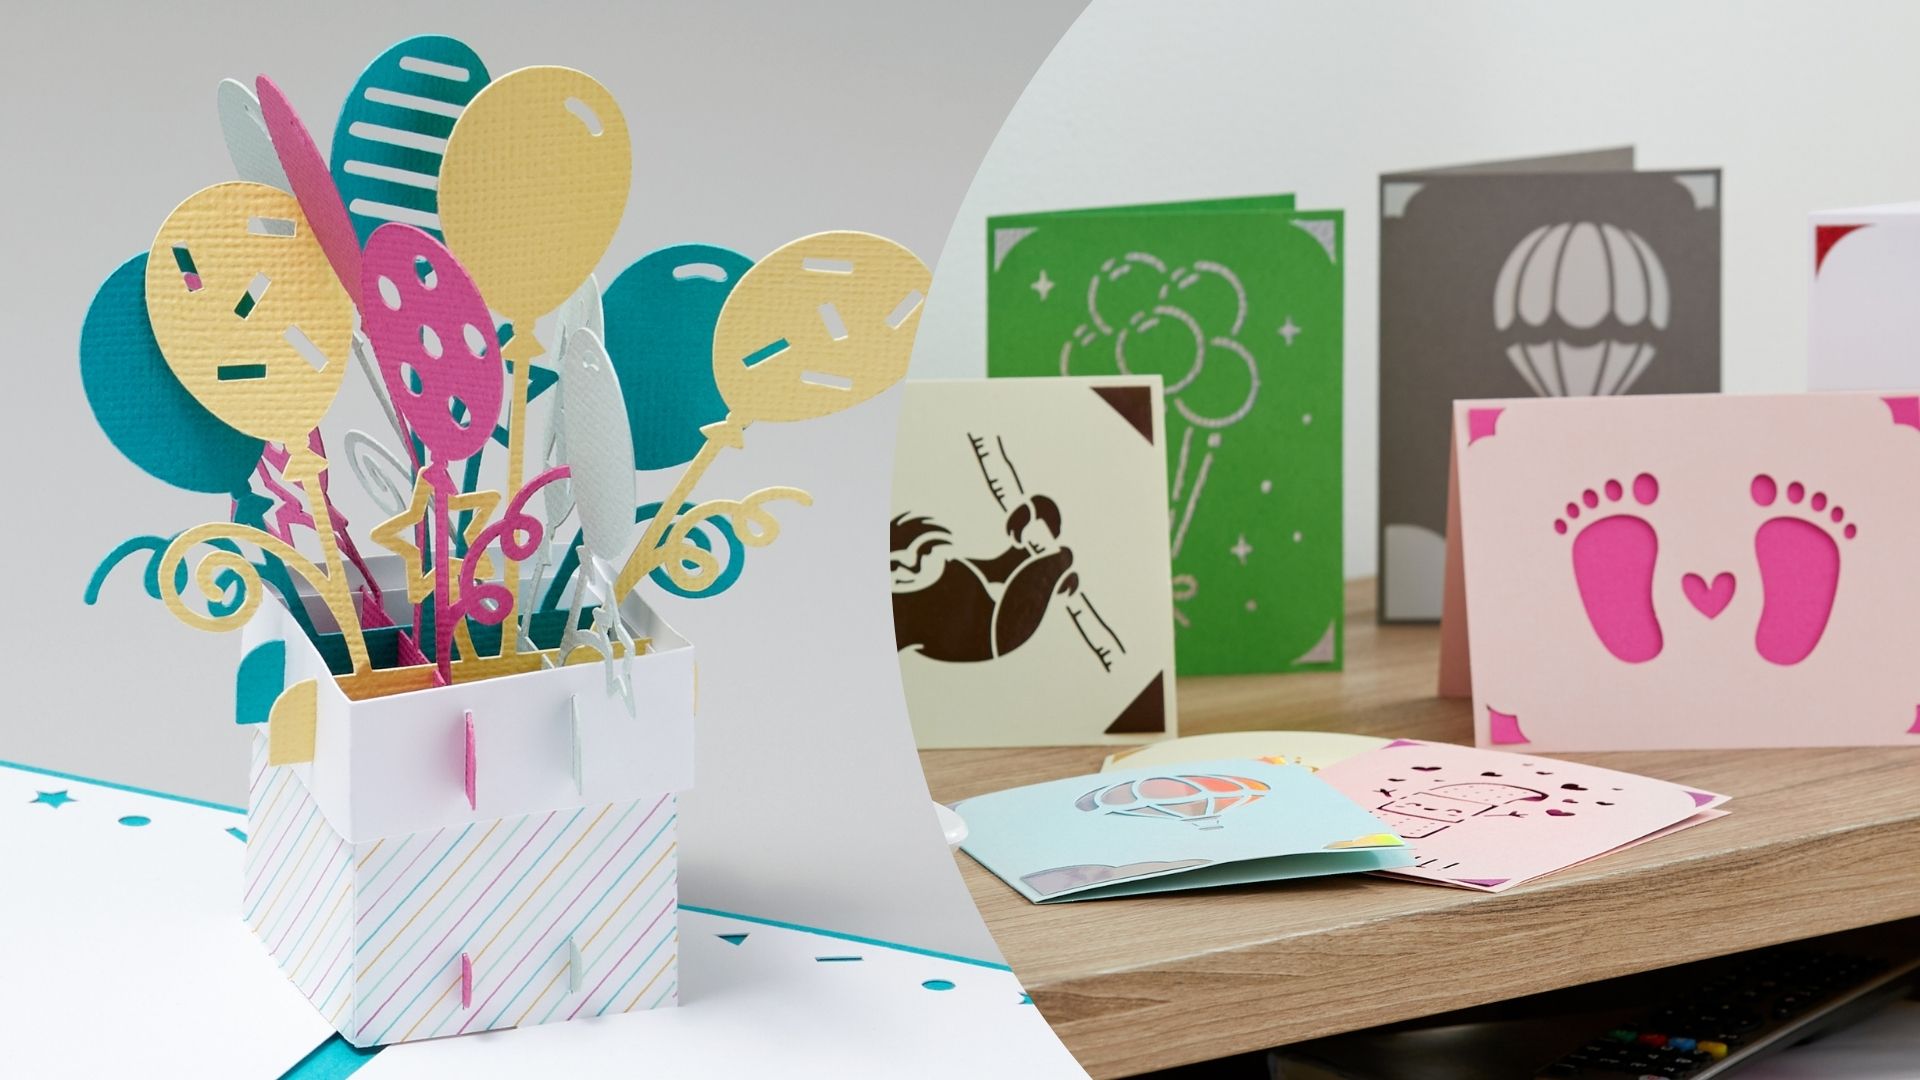
There are loads of cardmaking opportunities heading our way…This weekend we celebrate those inccredible women in our lives on Mothering Sunday. Easter is on the horizon a mere few weeks away, and we can bet you know someone celebrating a birthday soon. That’s before we start thinking about Good Luck cards for exams, Get Well Soon cards for those feeling under the weather and all of the other occasions to send a card to a loved one to show how much you care. So who needs a few cardmaking tips?
Cardmaking with Cricut is so much fun to do and there are a number of ways to make cards with your machine. Whether you have a Cricut Joy™ or one of our Maker or Explore models, there are multiple ways you can create beautiful cards. Check out our top tips below for making cards with your machine now.
Cricut Joy and Cardmaking
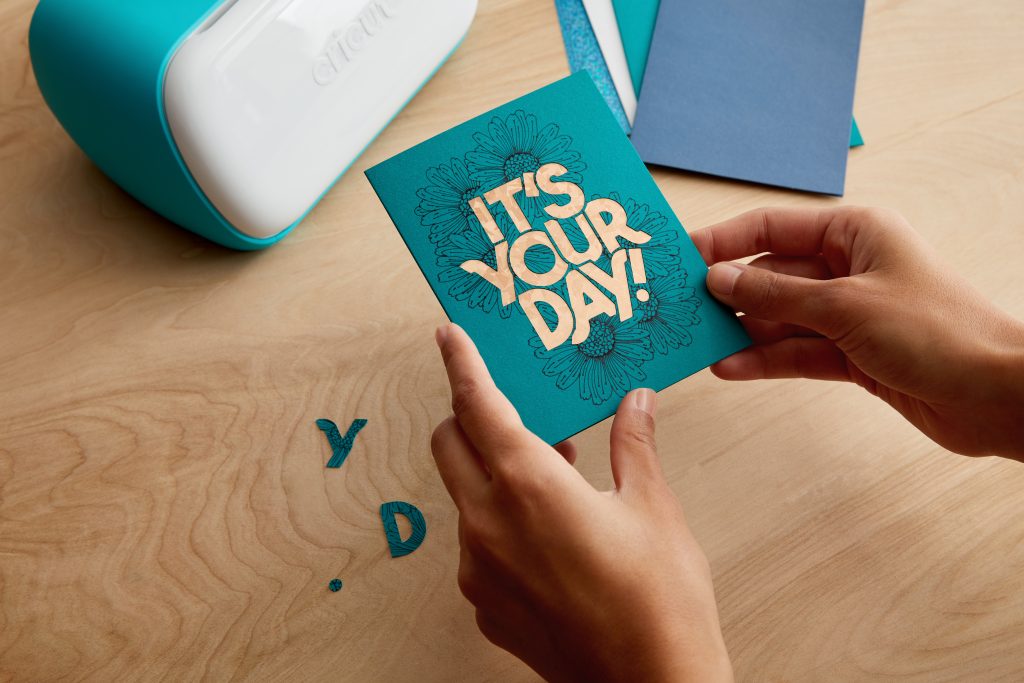
With a Cricut Joy, utilising the Cricut Joy™ Card Mat gives you an easy way to make beautiful cards in minutes. There are Cricut card insert packs to use with your card designs as well as Cricut Cutaway cards.
See how to use the Cutaway cards here.
Using the Cardmat
To use the card mat, peel off the clear protective sleeve of your card mat. Add the card between the sleeve so that the bottom of the card is under the sleeve and the front of the card is above and press lightly to ensure your card has adhered to the mat.
Top tip: make sure your card is at the very top of the cutting mat and the card fold is as close to the edge of the sleeve as possible for accurate cutting.

Creating your own designs for Cricut Joy
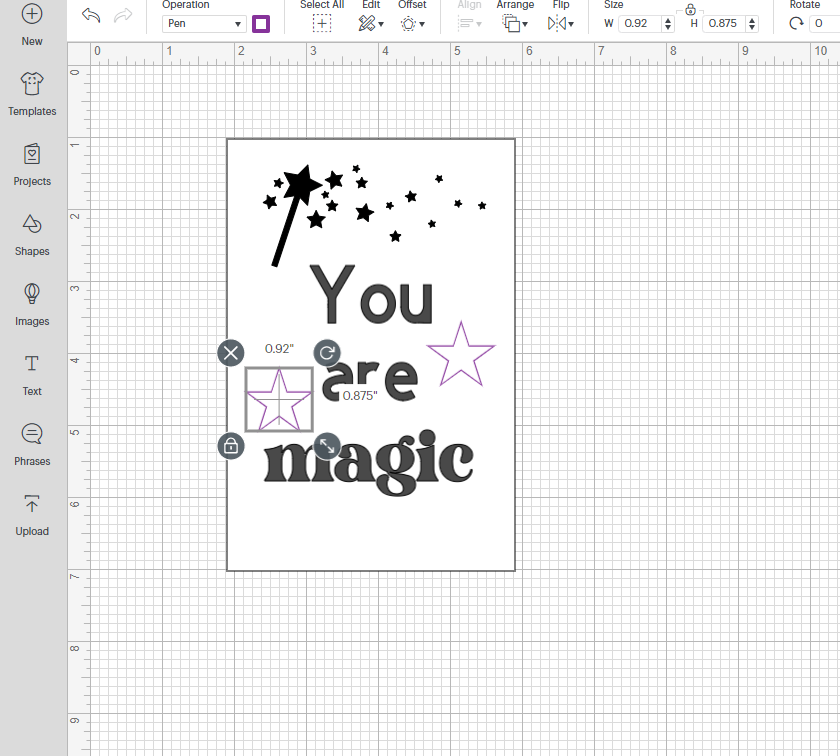
You can create your own designs on Design Space for your Cricut Joy cards. You can find card templates for Cutaway cards here.

If you want your cut and draw elements to stay exactly as you see them on your canvas, make sure to select all the layers involved and use the ‘attach’ tool. This will then keep the formation when going to cut and draw with your machine.

Tips for removing the card successfully
Once your card is cut, it’s time to remove it from the mat. The spatula tool is a great tool to help lift parts of your card from the cutting mat with ease.
Once the card has been removed, use the spatula to help remove the cut pieces from the card mat. Always place the protective sleeve back onto your cutting mat to prolong the life of your mat.
Cricut Explore/ Cricut Maker Cardmaking
There are different ways you could create a card with one of our other amazing machines.
Create card embellishments and adhere them to the card with images on Design Space. You could create a card template in canvas using a shape and sizing it to your card size. You can plan out your card design and scale your elements to size within canvas so that you know everything fits on the front of your card.

There are lots of projects in Design Space to help you get started with cardmaking too. Head to ‘Projects’ then filter by ‘Cards’ to see all the ready-to-make projects.

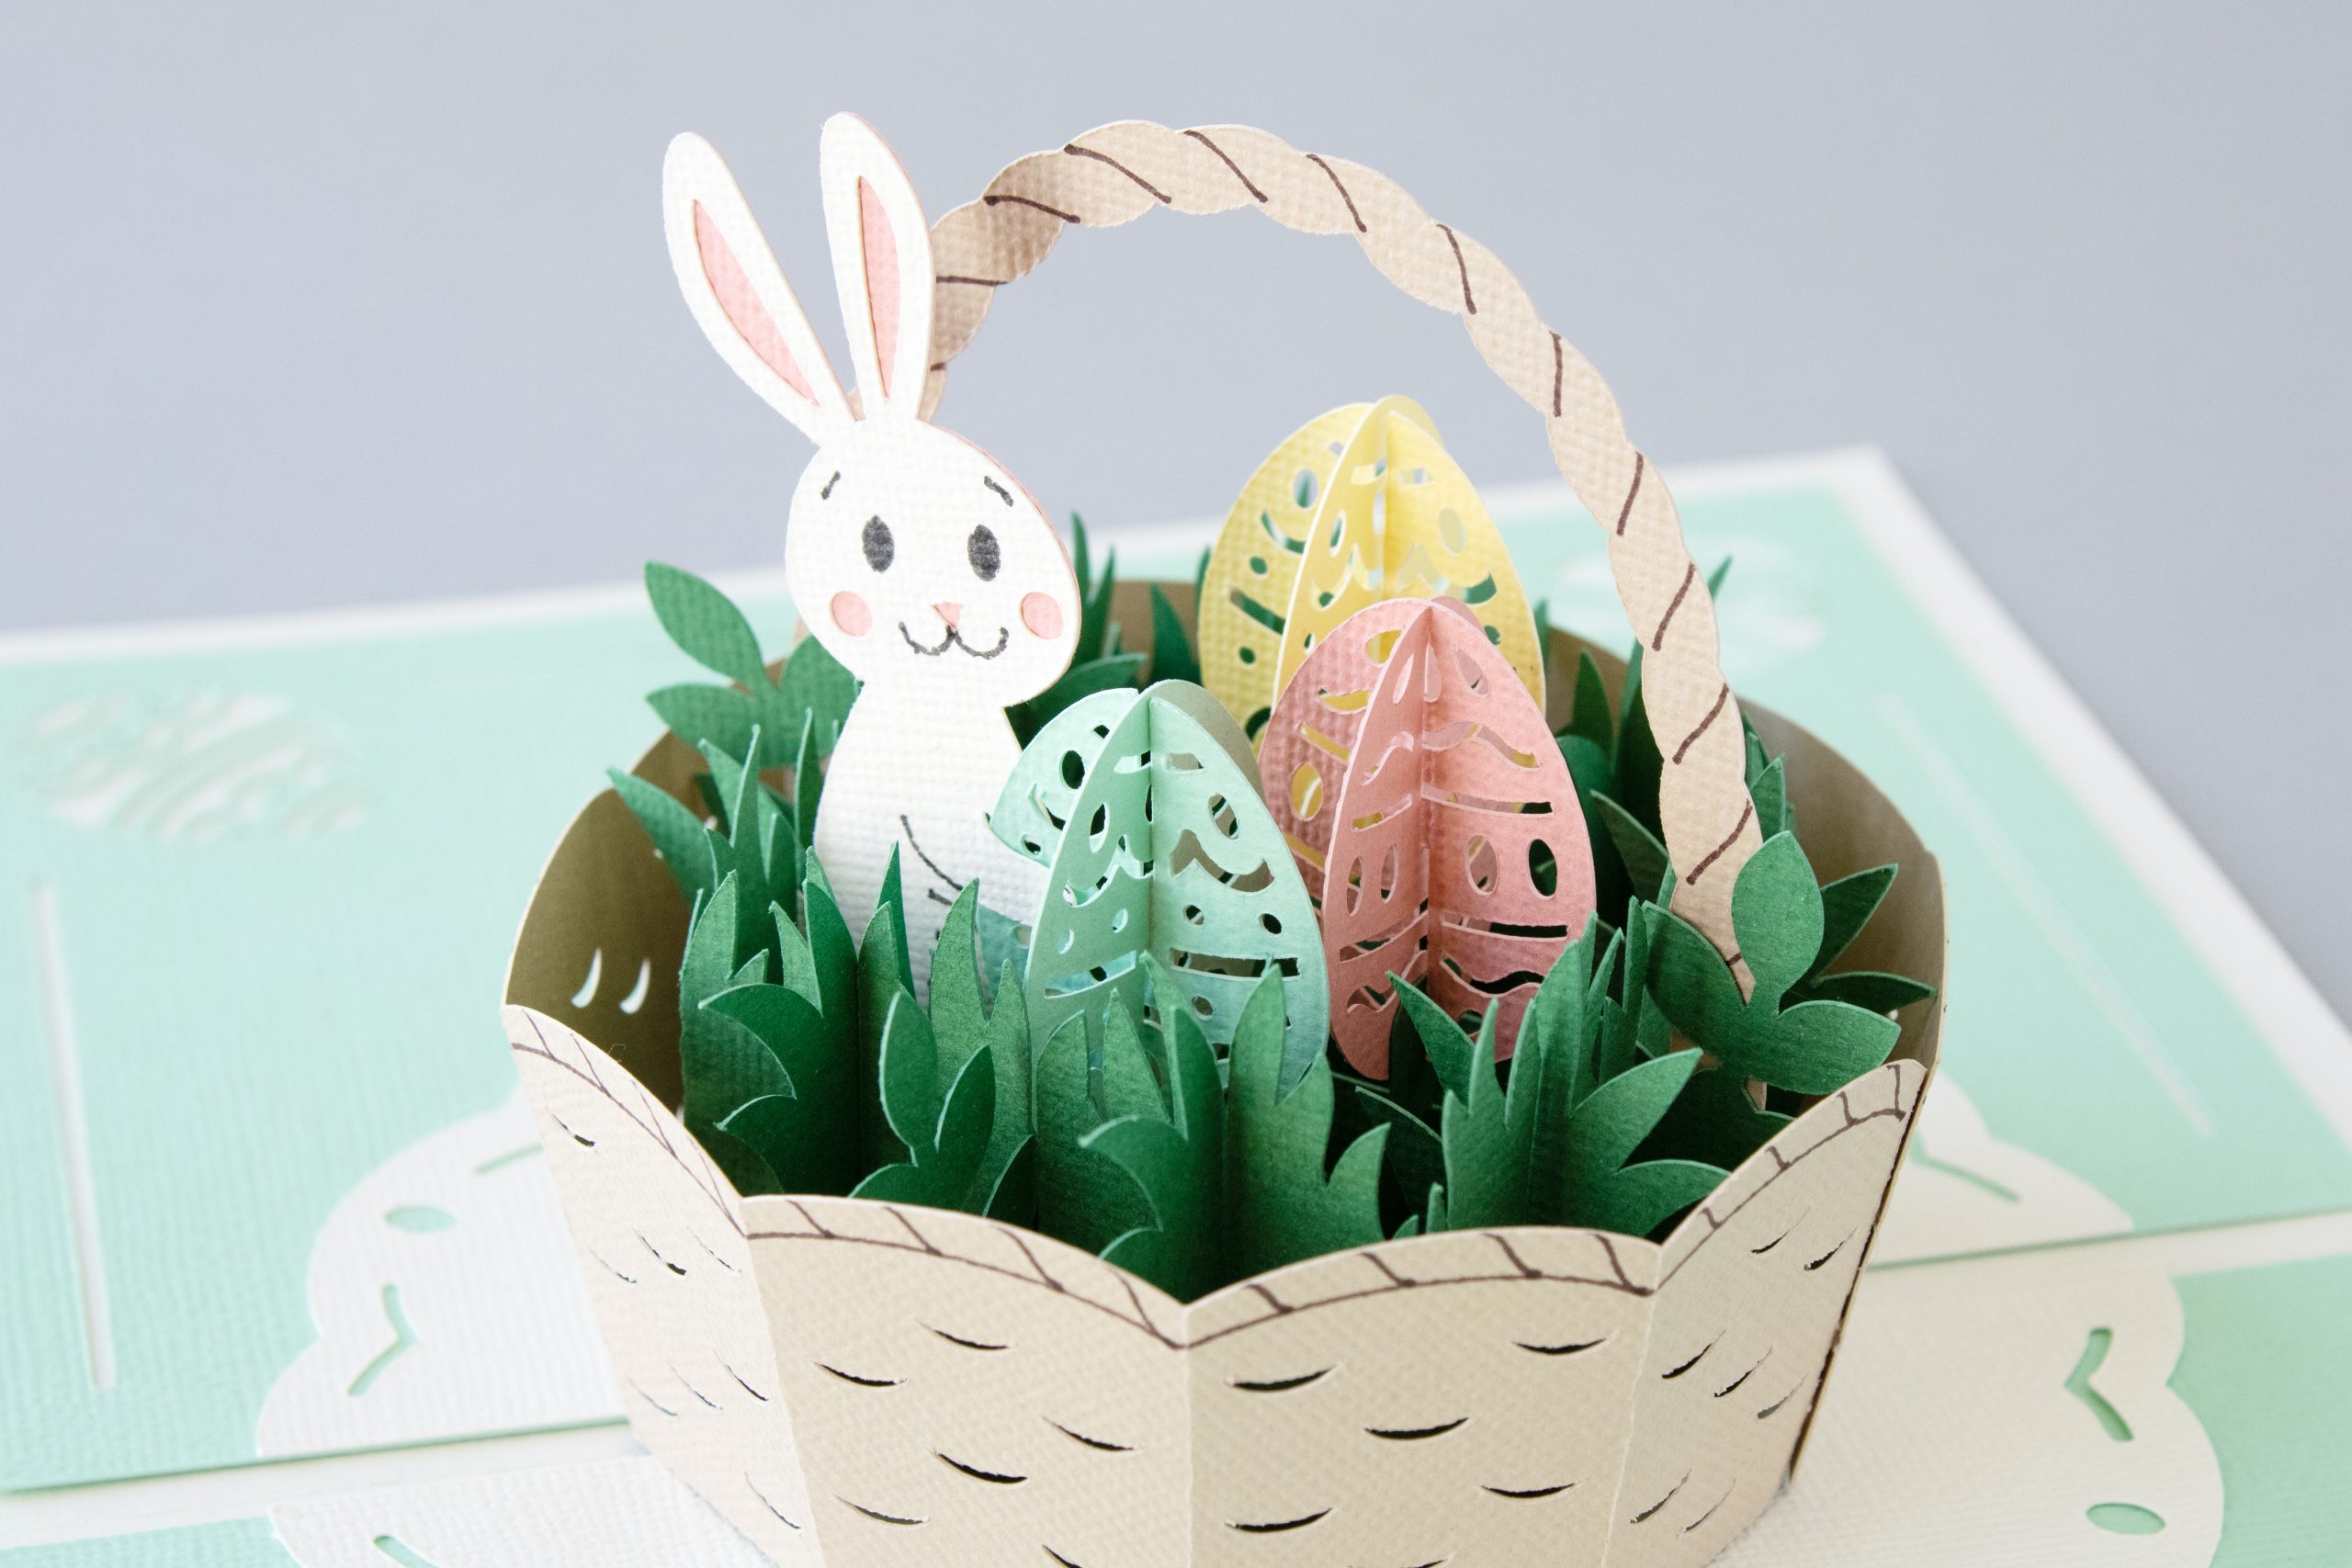
Butterfly Pop-up Card Project available on Design Space here.
You can also create a design that cuts into the front of the card blank itself like with Cricut Joy cards. Create the design on your canvas in Design Space. If you want to keep the design exactly as you see in Canvas, use the ‘attach’ tool to keep the cut and draw elements in their formation.
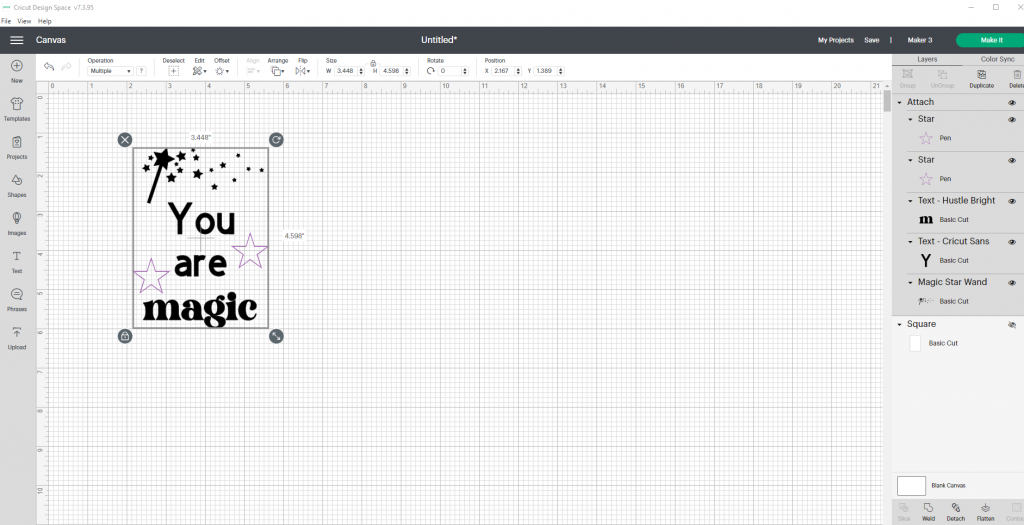
Top Tip: If using a shape as a card front template make sure to remove this before cutting so that it does not try to cut this into your card.
Once happy, continue through to ‘Make It’ and take note of where the design is on the mat preview. You may need to move the design on the mat preview so that it sits exactly where your card front is on the cutting mat. You will want to ensure the front of your card is in that same area on your cutting mat as you design on the mat preview.

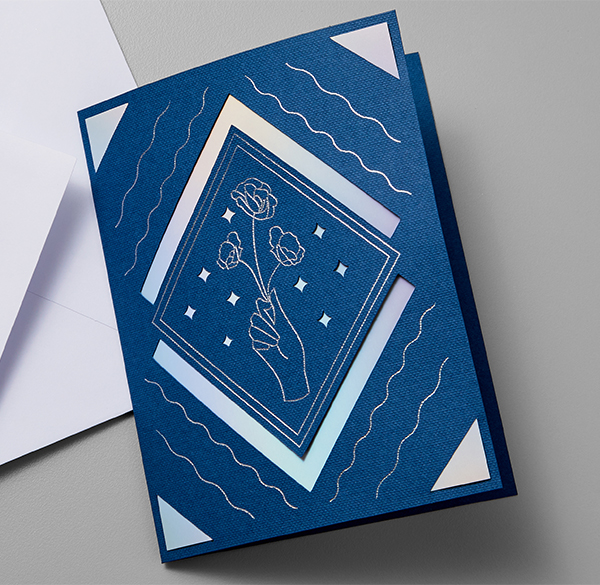
Add a bit of sparkle to your cards
The Foil Transfer Tool adds foil detail to your cards. There is a Foil Transfer Tool for Cricut Joy and a Foil Transfer Tool for Maker and Explore. Ensure you select the correct one for your machine.
You can turn your image into a foil image on Design Space by selecting the image on Canvas and selecting ‘Foil’ under the ‘Operation’ dropdown.

Top Tip: If you are looking for single-lined images, head to ‘Images’ in Design Space and use the filter panel. Select the ‘Operation Type’ filter, then ‘Draw Only’. Select one of these images and change the Operation Type to ‘Foil’ will give you a single-lined image.

When using the Foil Transfer sheets and tool, ensure that the tape is on every side of the foil sheet and secured over your card. Try to pull the sheets as tight as you can over the card. This will help get the best results with your foiling tool.

More top tips?
Need some more help with your machine? Check out the Ultimate Beginners Guide here.
Don’t forget to share with us on Instagram your creations using @cricut_uk and we may just share your projects on our stories.
You Might Enjoy…