Teacher tips – creating interactive learning boards for group education
Meleah Campbell – an educator, children’s author, and education consultant – loves finding ways to keep students engaged in learning. She’s utilizing her six+ years of teaching experience to explain how DIY interactive learning boards help children effectively learn in group settings.
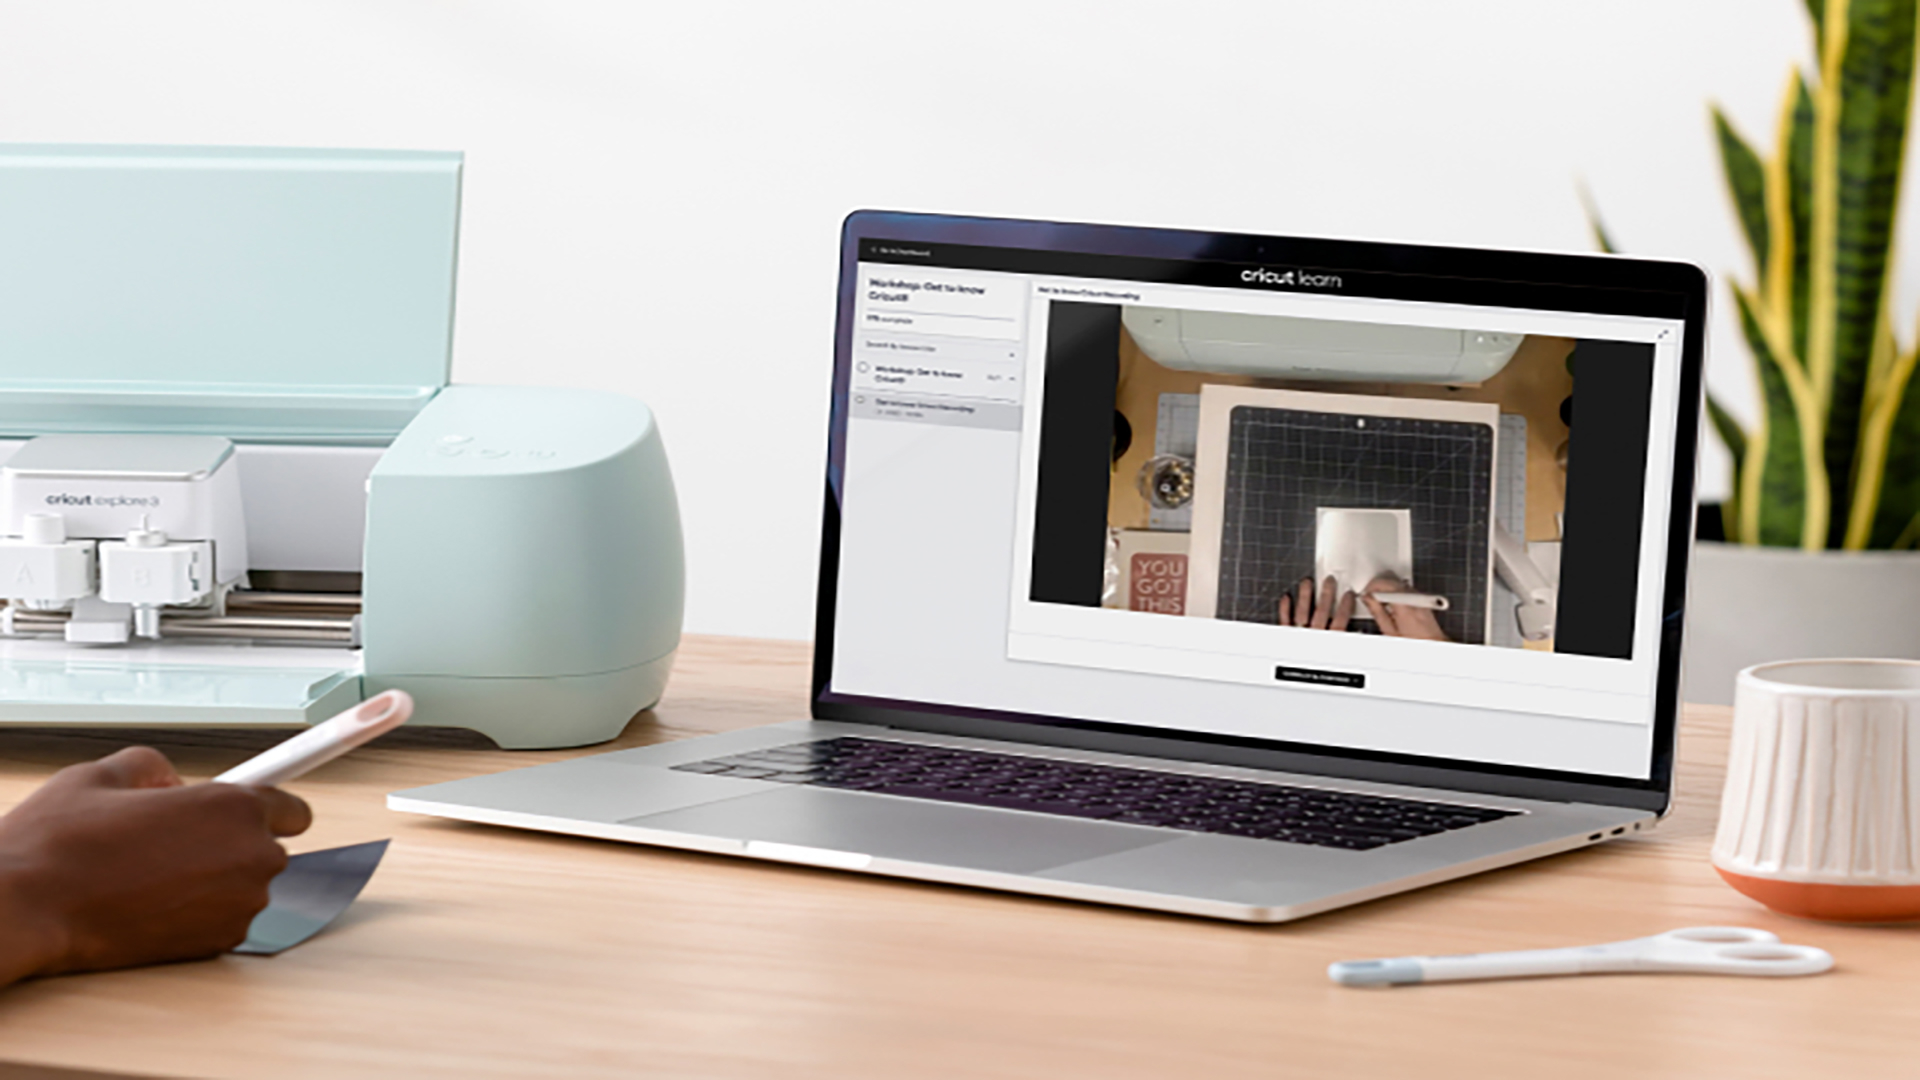
As I prepare for the upcoming school year as a kindergarten teacher, I turned to the new Cricut Maker 3 to create learning boards to support my scholars in the classroom!
Learning boards are durable, can be personalized to use with any subject, and make learning engaging. They can be used to support individual instruction, whole group lessons, and small group learning.
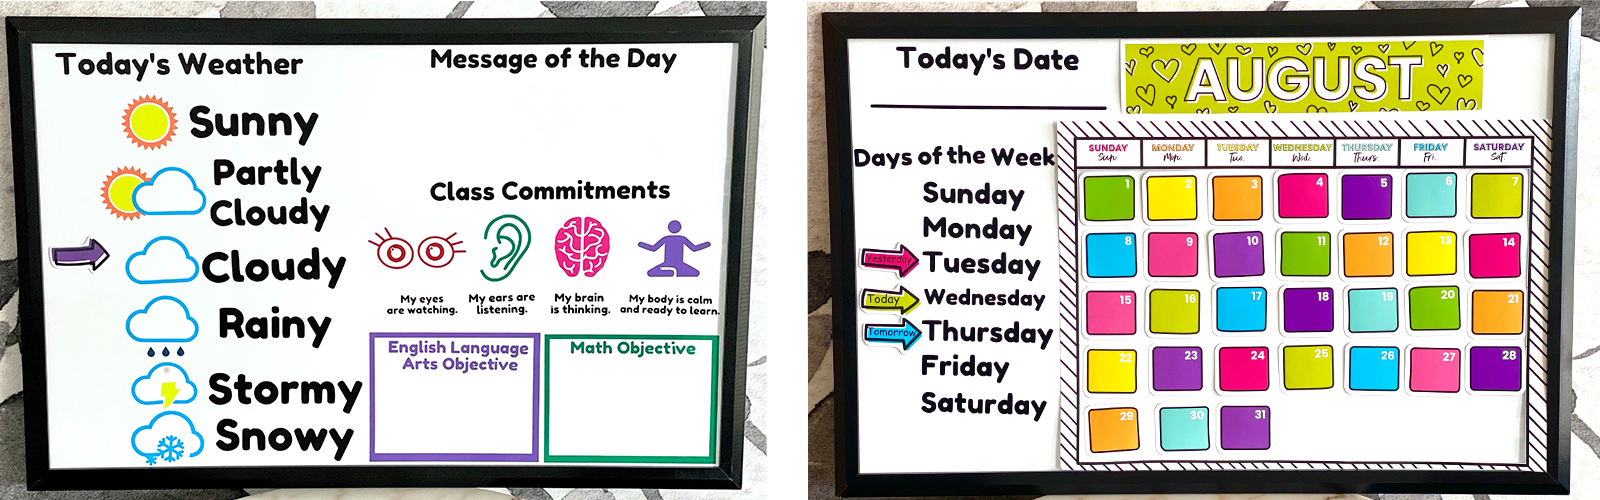
Here are two learning boards that will support my daily morning meetings for whole group class instruction.
Morning meetings are an essential part of an early childhood classroom. A morning meeting is a jumpstart to any classroom that encourages community and supports academics. Key elements I have included in our morning meeting boards include:
- Weather
- Message of the Day Section
- Class Commitments
- English Language Arts and Math Objectives Section
- Calendar
The elements vary depending on grade level. If you’re a teacher I encourage you to explore which sections are appropriate for your class and grade level. I also recommend using removable vinyl in case you need to make modifications throughout the year!

Here are two Math Learning Boards that are ideal for small group or individual instruction.
The Place Value Math Learning Board is ideal for kindergarten and first-grade scholars and supports Common Core State Standards.
The Ten Frame Math Learning Board supports the concept of ‘making ten’, which is essential in the Kindergarten Common Core State Standards.
Now that we’re properly inspired, I’m going to show you how to create and customize your own learning boards based on the needs of your unique subject, classroom, and students! Let’s get started.

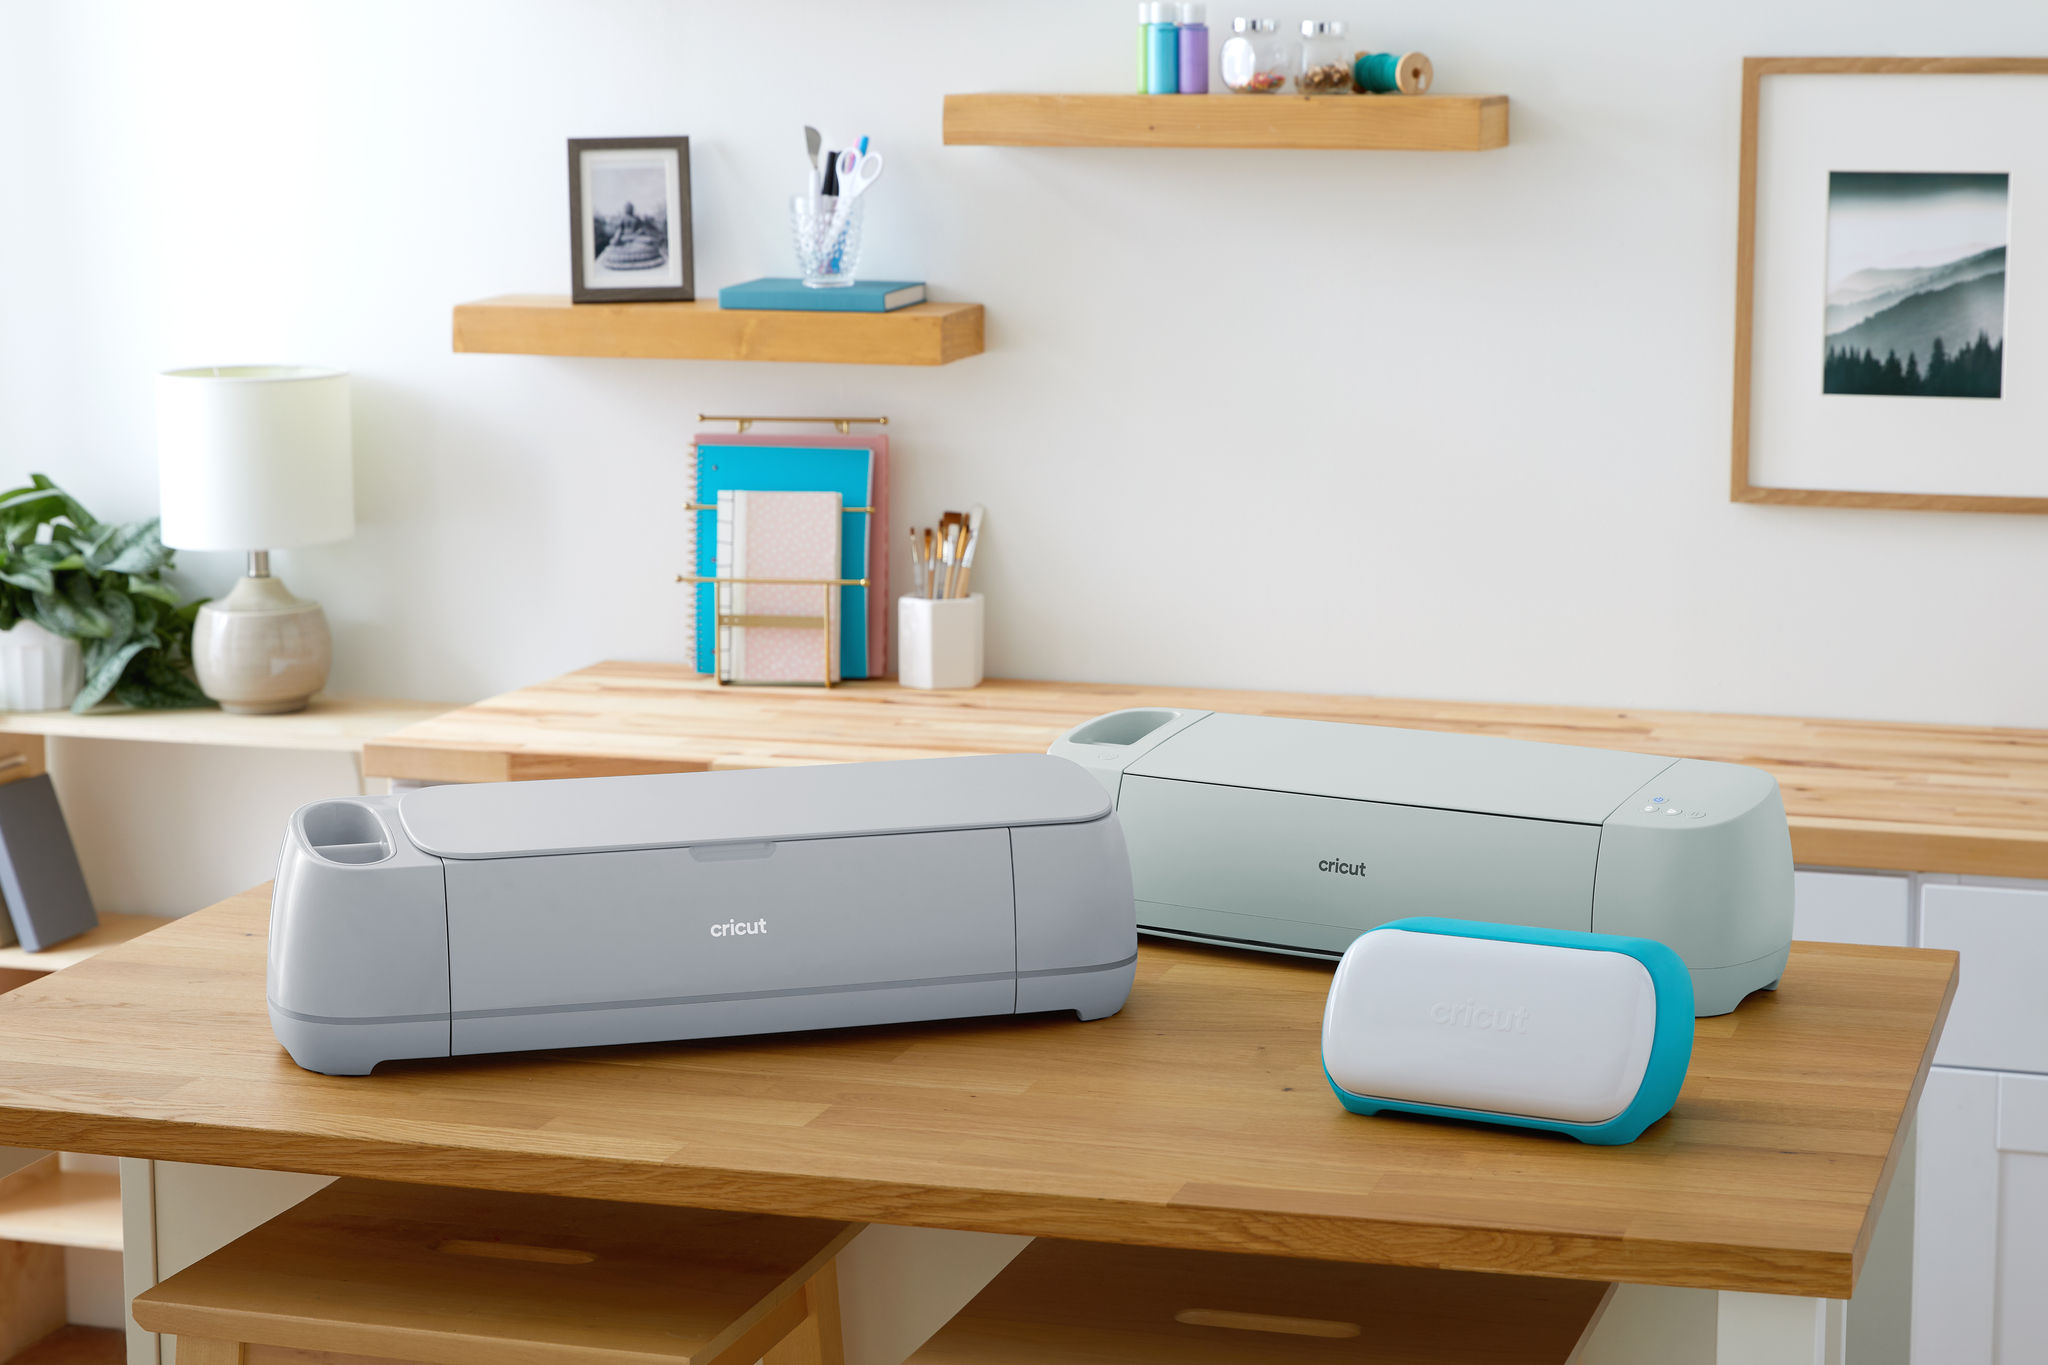
Materials
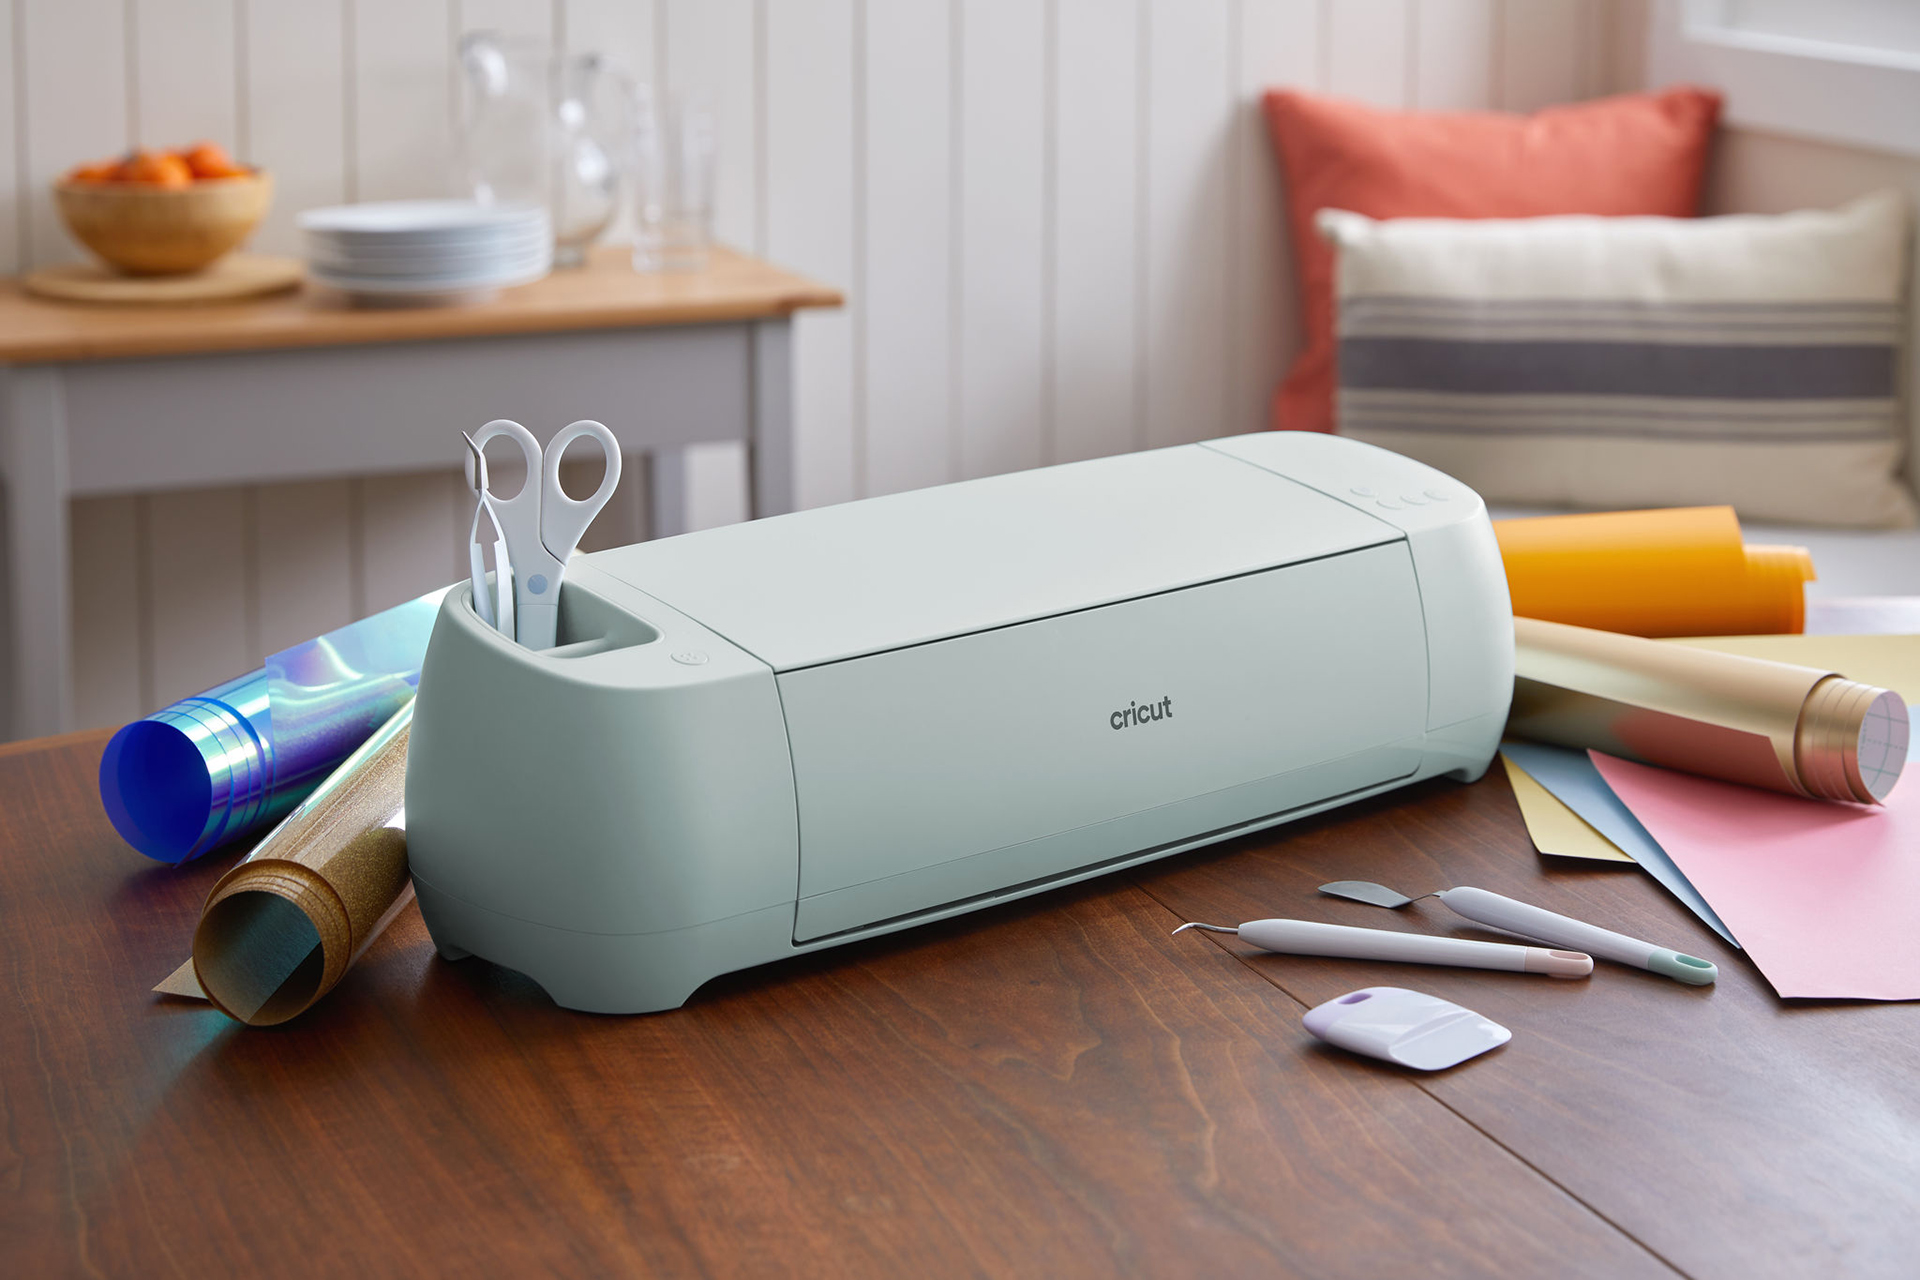
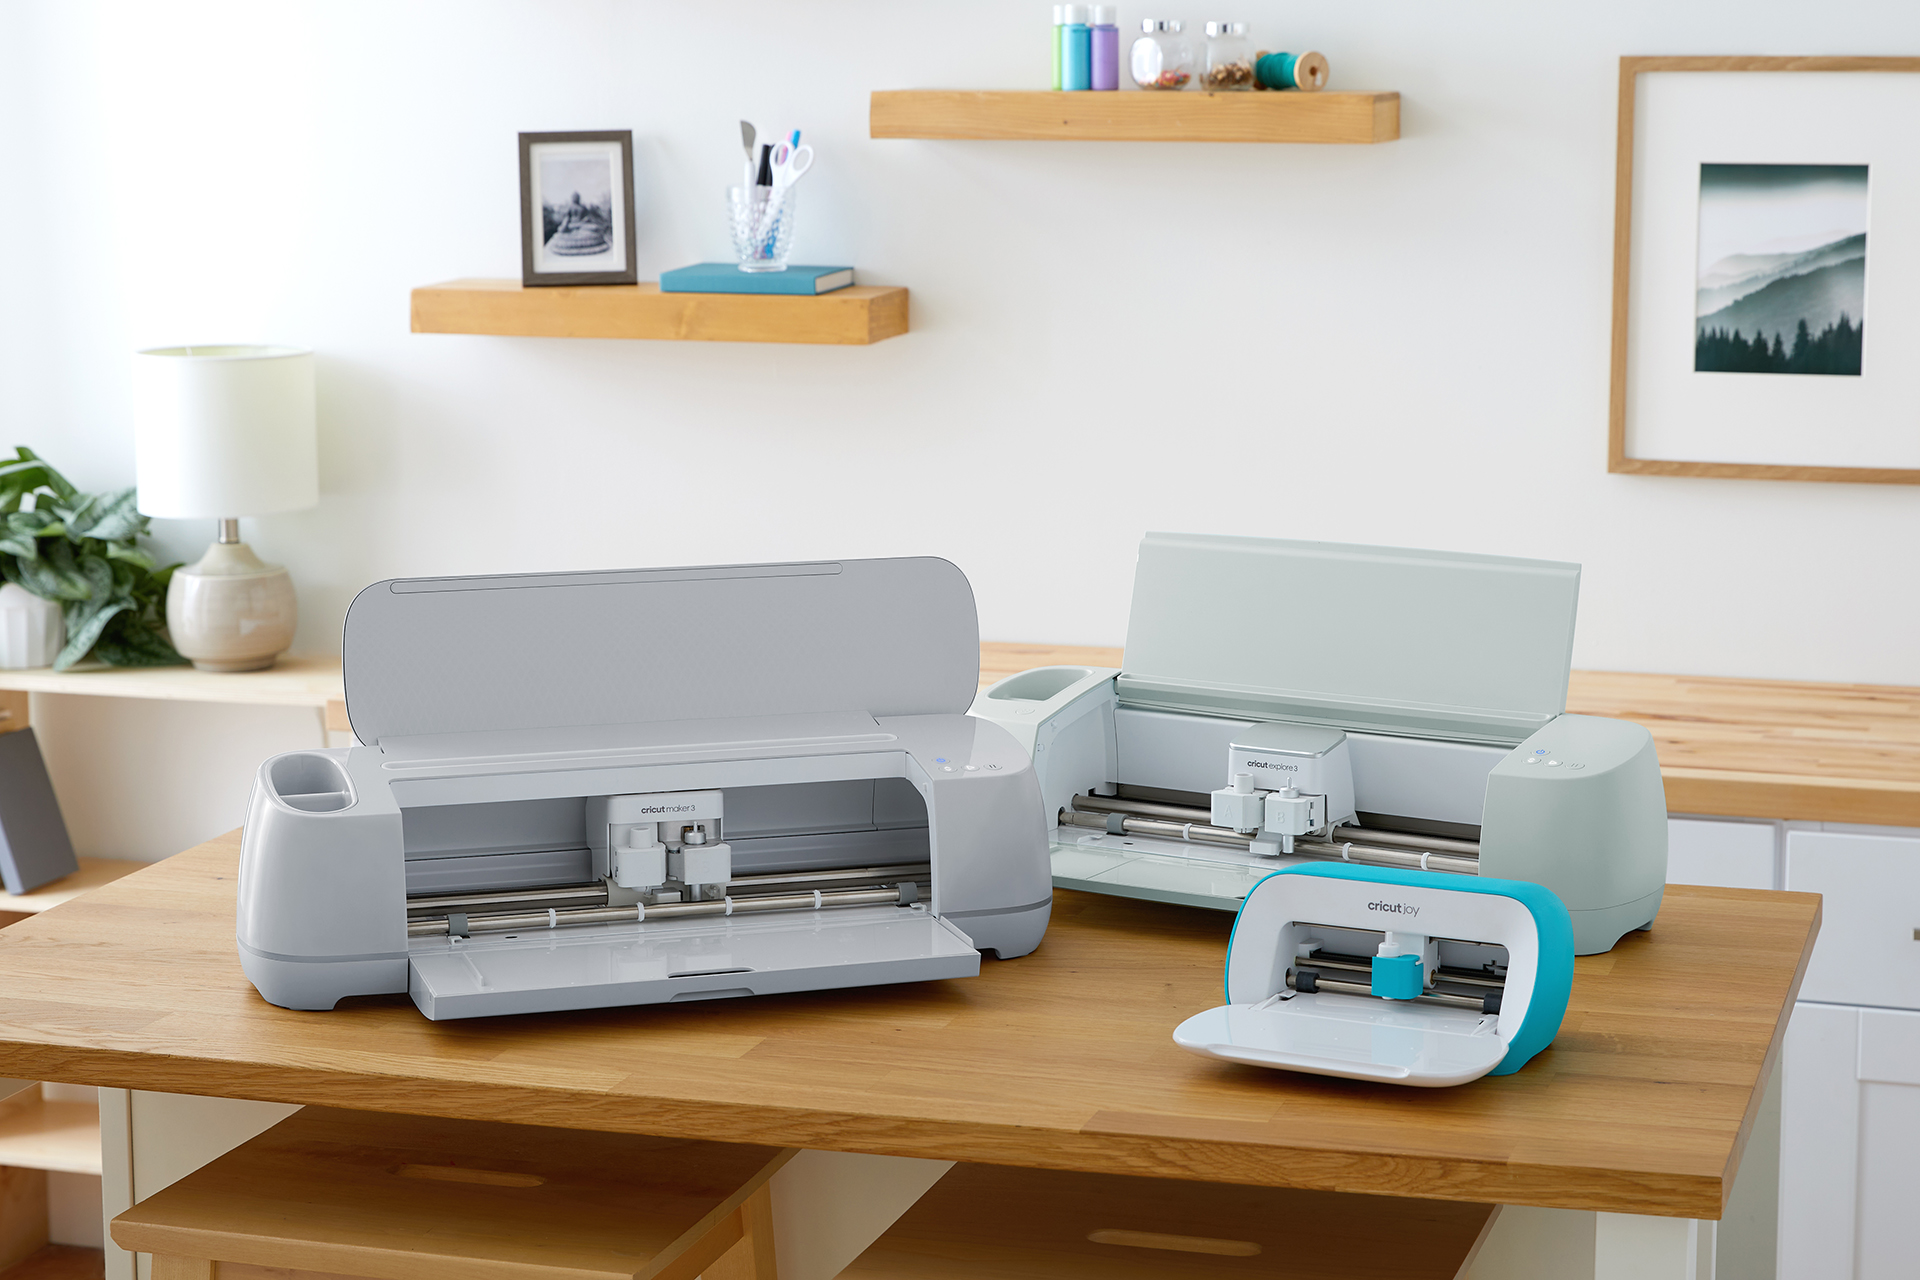
- Cricut Maker 3
- Glitter Cardstock
- Weeding Tool Set
- Scraper
- Smart Vinyl – Removable
- Transfer Tape (Standard and StrongGrip)
- Magnetic Whiteboard
- Adhesive Magnets
Instructions

Use the Cricut Design Space platform to arrange and cut any images or words you plan on incorporating in your learning board design.
Though the Design Space library maintains a wealth of amazing images and fonts, you’re also welcome to upload your own custom designs. Either way, Cricut Maker 3 will have them sliced and prepped with precision in record speed.
When you’re ready to cut, click the “Make It” button in the upper right-hand corner of the screen and follow the prompts as instructed. You’ll load your Smart Vinyl into the Maker 3 machine, shiny side down, and the machine will work its magic from there.
Unload your Smart Vinyl from the machine and use a weeder to remove any excess material from your designs. Once you’ve determined everything looks exactly as you’d like, apply transfer tape onto the vinyl and use a scraper to ensure there are no air bubbles.

For the weather chart I’m creating, I layered multiple vinyl sheets to achieve a multi-colored look.
As an example, to achieve this ‘snowy’ graphic I started by selecting the “Heavy Snowy Cloud Weather Icon” in Design Space, found when searching “snowy” in the software’s image library. I placed a white cloud from the same image set, titled “Cloudy Weather Icon,” on top of the snowy design. I then carefully peeled off the paper backing of the top layer of vinyl (the Cloudy Weather Icon). The finalized design is now ready to be applied to the board!

Before peeling off the paper backing from the bottom layer of vinyl, arrange all the components on your whiteboard to determine accurate placement. Once you feel comfortable with the placement of your vinyl designs, peel off the backing and use an applicator or scraper to ensure the vinyl has no bubbles.

Just like that, you’ll give a cute and creative multipurpose board to share with your class! I’m excited to see what boards you feel inspired to create for your students. Share your learning board ideas using #cricutmade on social and be sure to check out our other fun back-to-school projects, like this back-to-school photoshoot board!
What will be your next creation?
We are very curious to see what you will make. If you tag us in your posts on Instagram, your creation might be shared on our channels.
Are you already following us everywhere? (links)
- Newsletter: Inspiration, actualities and limited offers directly in your inbox. Sign up now!
- Instagram: A daily dose of creative inspiration
- YouTube: Step by step tutorials
- Facebook: live events, latest Design Space updates, shares with Facebook groups
- TikTok: fun Cricut project inspiration and exclusive tips and tricks
- Pinterest: ideal to create dedicated Cricut pins with projects ideas for later (or now)
Do you have a Cricut Access subscription? Then don't forget all of the advantages you have with it! To know more about it, read our dedicated blog article.

Related Making
Search How-To
I want to make...