How to make floral pot stencils with Cricut
Skill level
Beginner

Pot it like it’s hot! Bring your plants to life with custom pots using Cricut Smart Stencil™ and a little bit of paint. You won’t beleaf how easy it is!
Supplies needed
Print this list
Make stencils with Cricut
Step 1
Open the Personalized Stencil Planter in Design Space. Edit the name and adjust the size to your preference. Click “Make It” when ready to cut your design.
Tip: Since we are painting through the stencil, create a border around the design to give you extra room to paint around.

Step 2
Select Without Mat or On Mat, depending on if you are using Cricut Smart Material.
Follow the prompts in Design Space and load your material. Press the “Load” button.
Once the machine is done measuring your material, press “Go” once the button starts blinking.

Step 3
Trim your material to a workable size and weed out the excess material. Since we are creating a stencil, we are weeding out the actual design and will be filling in the outline of the design with paint.

Step 4
Apply a piece of transfer tape over the design and transfer the design to the planter.
Step 5
Dab paint over the design.

Step 6
Once the paint has fully dried, slowly peel off the stencil and weed any excess material.


Voila!

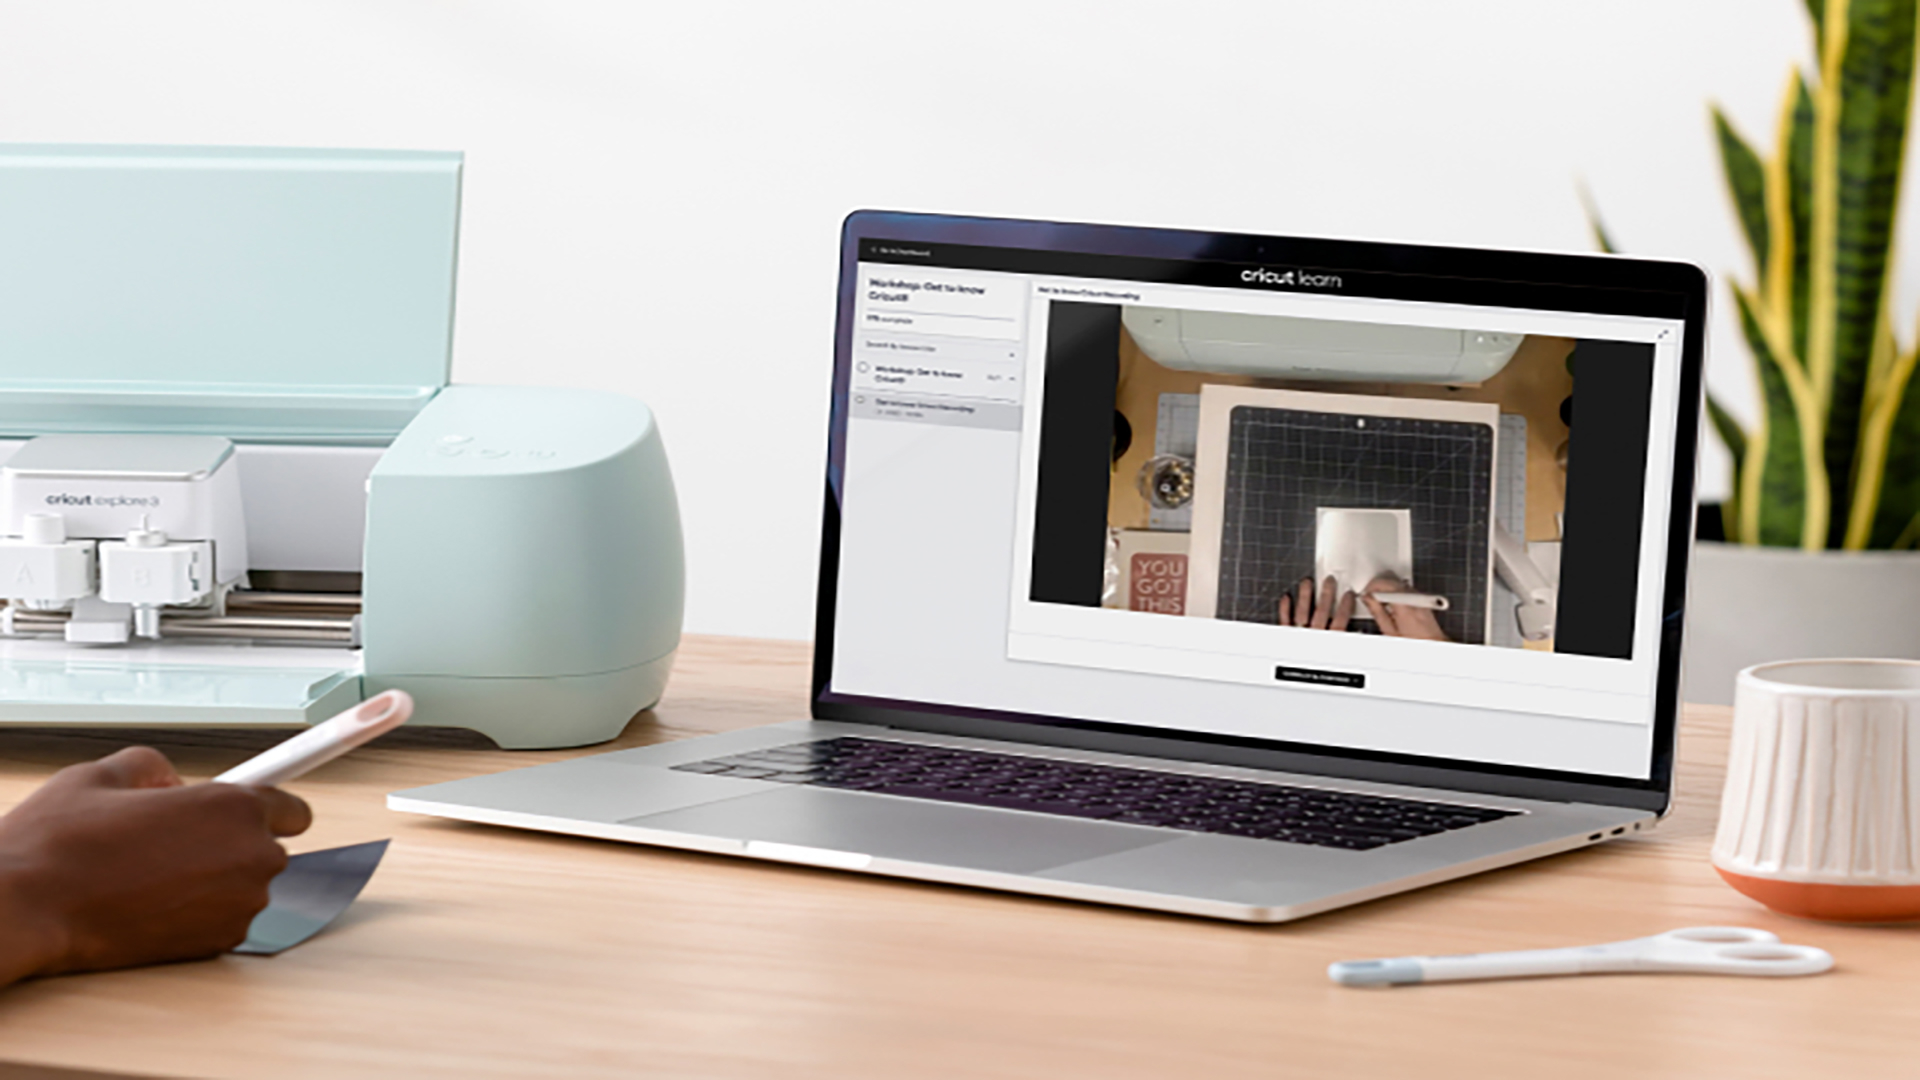
Check out the video tutorial below.

What will be your next creation?
We are very curious to see what you will make. If you tag us in your posts on Instagram, your creation might be shared on our channels.
Are you already following us everywhere? (links)
- Newsletter: Inspiration, actualities and limited offers directly in your inbox. Sign up now!
- Instagram: A daily dose of creative inspiration
- YouTube: Step by step tutorials
- Facebook: live events, latest Design Space updates, shares with Facebook groups
- TikTok: fun Cricut project inspiration and exclusive tips and tricks
- Pinterest: ideal to create dedicated Cricut pins with projects ideas for later (or now)
Do you have a Cricut Access subscription? Then don't forget all of the advantages you have with it! To know more about it, read our dedicated blog article.
Related Making

Search How-To
I want to make...