How to make a custom hat with Cricut
Skill level
Beginner
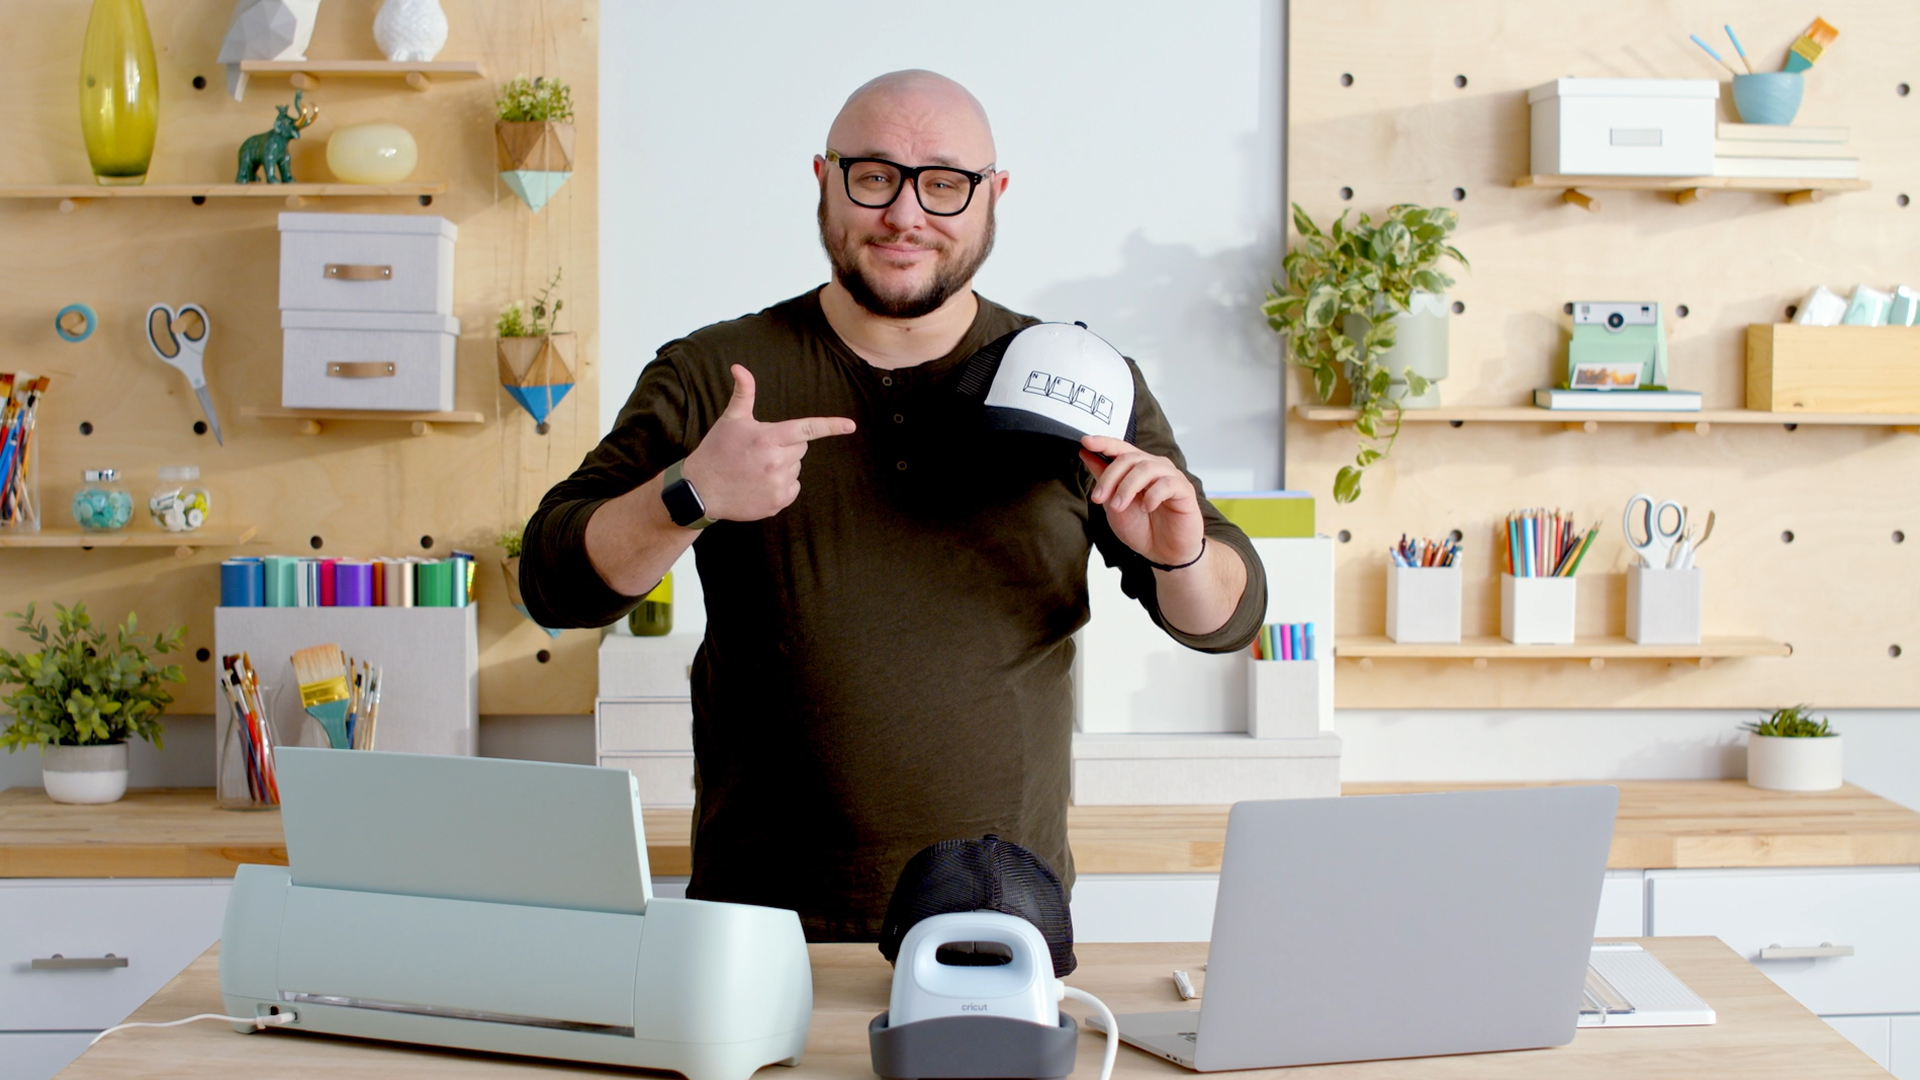
There’s no better way to show your personality than a custom hat made just for you! Follow along to learn how to make your own custom hat. And if you like Hayden’s project, you can check it out on Design Space here: Nerd Trucker Hat.
Supplies Needed
Print this list
Make a custom hat with Cricut
Step 1
Go to Design Space and search for the image you want to use. Once you found one you like, add it to your canvas. Once the image is on your canvas, you will want to make sure the image is small enough. Go to the top bar and enter 4″ as your width.

You will also want to make sure that your design is the same color as the vinyl you’re using. Go to the top bar and select your color.
Click “Make It” and select “Without Mat” when asked how you will lad all of your materials. This is because smart materials do not need a mat. Then click “Continue.”
Step 2
We will need to mirror our design, so toggle the “Mirror” option, then “Continue.”

On the next screen, select the material you are using: Smart Iron-On.
Step 3
Insert the material into the machine with the shiny side down and press the Load button. Once the Go button starts blinking, press that button to start cutting your design.

*Reminder: If you are not using Smart Iron-On, make sure you use a mat.
Step 4
Once the machine is done cutting your design, unload your material from your machine. Now prep your hat press by using the Cricut Heat App to choose the perfect temperature.
Then trim your design so it is easier to work with and so you can save the rest of the material. Once you have your design cut out, you can remove the excess material using the weeding tool.
You’ll notice that the your design is backwards since we mirrored it, so when you flip your material so the shiny protective layer is up, it will read correctly.

Step 5
Once you hear a beep from your hat press, you’ll know your press is ready to go. Put the hat form inside your hat and place your design where you want it. You’ll notice that because the hat is rounded, your design won’t stay down. You’ll want to use heat transfer tape to keep your design in place.
*Tip: Do a “pre-press” to get rid of any moisture, and use a lint roller to make sure your surface is speck-free.

Step 6
Now place the hat press over your design and press the Go button. Move the hat press back and forth until it beeps, and then remove the hat press. Let your design cool and then remove the tape and liner.

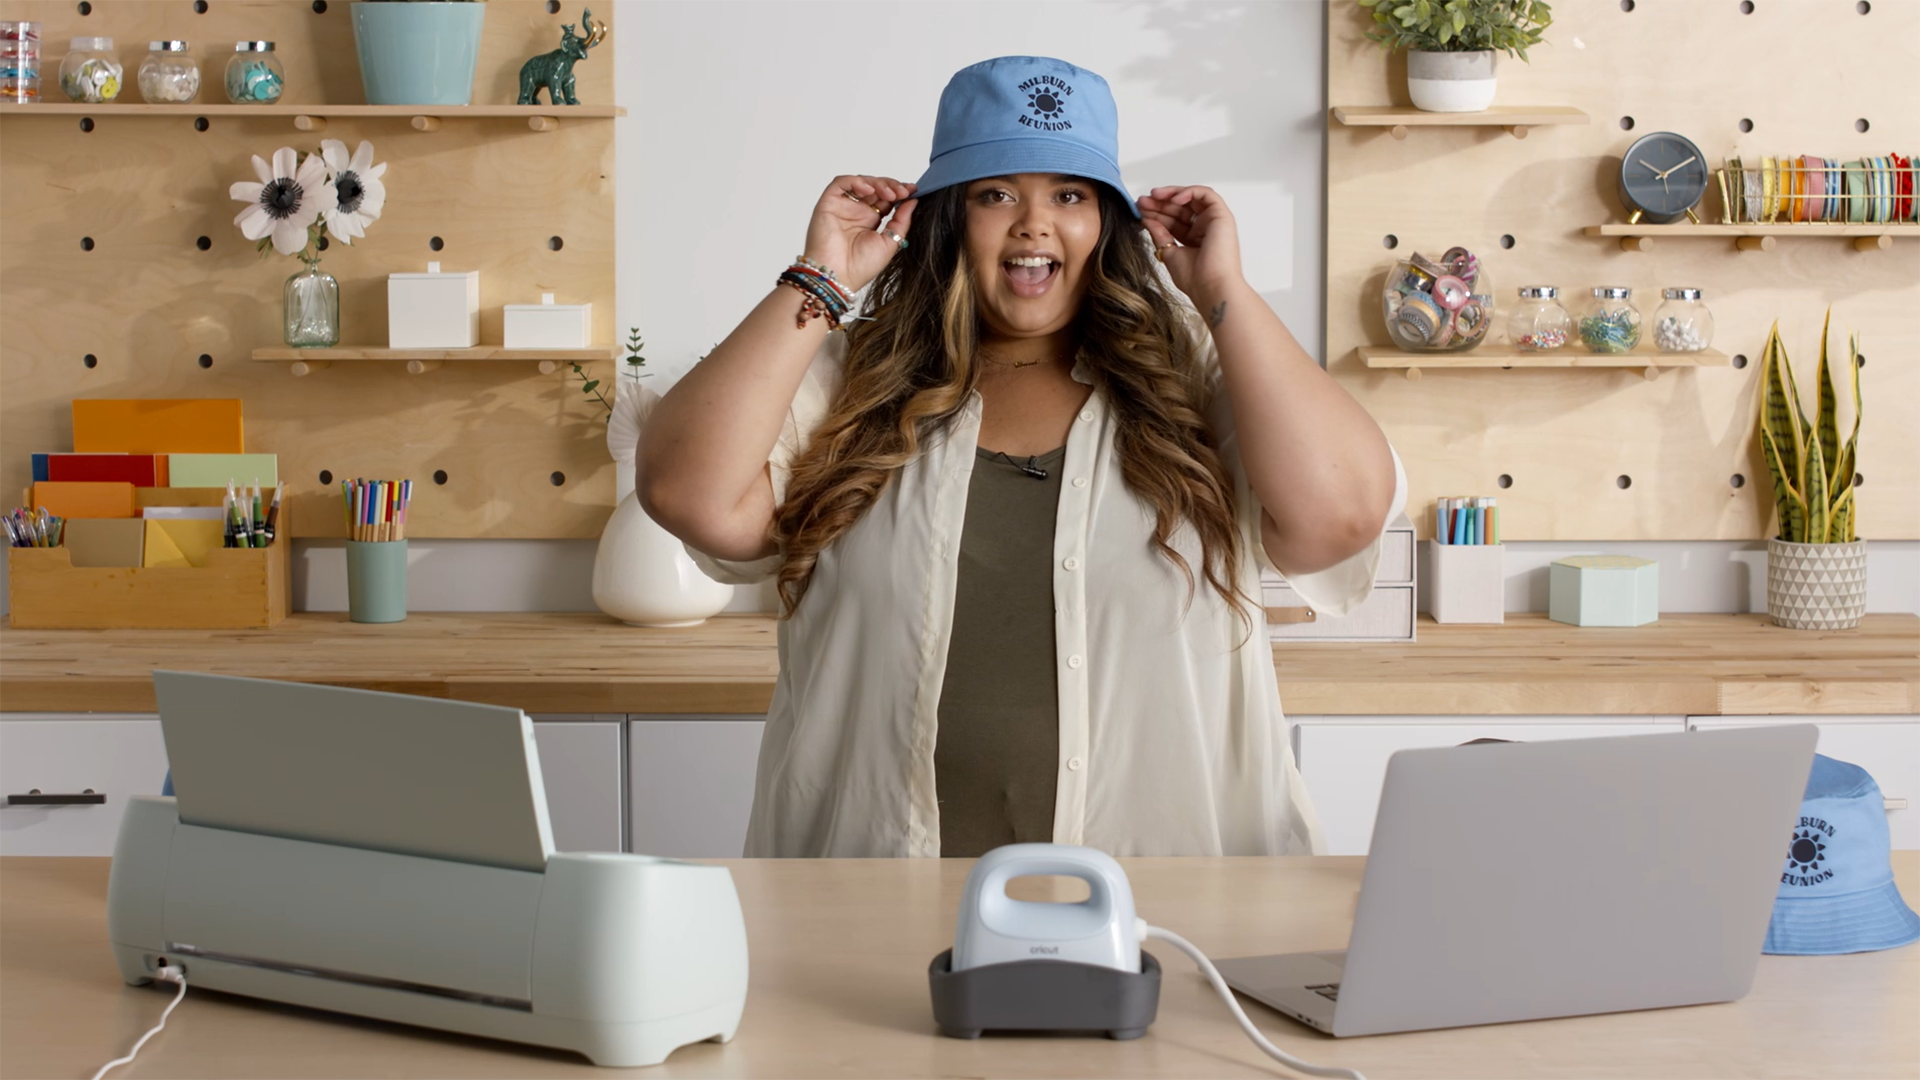
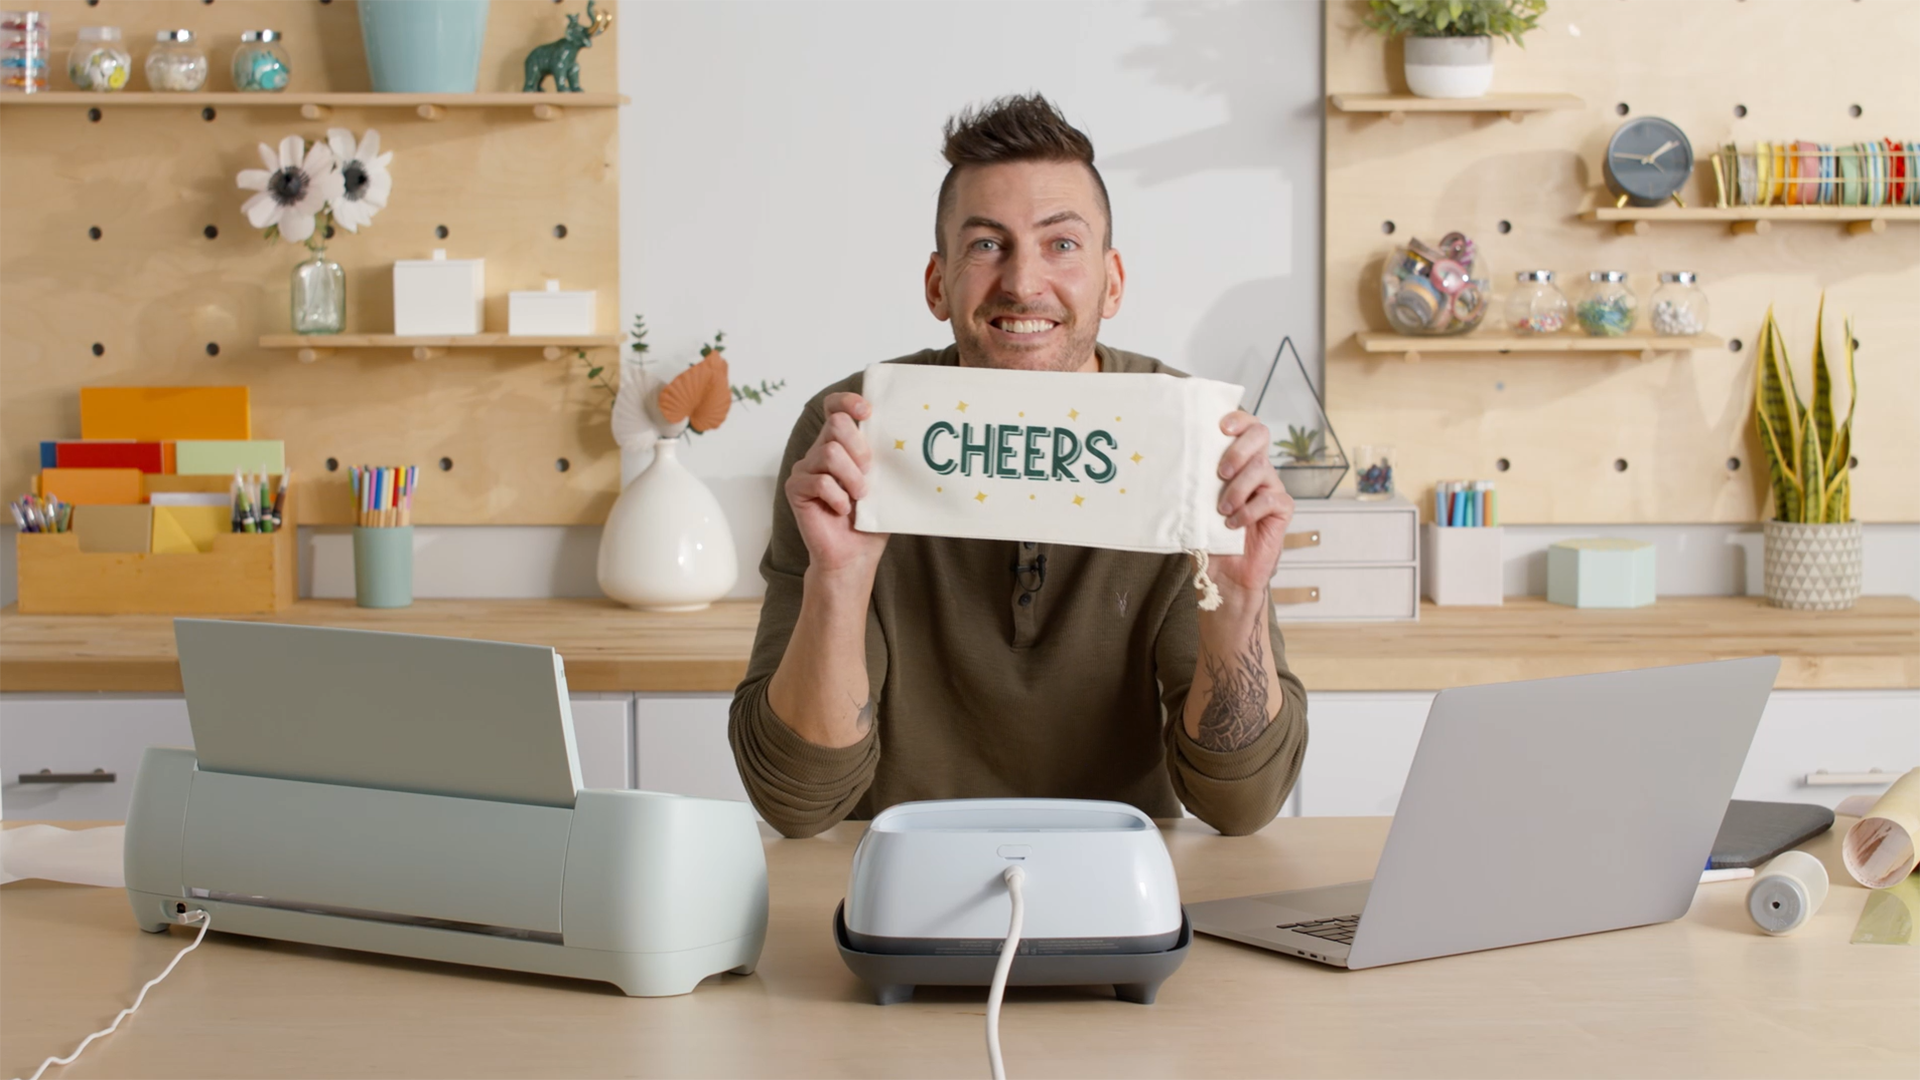
Now show off your new custom hat!
And you’re done! Now you have a customized hat that shows off your personality. Make sure to share your creations with us on social media by using #cricut.


What will be your next creation?
We are very curious to see what you will make. If you tag us in your posts on Instagram, your creation might be shared on our channels.
Are you already following us everywhere? (links)
- Newsletter: Inspiration, actualities and limited offers directly in your inbox. Sign up now!
- Instagram: A daily dose of creative inspiration
- YouTube: Step by step tutorials
- Facebook: live events, latest Design Space updates, shares with Facebook groups
- TikTok: fun Cricut project inspiration and exclusive tips and tricks
- Pinterest: ideal to create dedicated Cricut pins with projects ideas for later (or now)
Do you have a Cricut Access subscription? Then don't forget all of the advantages you have with it! To know more about it, read our dedicated blog article.
Search How-To
I want to make...