Easy cards to make with your Cricut Maker or Explore Air 2!

It’s been a rough few weeks, and we at Cricut want you to know we are always here for you when you need to zone out, craft a bit, and relieve some stress.
One way to make good use of this extra time at home is to prep for the holidays ahead by making cards for every occasion! If you’re new to Cricut, this is a great way to learn how your machine and tools work when the stakes are relatively low.
Getting started
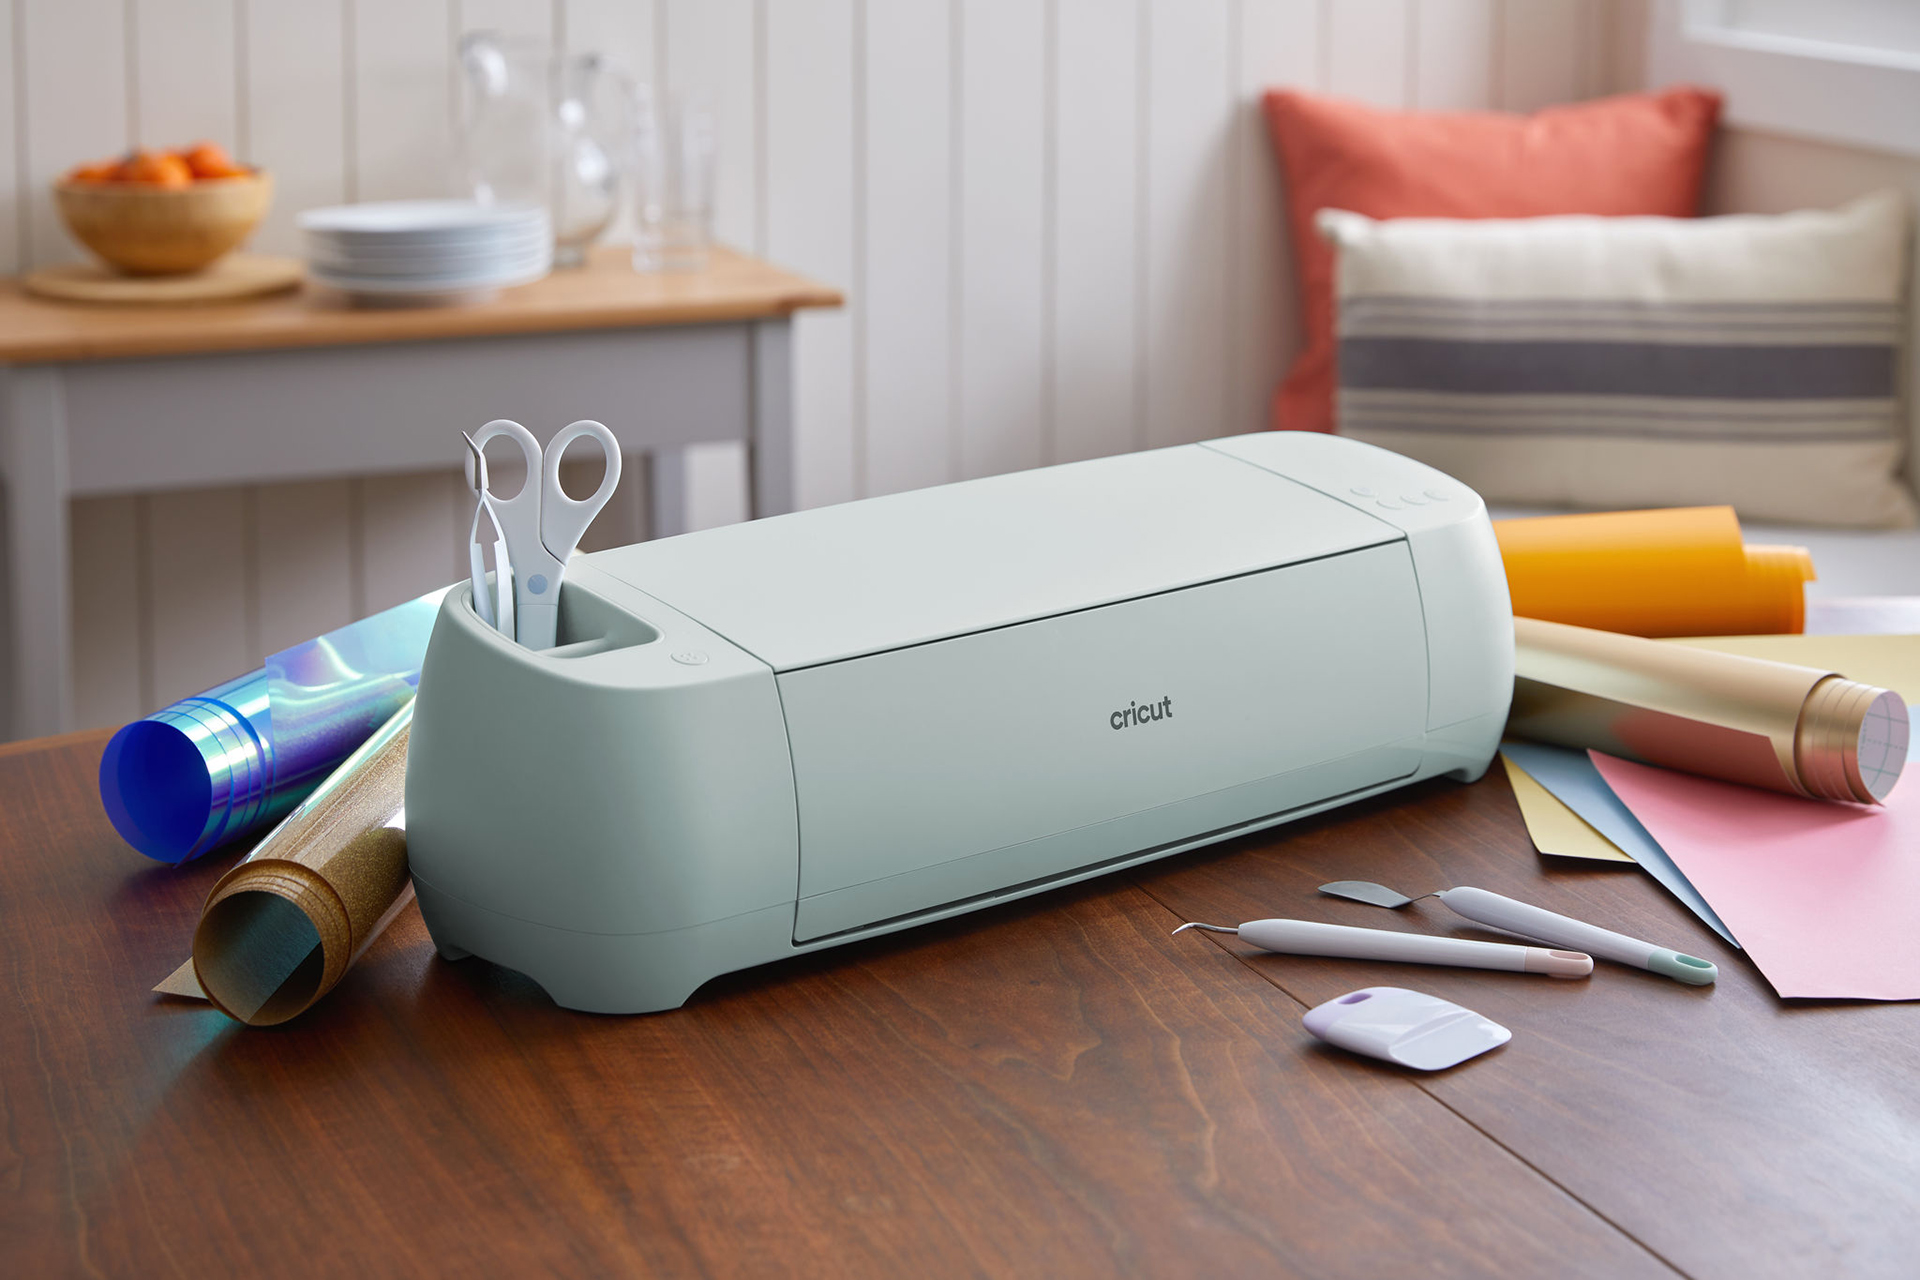
Paper crafting is a great way to test the waters with crafting. Paper is easy to come by, relatively inexpensive to replace if something goes awry, and allows you to learn lots of skills in just one project.
I got started with my Cricut by leaning on the “Ready To Make Projects” in Design Space. All you do is pick the project you want, click “Make it,” and voila, you’re on the cut screen! Using this approach, you can take learning Cricut one step at a time. This method allows you to learn how the machine works without really needing to dive into designing your own creation or learning intricacies of Design Space.
Today, I made five cards that I’m excited to show you. I’ll include lessons learned, tips, and how to find them in Design Space if you’d like to try it out!
To make these cards, you’ll need:
- Cardstock (variety of colors & patterns)
- Scoring Wheel Tip + Drive Housing, Double Scoring Wheel, or Scoring Stylus
- Adhesive for paper
- LightGrip Machine Mat (two is handy!)
- Cricut Pens (only for one card)
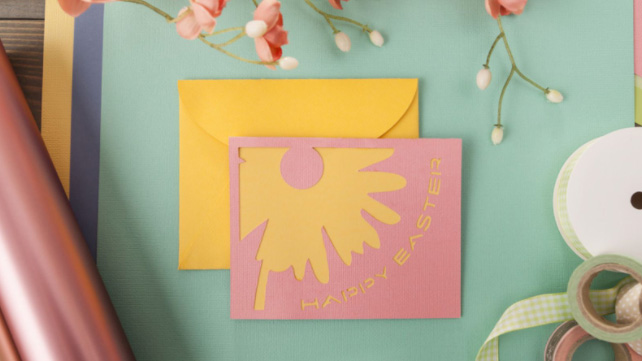
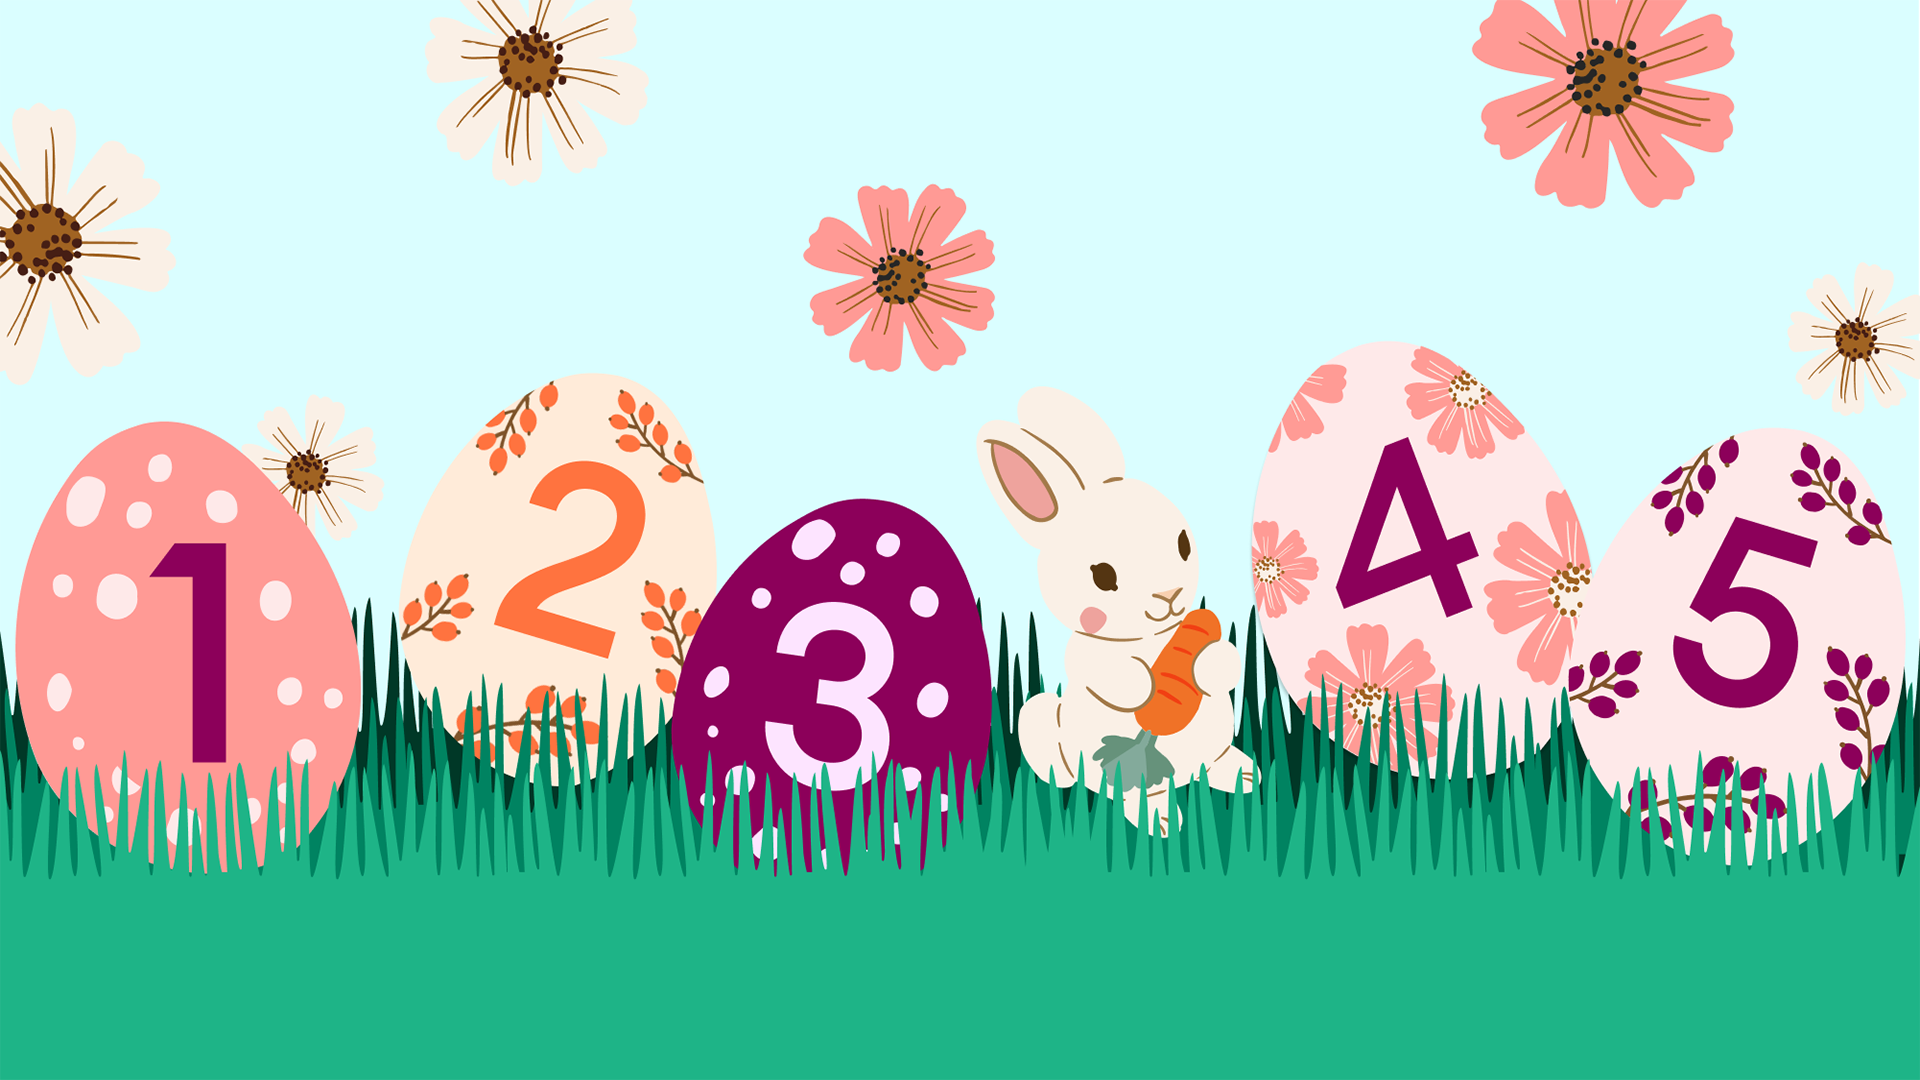
Happy Easter card
We made this card on a Facebook Live the morning of March 23, 2020. Click here to watch and learn how to make this card!
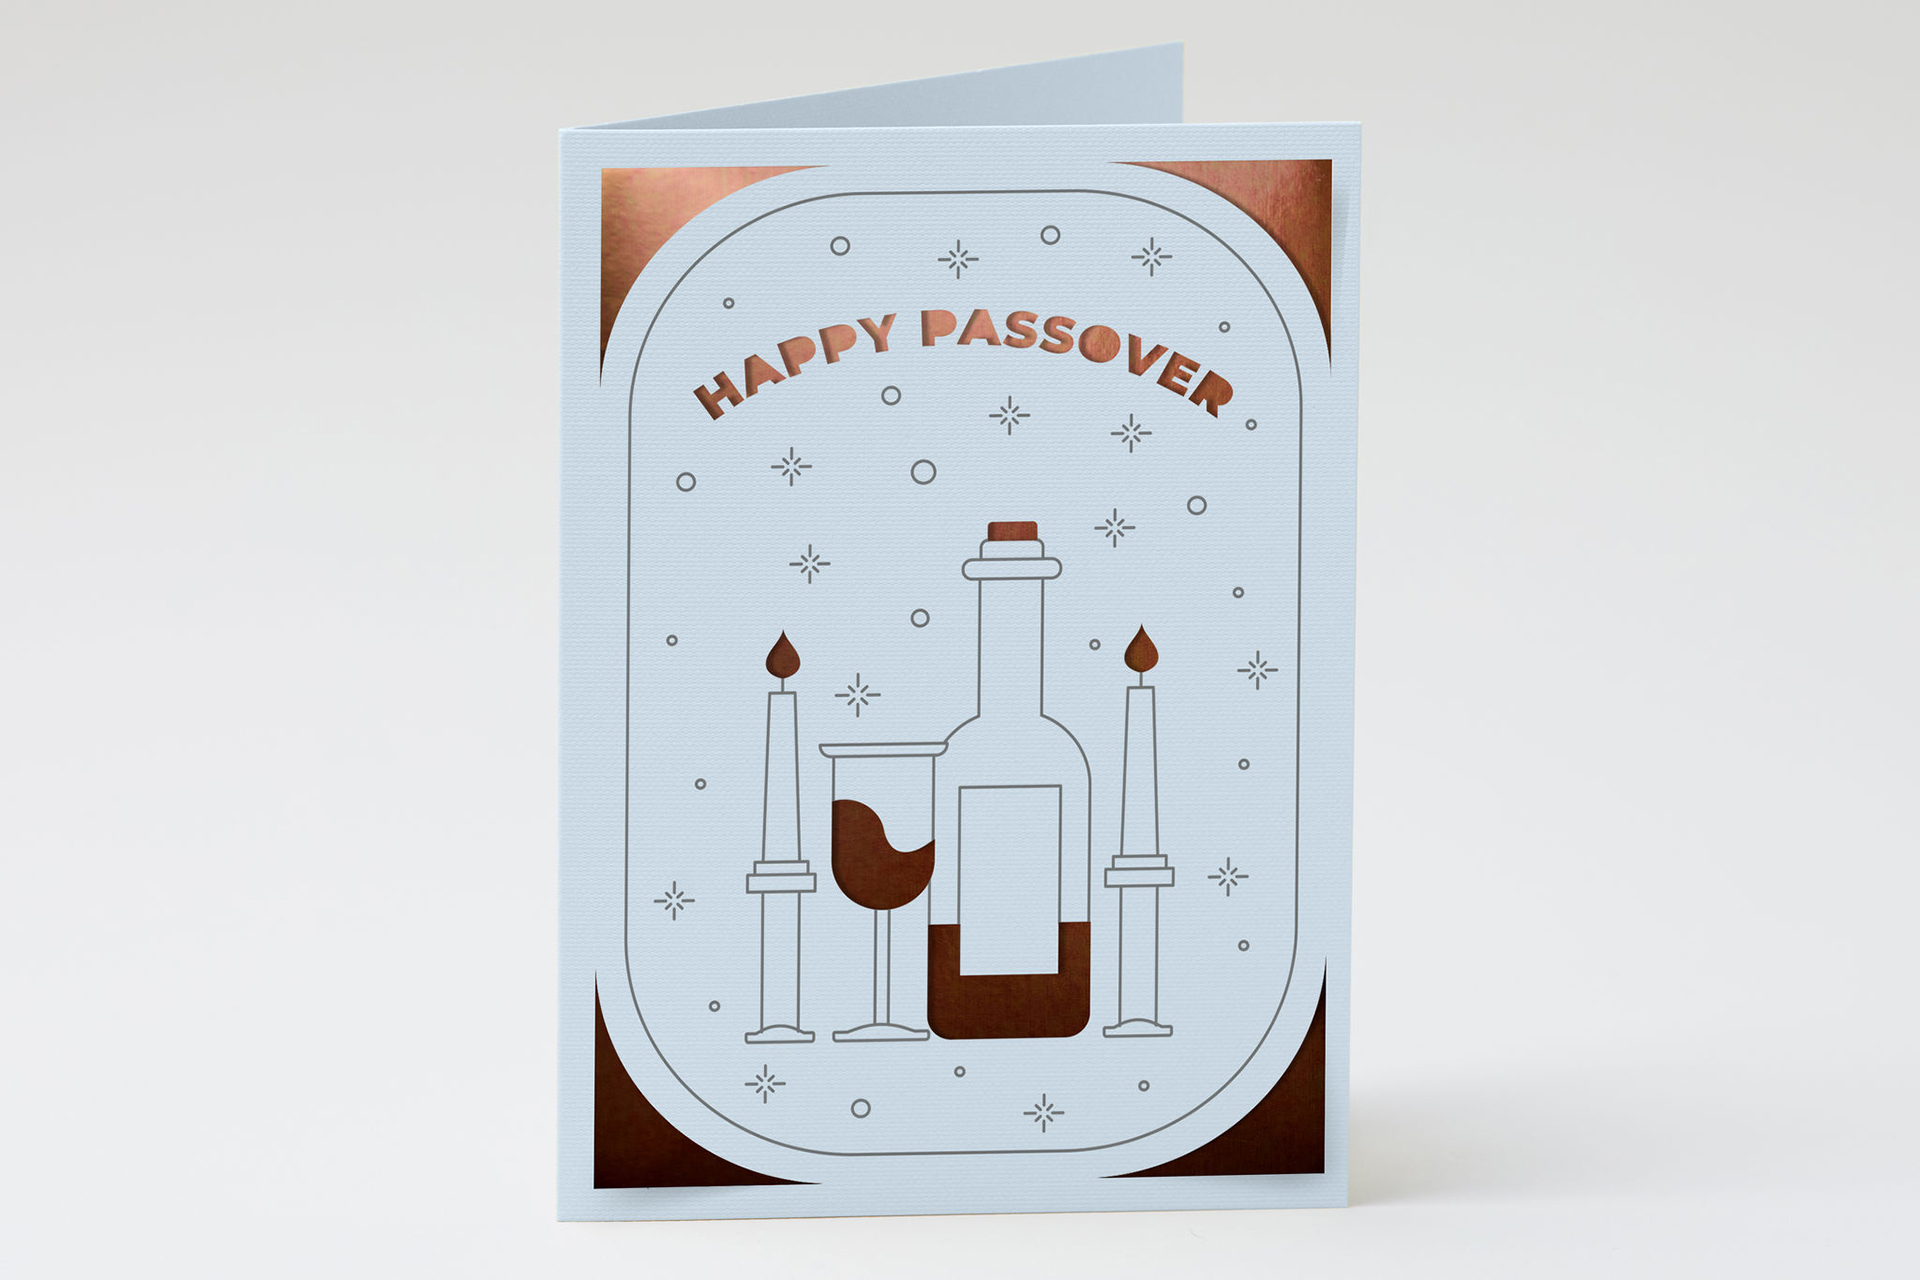
Easter is right around the corner, and we’re unsure if we’ll be able to travel to see family this year. This Easter card is super easy and only takes about a page and a half of cardstock.
Tip: When using cardstock that has different colors or patterns on either side, be sure to place that desired side for the outside of the envelope or down on the mat. The score lines fold in, so double sided papers can surprise you once you start to fold!
Send love to those who are struggling without stepping foot in a store! This card has 5 different cuts, but is super simple when following the prompts in Design Space.
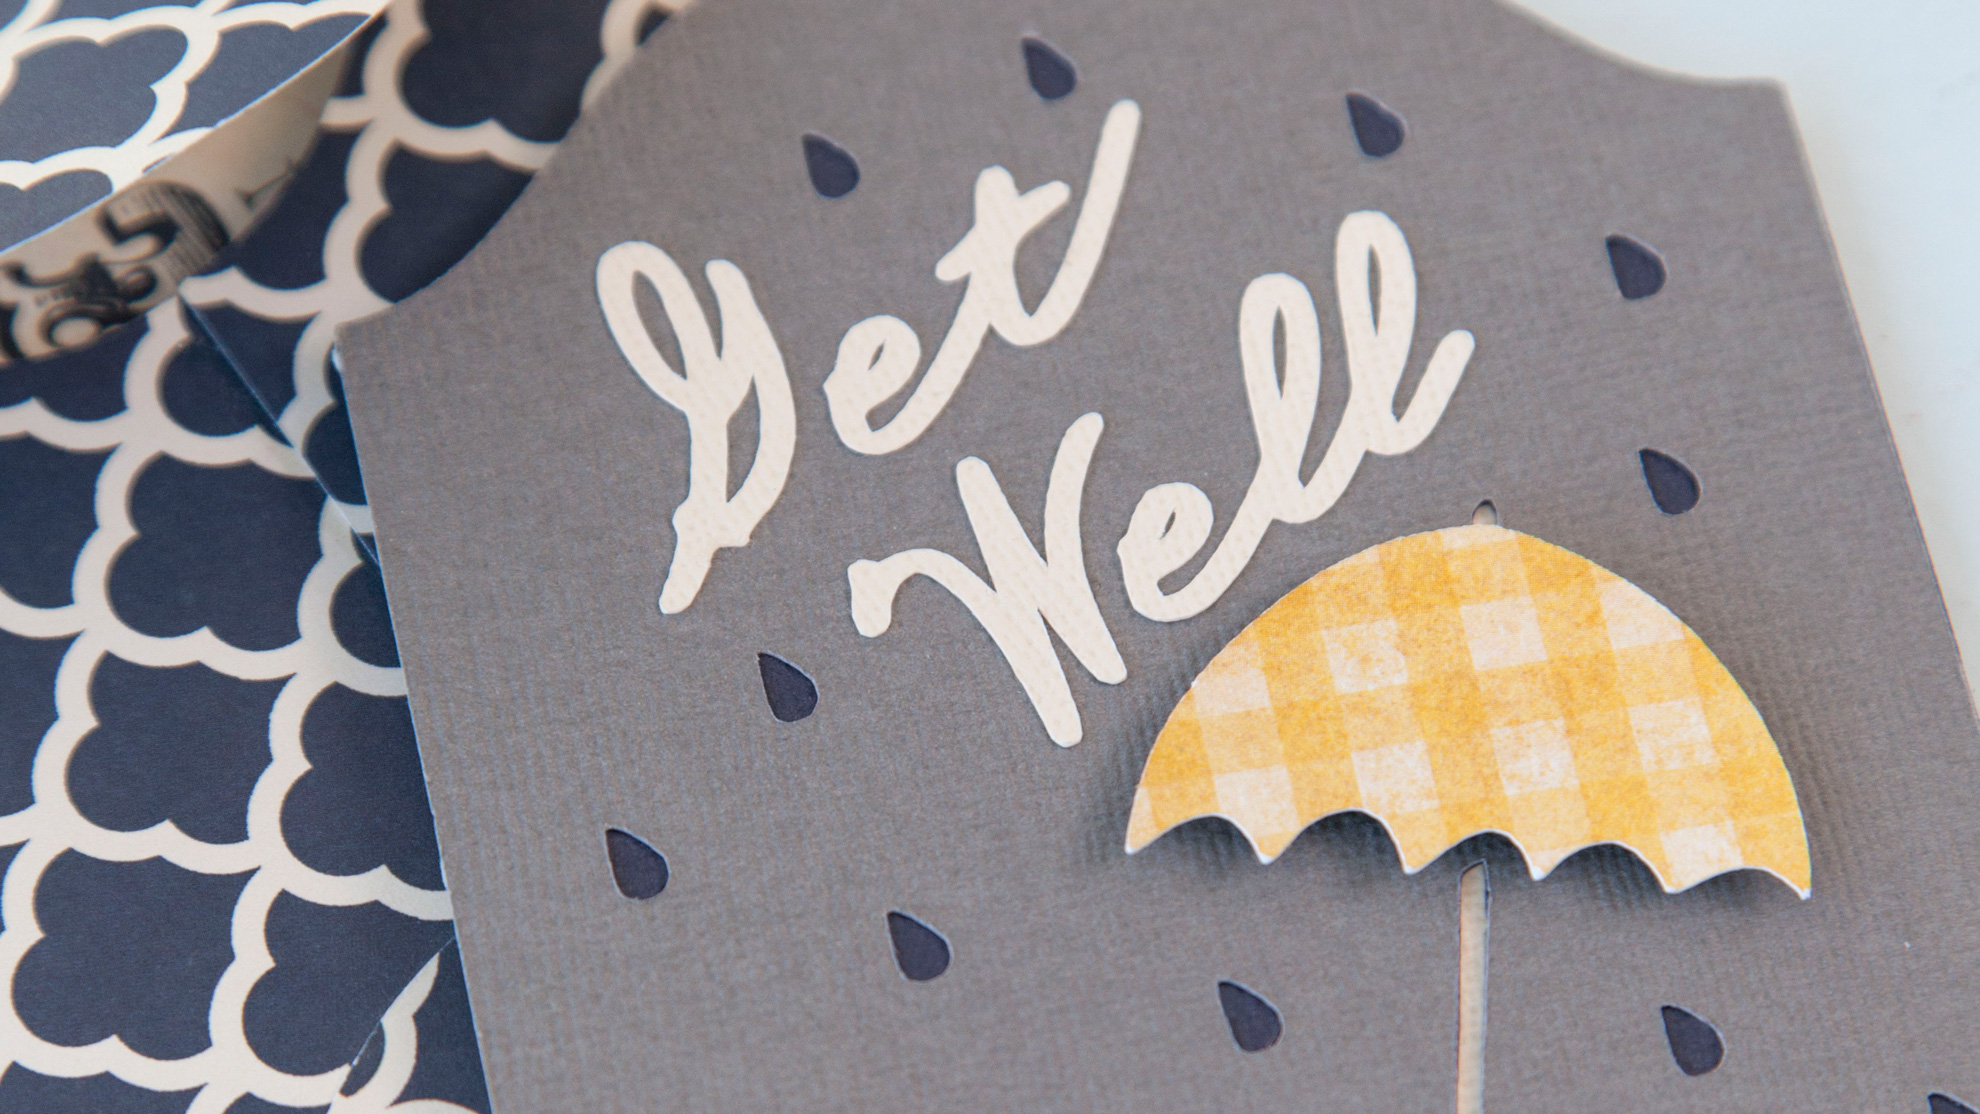
Hopefully we don’t need to make too many Get Well Soon cards, but these are a great way to remind those you care about that they’re on your mind although they’re not welcome in your living room 😉
Tip: Think about the kinds of adhesives you have when picking your design. I only had thick glue when I made this, so attaching the thin letters and small umbrella handle tricky. It worked great after putting the glue on my fingers first, then applying to the paper. (You know, like how you apply fake eyelashes!)
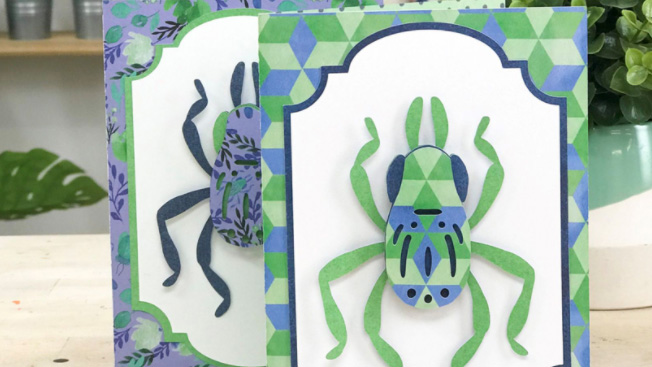
Just Because cards
Make a few blank cards for your stash as well! These are great when you have unexpected opportunities to spread a little cheer.
This Beetle card is easy to customize for any recipient and any occasion by switching up the paper you choose. It’s blank on the inside, so you can use it whenever you need and have ample room to write your well wishes! I love how easy it is to use masculine or feminine patterns to tailor my cards to whoever I plan to give it to.
Tip: If you don’t have the exact patterns we used in the Design Space Project, don’t be afraid to go with the flow! I used the same handful of patterned paper for both my Beetle Card and my Mother’s Day card.
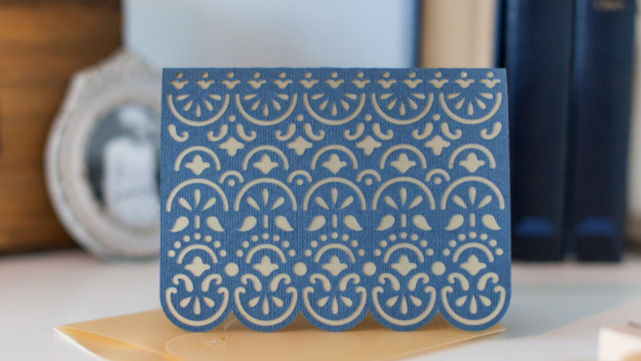
Decorative cards
Weeding paper is pretty easy, it usually all sticks right to the mat! Don’t be intimidated by intricate patterns on paper, just remove it from the cutting mat gently!
Since we’re making for the whole year, keep in mind the seasonality of colors. I made a couple of my cards neutral colors so they make sense in any season.
Tip: If you find a card in Design Space that you love but it calls for an obscure material you don’t have on hand, don’t rule it out! This card called for vellum, but I only had cardstock. The card still came out really cute!
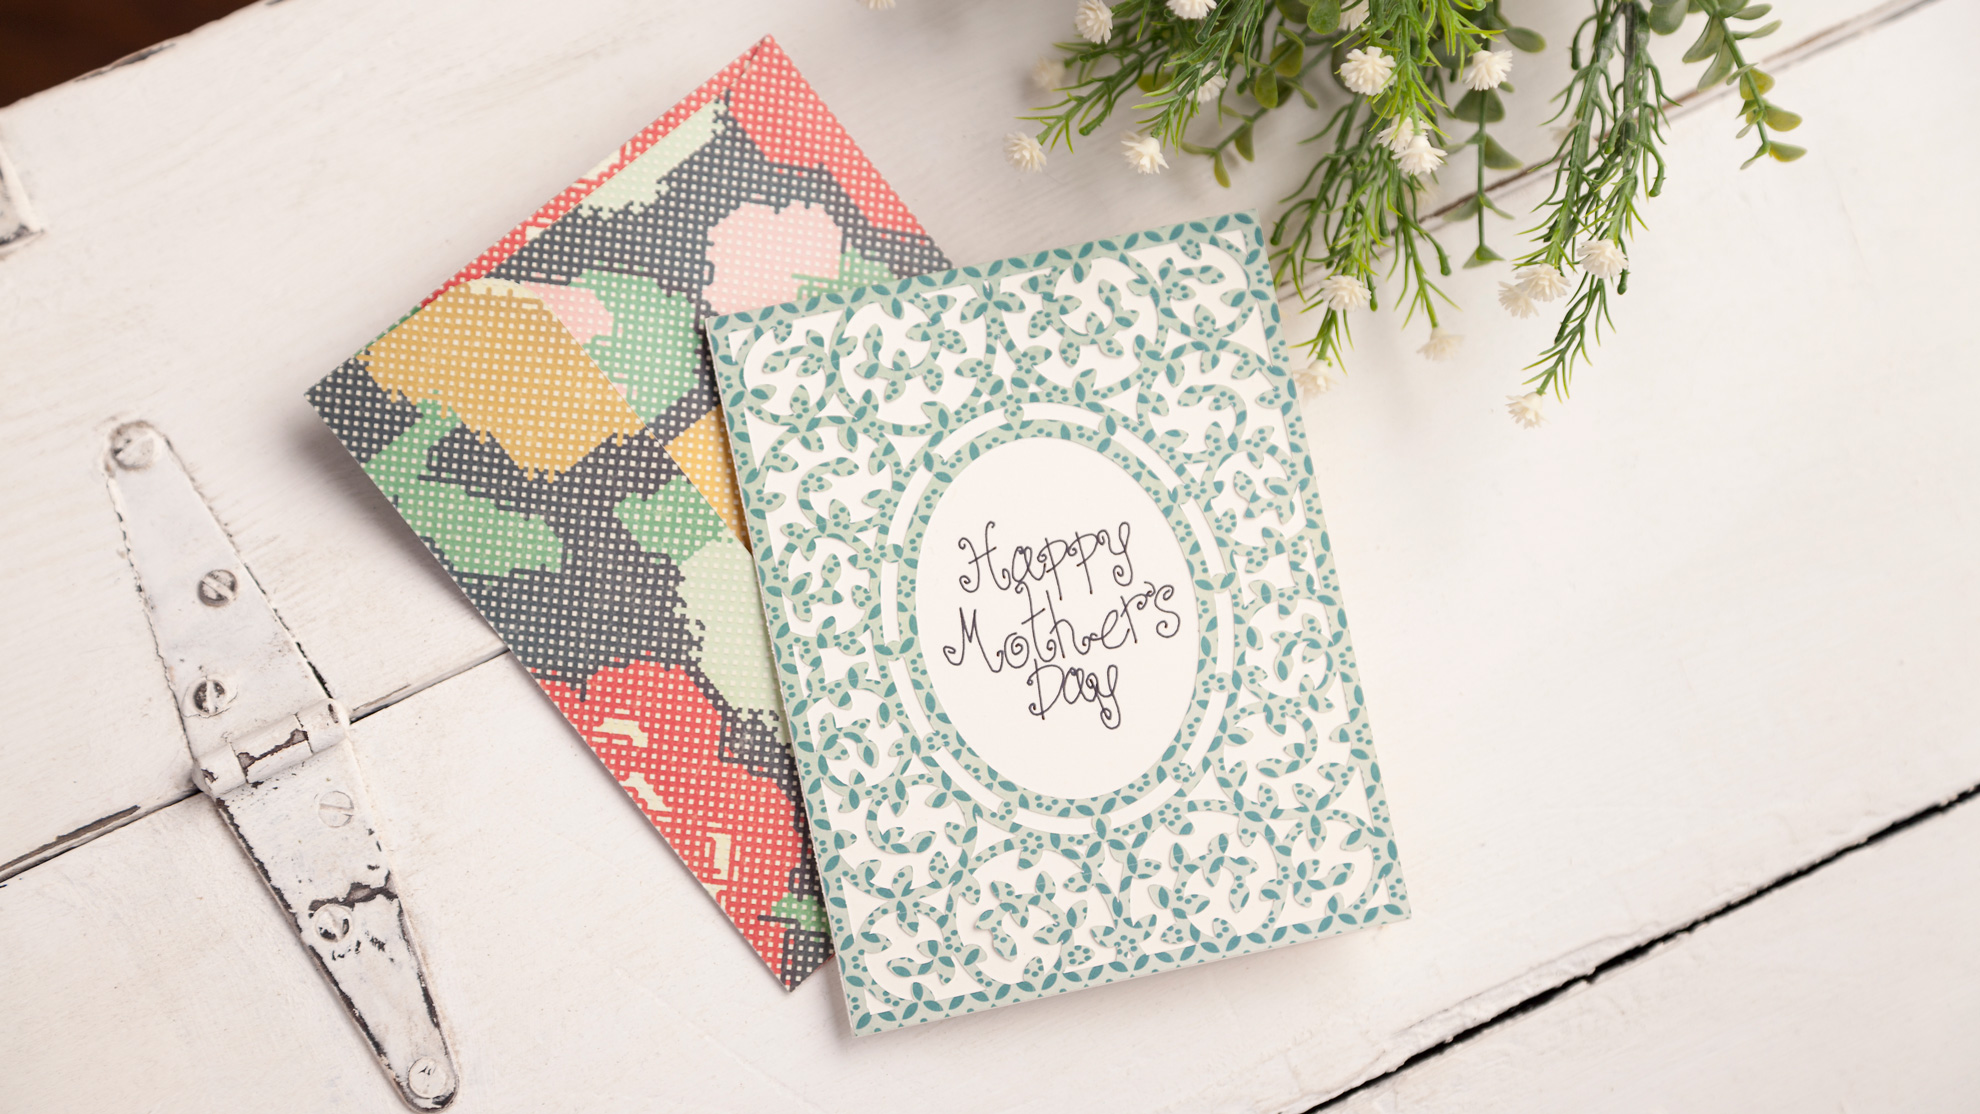
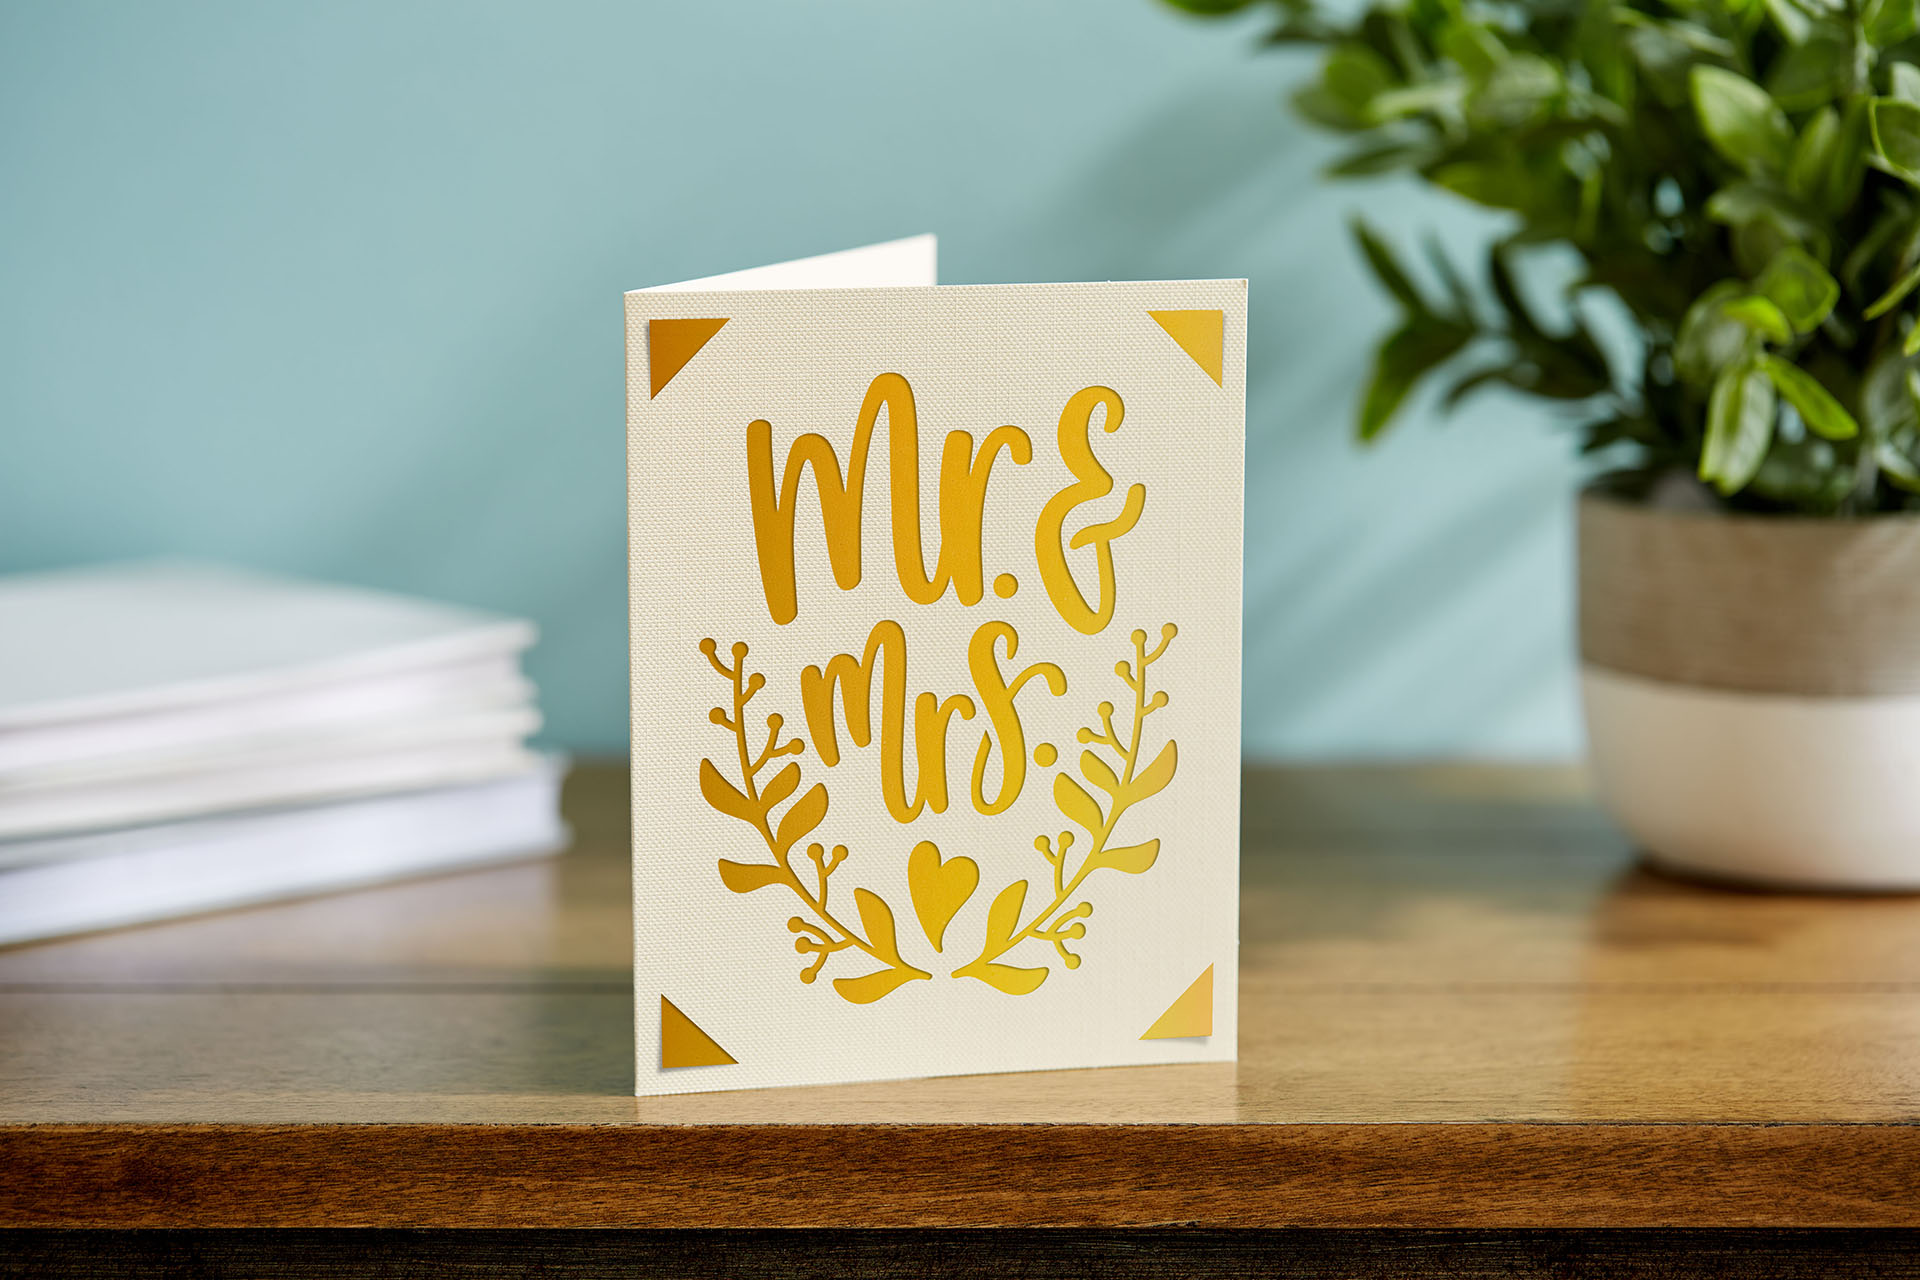
Mother’s Day cards
Also pictured above, this Mother’s Day card is super simple, yet elegant!
This card uses a single scoring wheel, the fine point blade that came with your Maker, and a Cricut pen. I love how many skills are taught in just one project!
Just like when using more than one machine tool or blade, Design Space with prompt you when to put your pen in. I love knowing that Design Space always prompts me and double checks the tools I’ve put in the machine before proceeding. It makes it pretty hard to fail.
Tip: Cricut pens come in many different sizes of packages and in a variety of colors. There are pens for every kind of cutting machine, even the brand new Cricut Joy!
What are you making?
I hope you’ll use these tips to keep busy and crafty as we all spend more time at home. Share what you made using #cricutmade on social.
What will be your next creation?
We are very curious to see what you will make. If you tag us in your posts on Instagram, your creation might be shared on our channels.
Are you already following us everywhere? (links)
- Newsletter: Inspiration, actualities and limited offers directly in your inbox. Sign up now!
- Instagram: A daily dose of creative inspiration
- YouTube: Step by step tutorials
- Facebook: live events, latest Design Space updates, shares with Facebook groups
- TikTok: fun Cricut project inspiration and exclusive tips and tricks
- Pinterest: ideal to create dedicated Cricut pins with projects ideas for later (or now)
Do you have a Cricut Access subscription? Then don't forget all of the advantages you have with it! To know more about it, read our dedicated blog article.
Related Making
Search How-To
I want to make...