DIY giant paper daisies
Spring has always been my favorite season. It’s a time that everything wakes up from the long winter’s nap. Flowers just seem to be the most colorful and abundant in the spring. But this year, nature has turned its back on me. It’s cloudy most days and I have yet to see more than a daffodil or two. Because I’m not a patient person, I take matters into my own hands and bring spring to life with these giant paper daisies.
The more you pay attention to the details of a flower, the more real you can make it seem. We decided to use wooden beads on a half foam dome surrounded by crepe paper fringe to create more texture and depth to each of our daisies. I’ll let you be the judge, but as for me-I think these daisies are easy to make and incredibly eye-catching.
So, let’s get making!
DESIGN SPACE LINK: Giant Daisies
So, let’s get making!
DESIGN SPACE LINK: Giant Daisies
- Cricut® Maker
- Scoring Wheel
- Cardstock, White
- Crepe Paper
- Foam Form
- Wood Beads
- Hot Glue
- Spray Paint, Yellow
With the second pile, use a small dot of hot glue again, but this time only bring the corner of the slit to about midway to the opposite score line. Gluing the slits at different intervals will allow the petals to lay more naturally as you form the flower later on. Trust me- You’ll thank me for it!
Now it’s time for the center of your daisy! Hot glue each bead to the foam form. I found it easiest and most efficient (which comes in handy when you make a million in a row or 25 as we did) to place a generous amount of hot glue in a straight line starting at the center and working your way out and down, row by row.
How hot your glue gun is will determine how much you can do at once. It’s so frustrating when you’re crafting, and your hot glue cools off and hardens before you get the chance to place your beads. So just go at the pace that suits your glue gun!
It’s ok if your crepe paper is not all the same color because you will be spray painting it later. No one will be the wiser!
Once all 8 petals are glued move on to the 8 petals that were glued midway to the score line. Continue gluing the petals in a circular direction and using a generous amount of hot glue to adhere each petal to the flower.
Happy Making!
Meagan
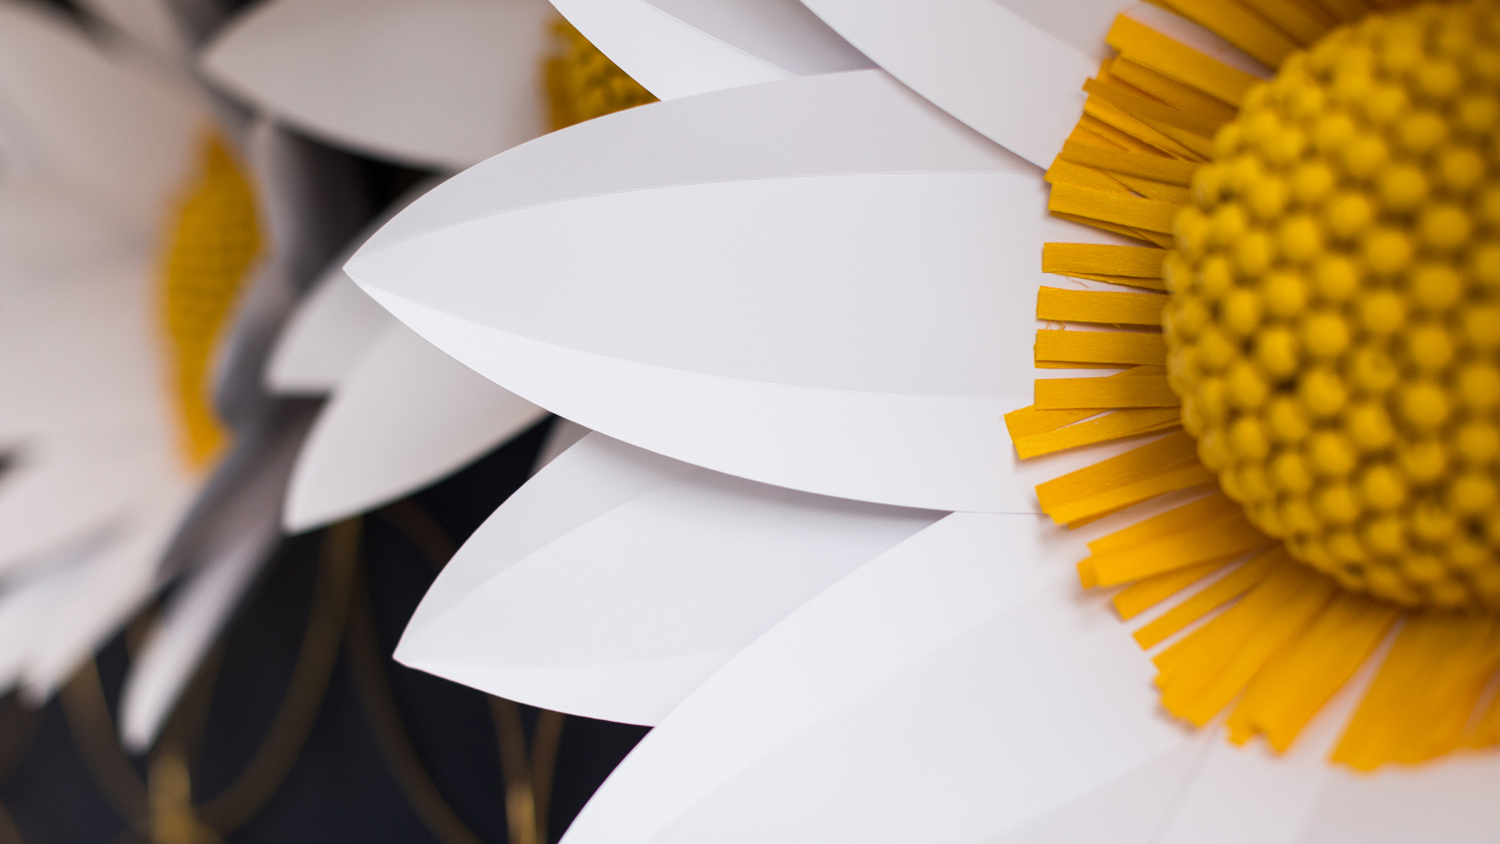
What will be your next creation?
We are very curious to see what you will make. If you tag us in your posts on Instagram, your creation might be shared on our channels.
Are you already following us everywhere? (links)
- Newsletter: Inspiration, actualities and limited offers directly in your inbox. Sign up now!
- Instagram: A daily dose of creative inspiration
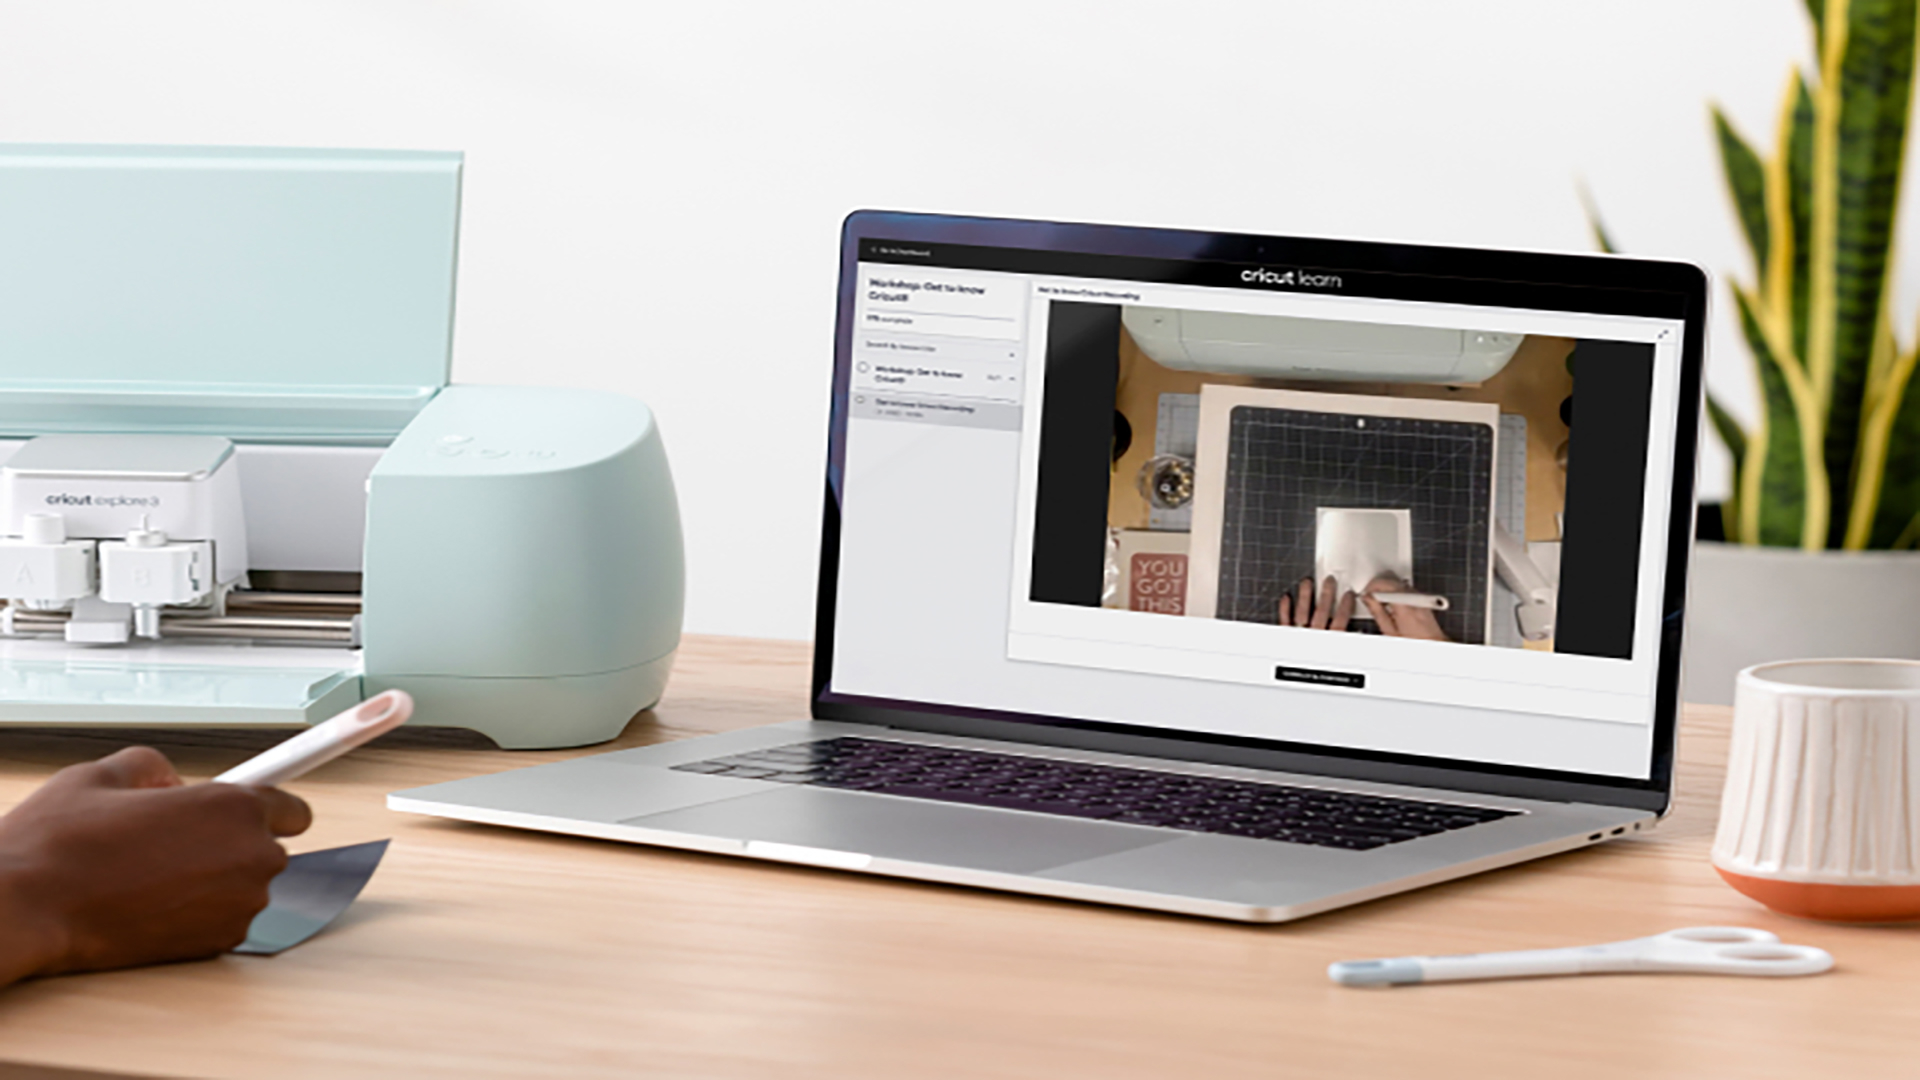
- YouTube: Step by step tutorials
- Facebook: live events, latest Design Space updates, shares with Facebook groups
- TikTok: fun Cricut project inspiration and exclusive tips and tricks
- Pinterest: ideal to create dedicated Cricut pins with projects ideas for later (or now)
Do you have a Cricut Access subscription? Then don't forget all of the advantages you have with it! To know more about it, read our dedicated blog article.
About Cricut Inspiration
Search How-To
I want to make...
Related Making
-
What Cricut machine to get your mom for Mother’s Day
Read More -
Introducing Warped Text in Design Space
Read More -
Meet the Contributing Artist series
Read More -
8 tips for building a website for your creative business
Read More -
5 tips for Cricut newbies
Read More -
Removable vinyl is a renter’s best friend
Read More -
Hop on into Design Space and win!
Read More -
Starting a business with Cricut
Read More -
Celebrate March Madness with Cricut
Read More -
Unwrapping new Cricut materials for 2023
Read More -
Why Cricut is a great investment
Read More -
Create a swoon-worthy Galentine’s Day party with Cricut
Read More -
Cricut x Create Room “Made with Love” Giveaway
Read More -
Black History Month inspiration for this month, and every month
Read More -
Community Create Challenge
Read More