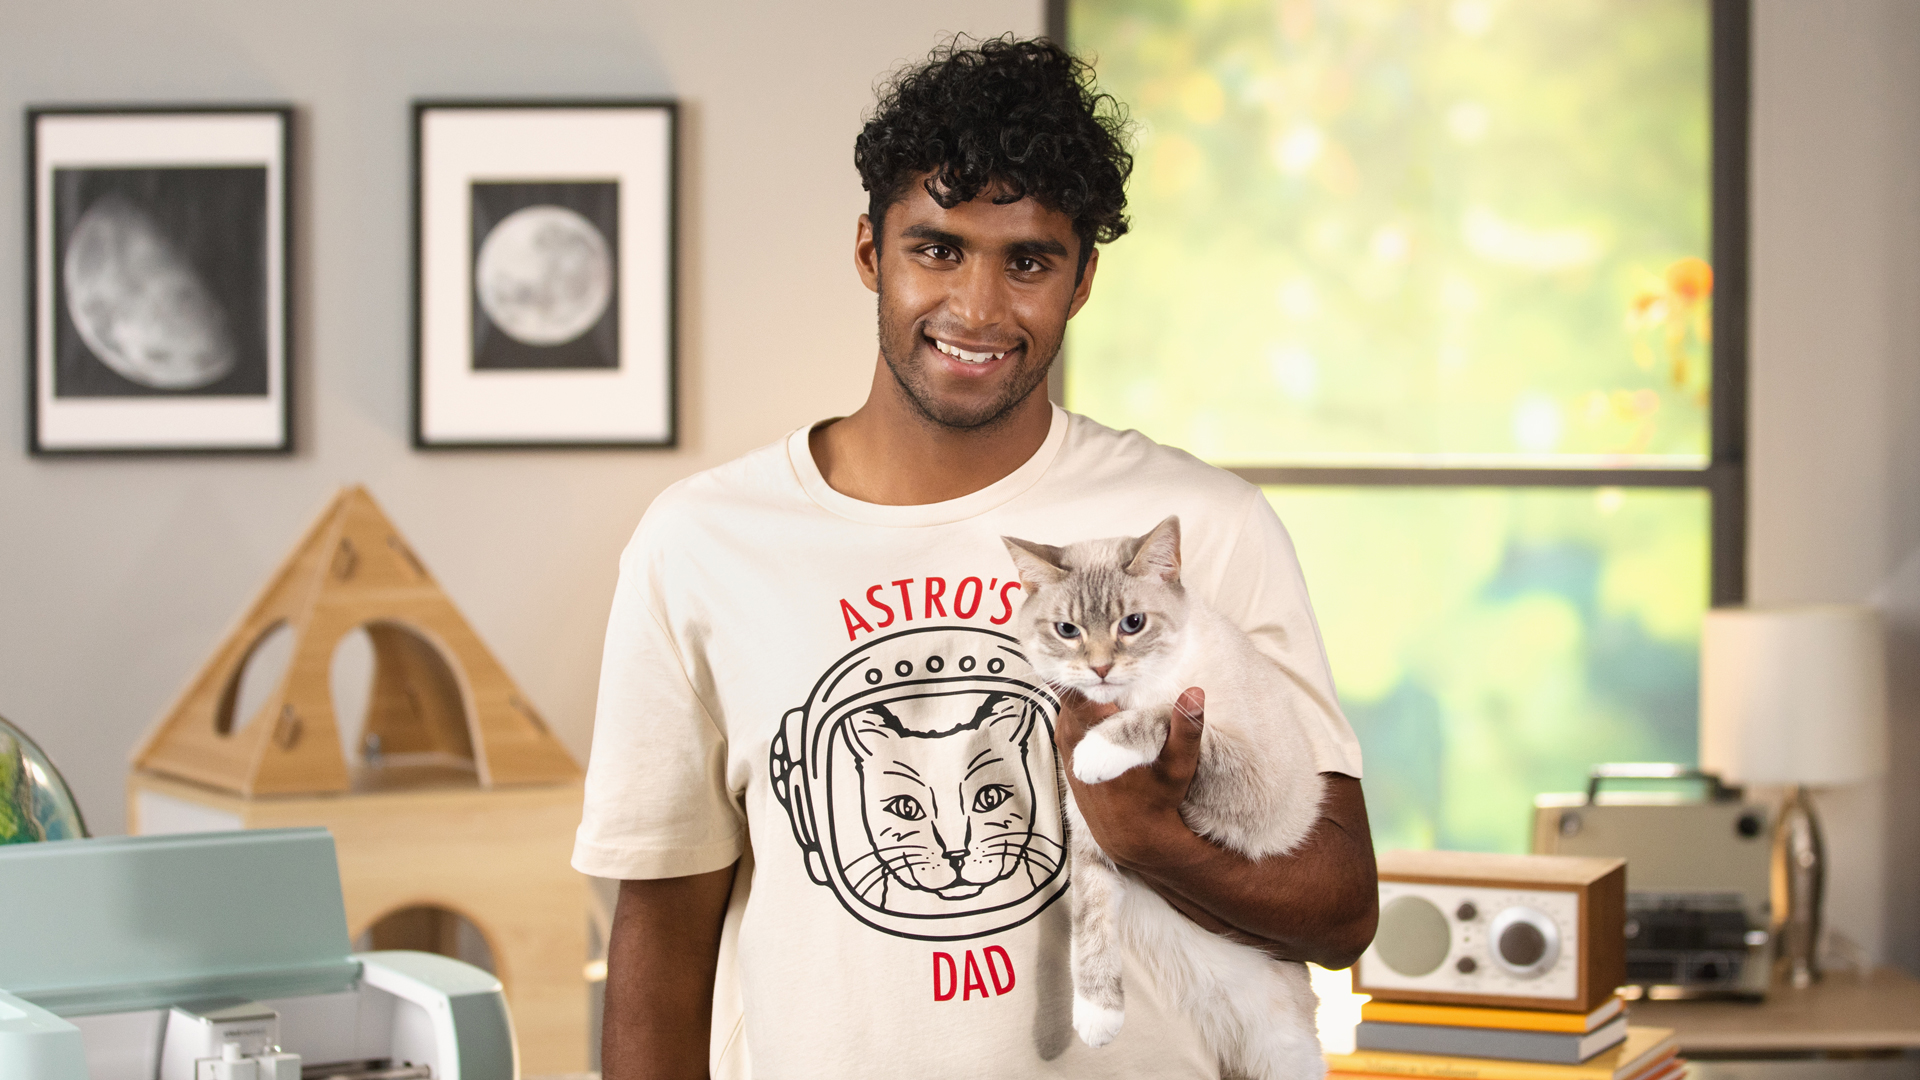
A personalized T-shirt perfect for pet parents
From ready-to-make to ready-to-wear.
What better way to put your pride on display for your perfect pet than a personalized T-shirt? The Cat Dad T-shirt in Cricut Design Space gives you a template to work from to create your own design, personalized with your own saying and illustration.
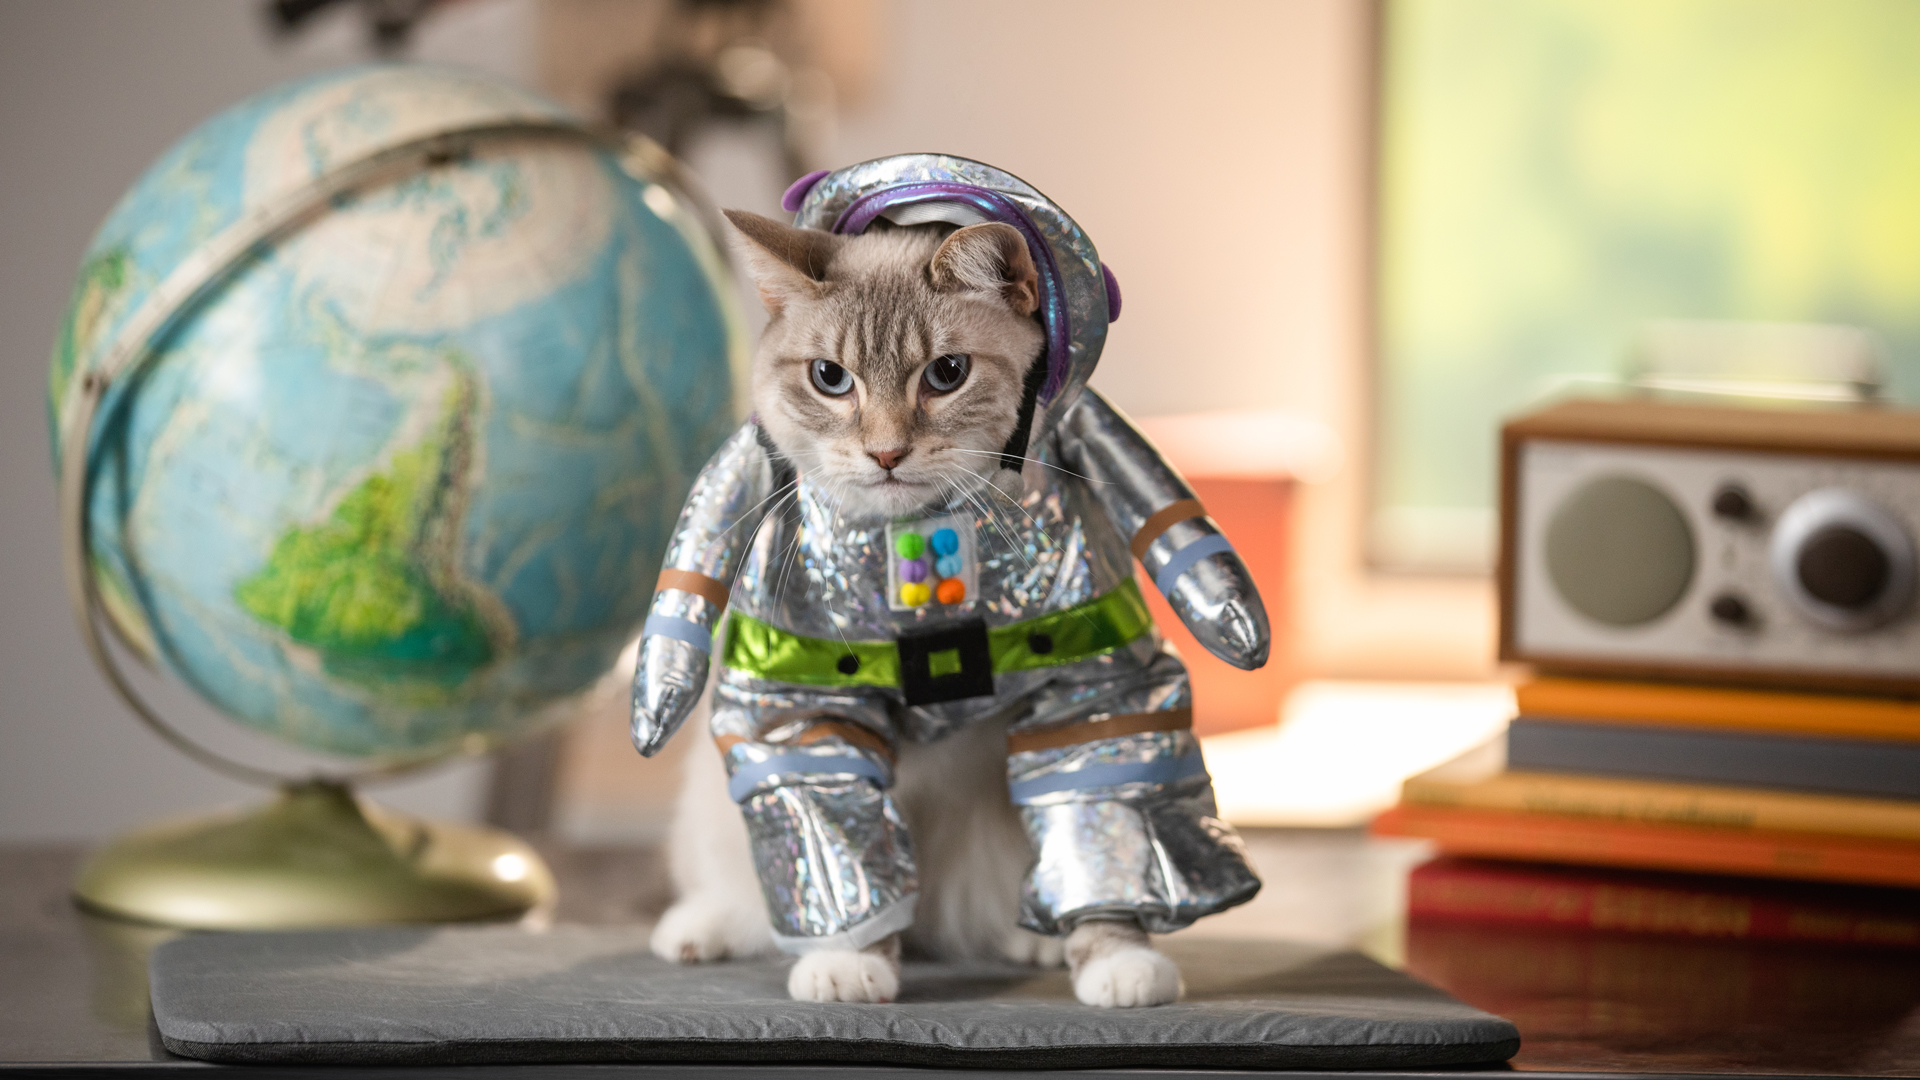
The aptly named Astro the Cat gave us plenty of inspiration for this project, which you can make in just three steps!
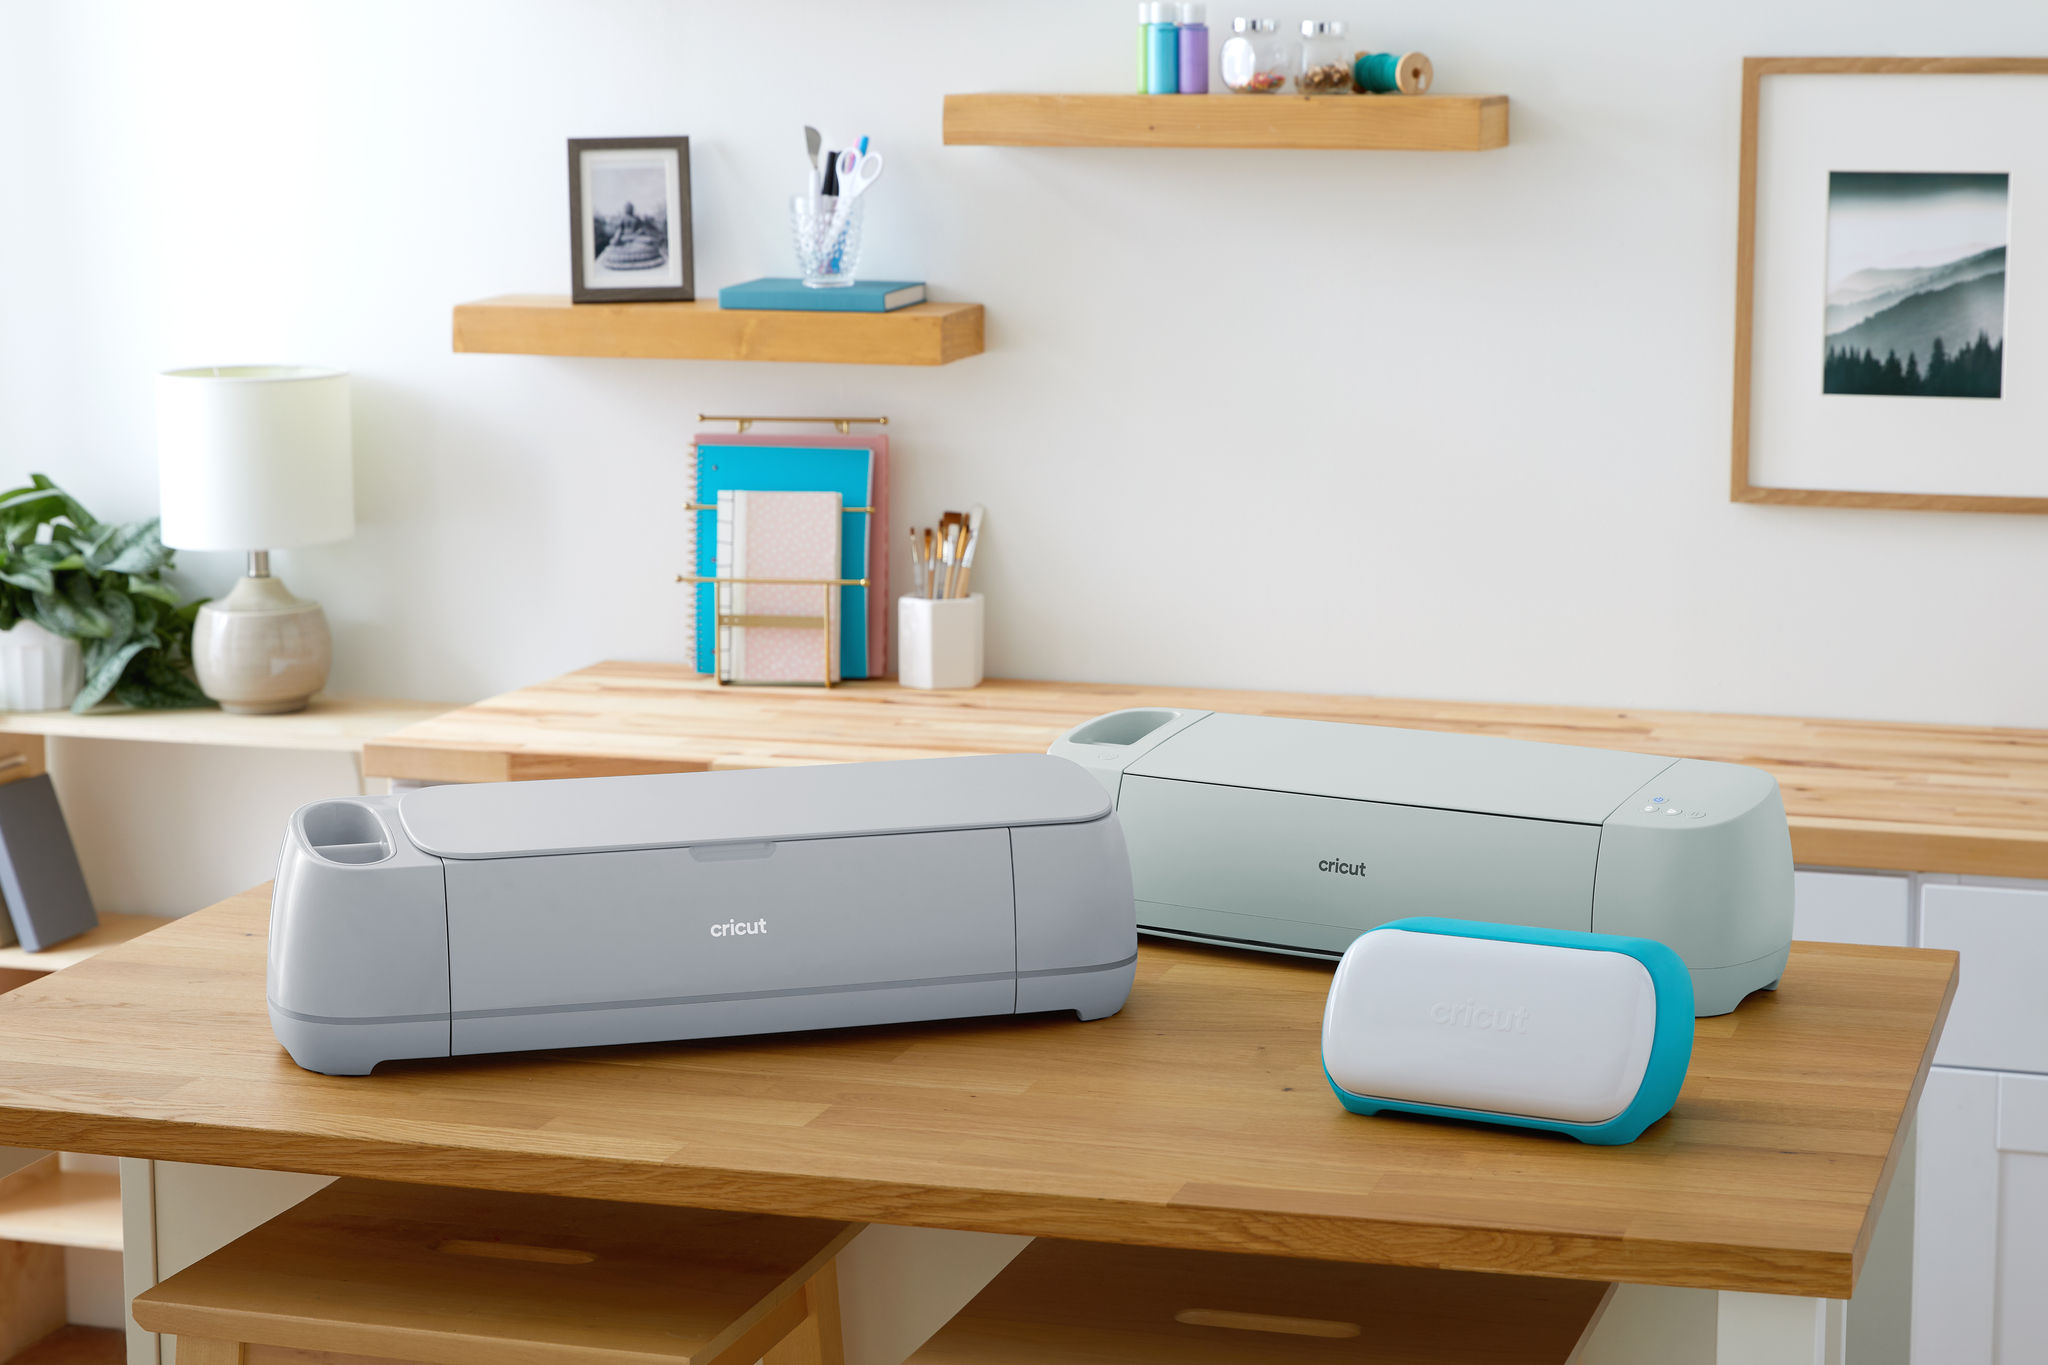
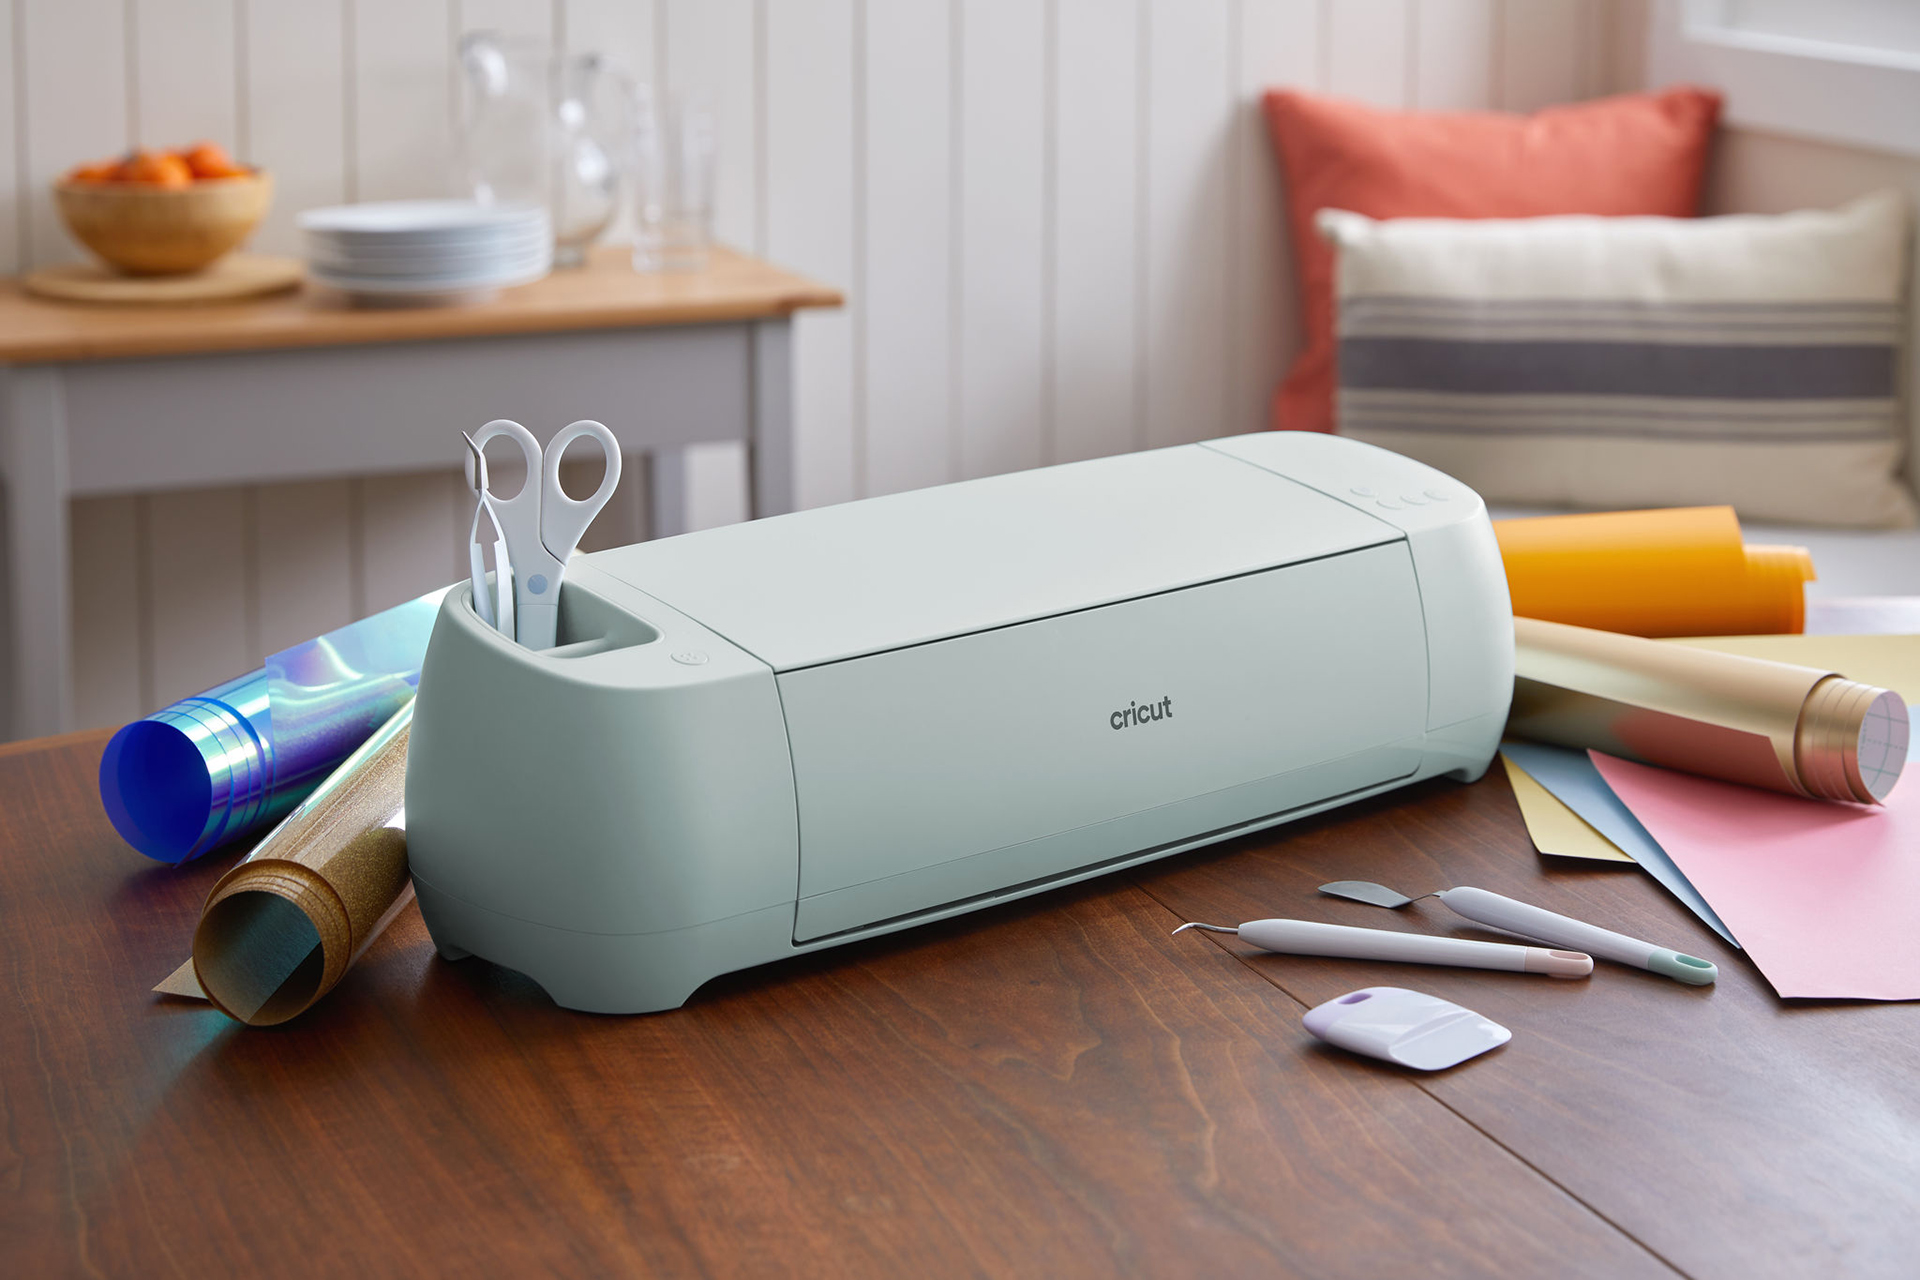
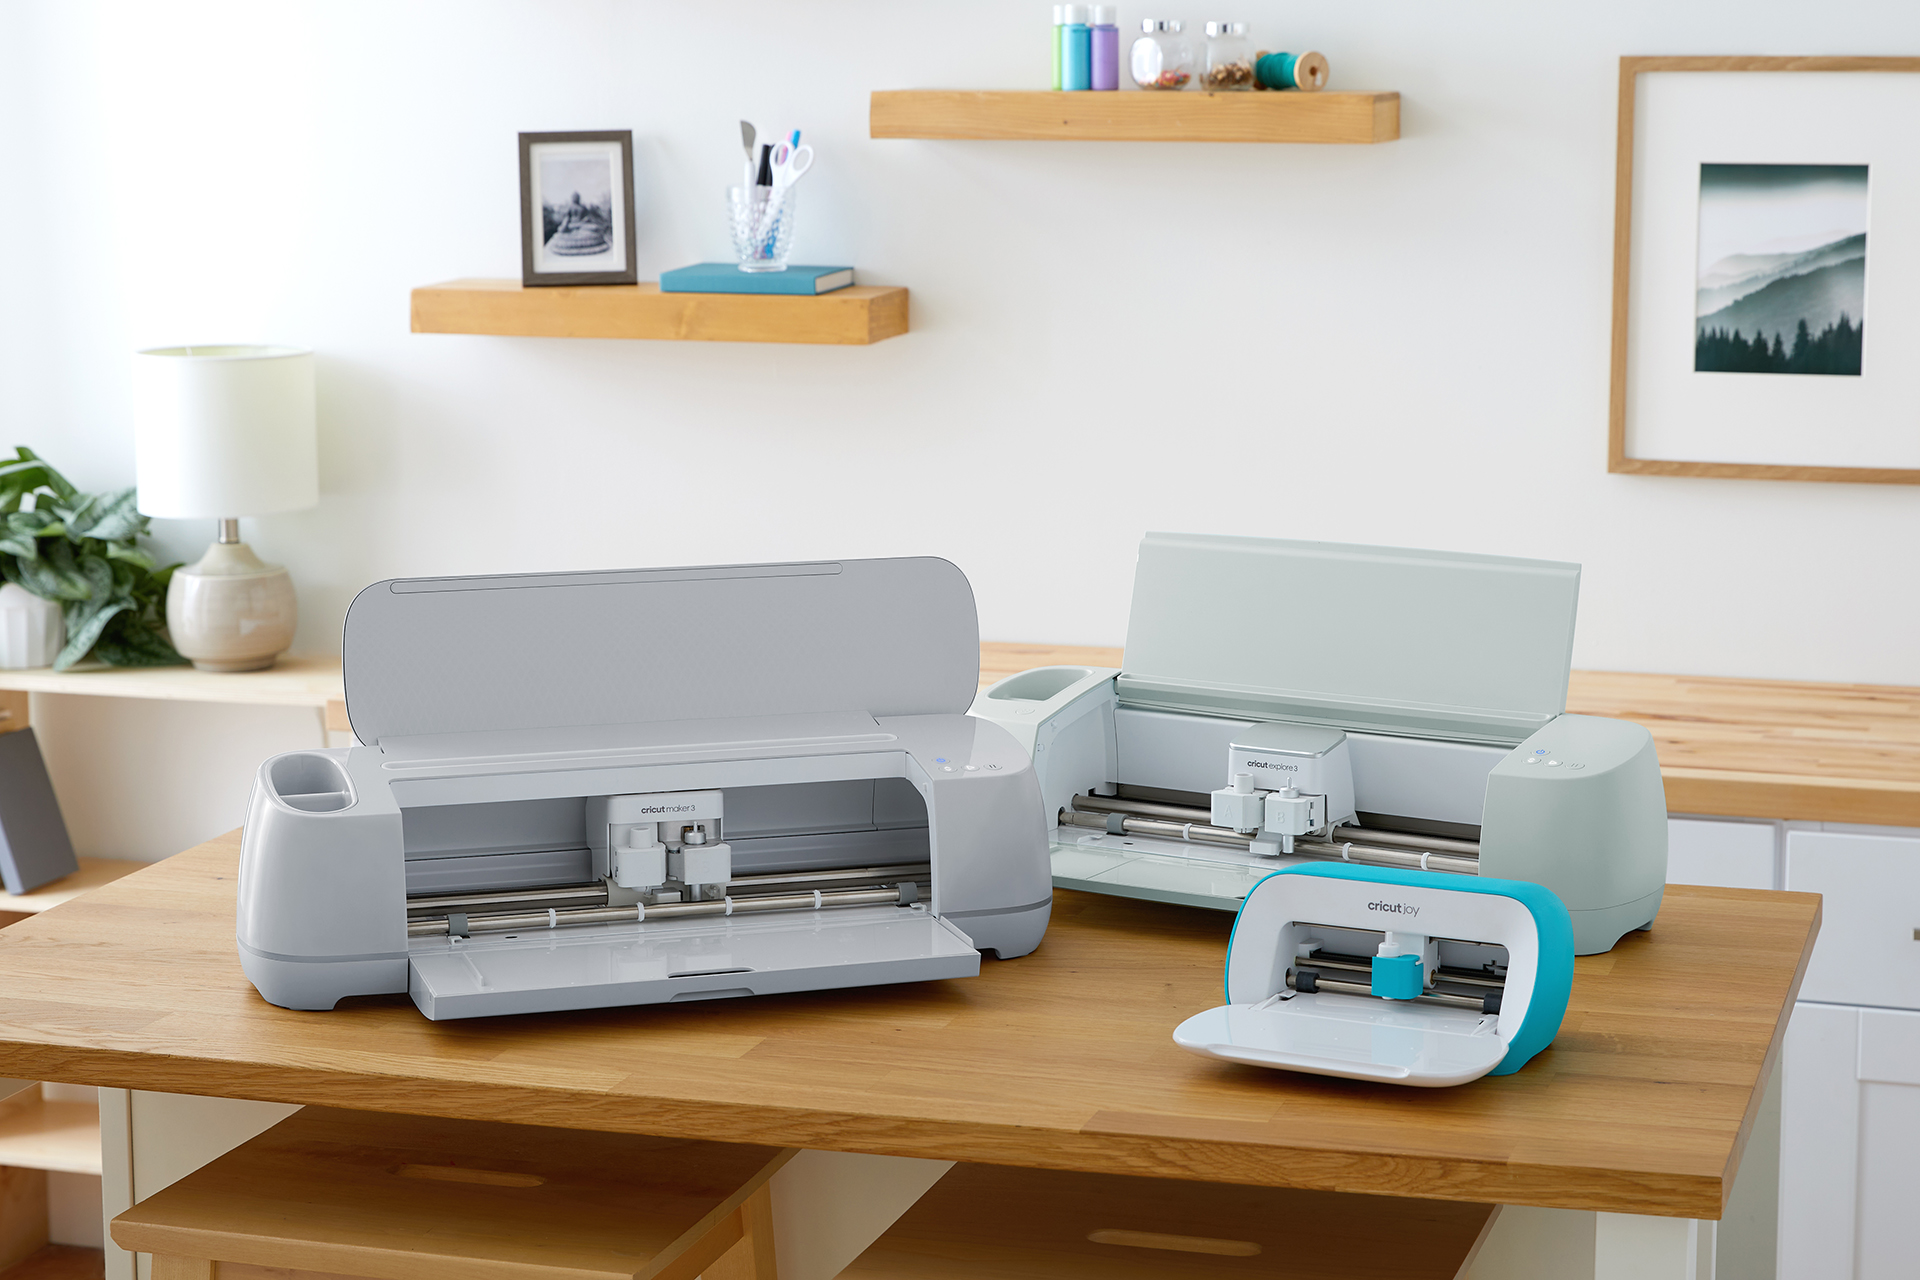
Supplies needed
Make your personalized t-shirt
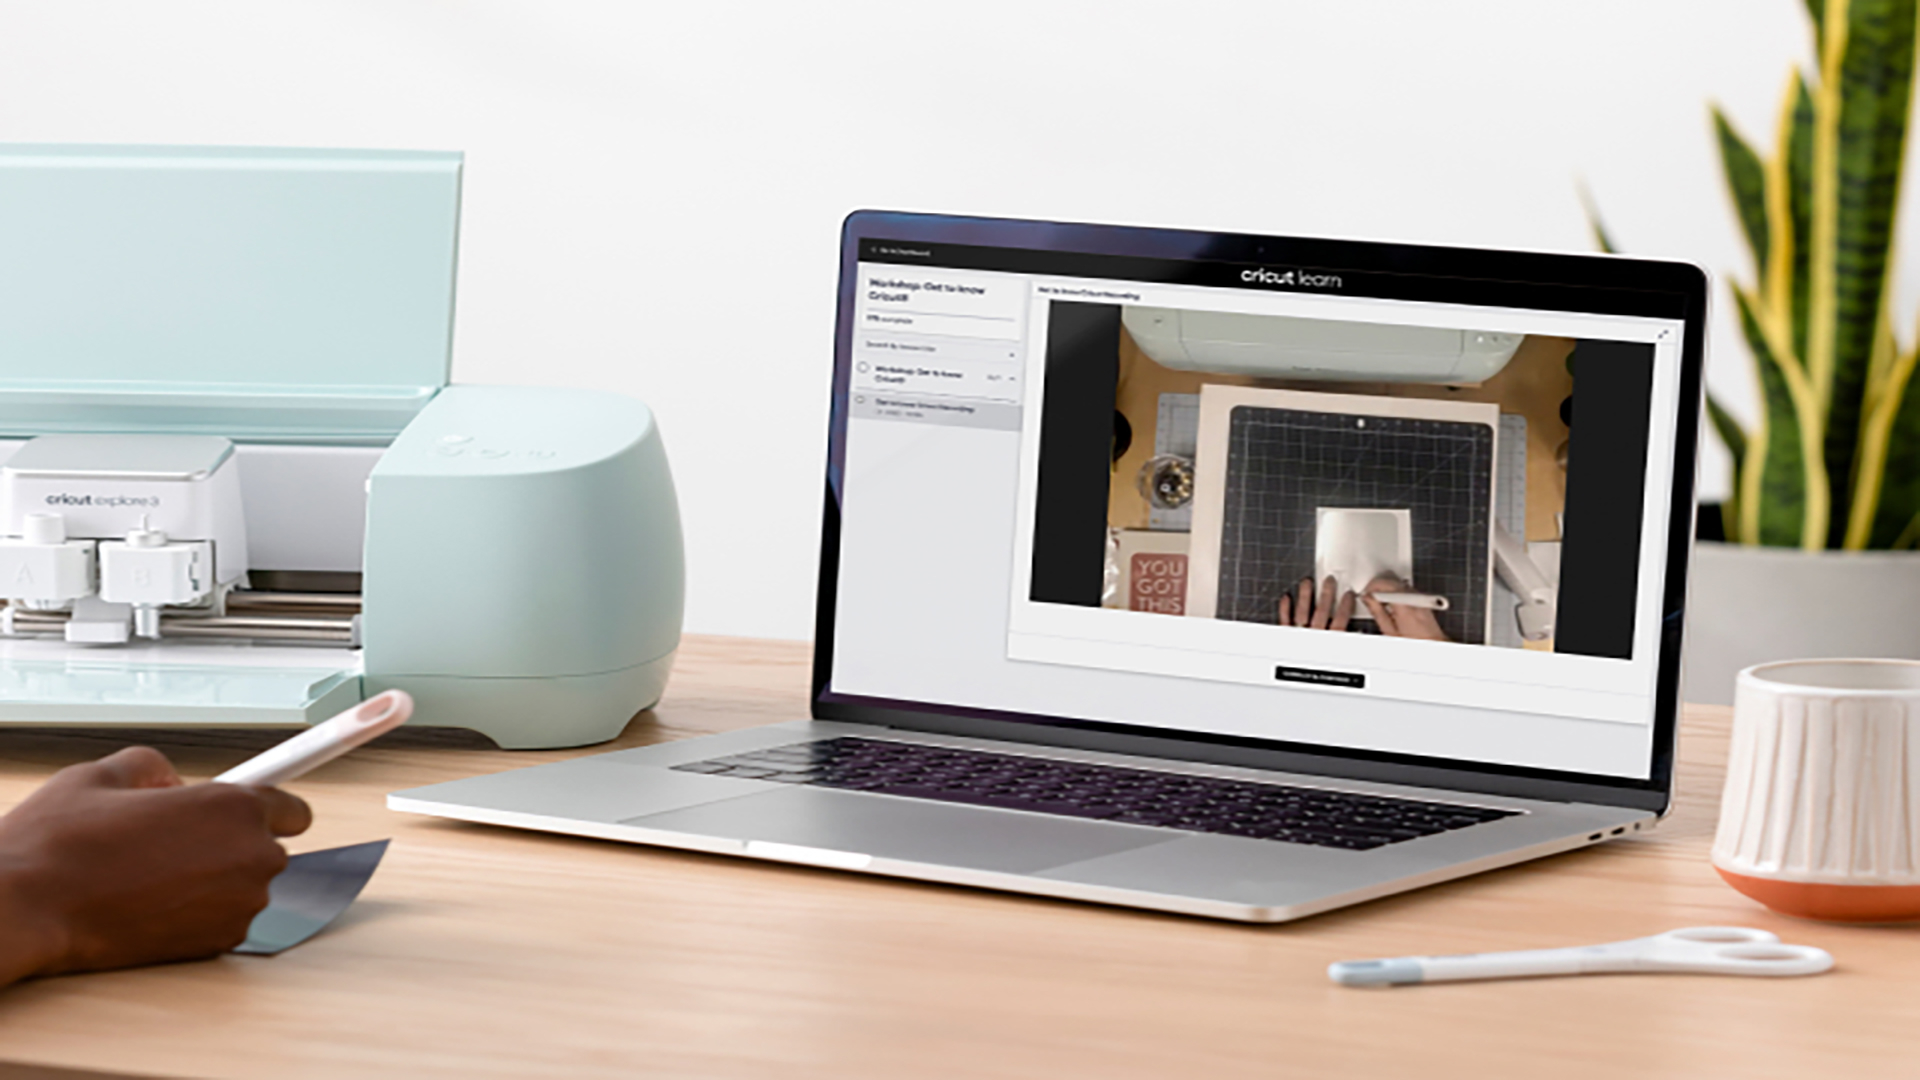
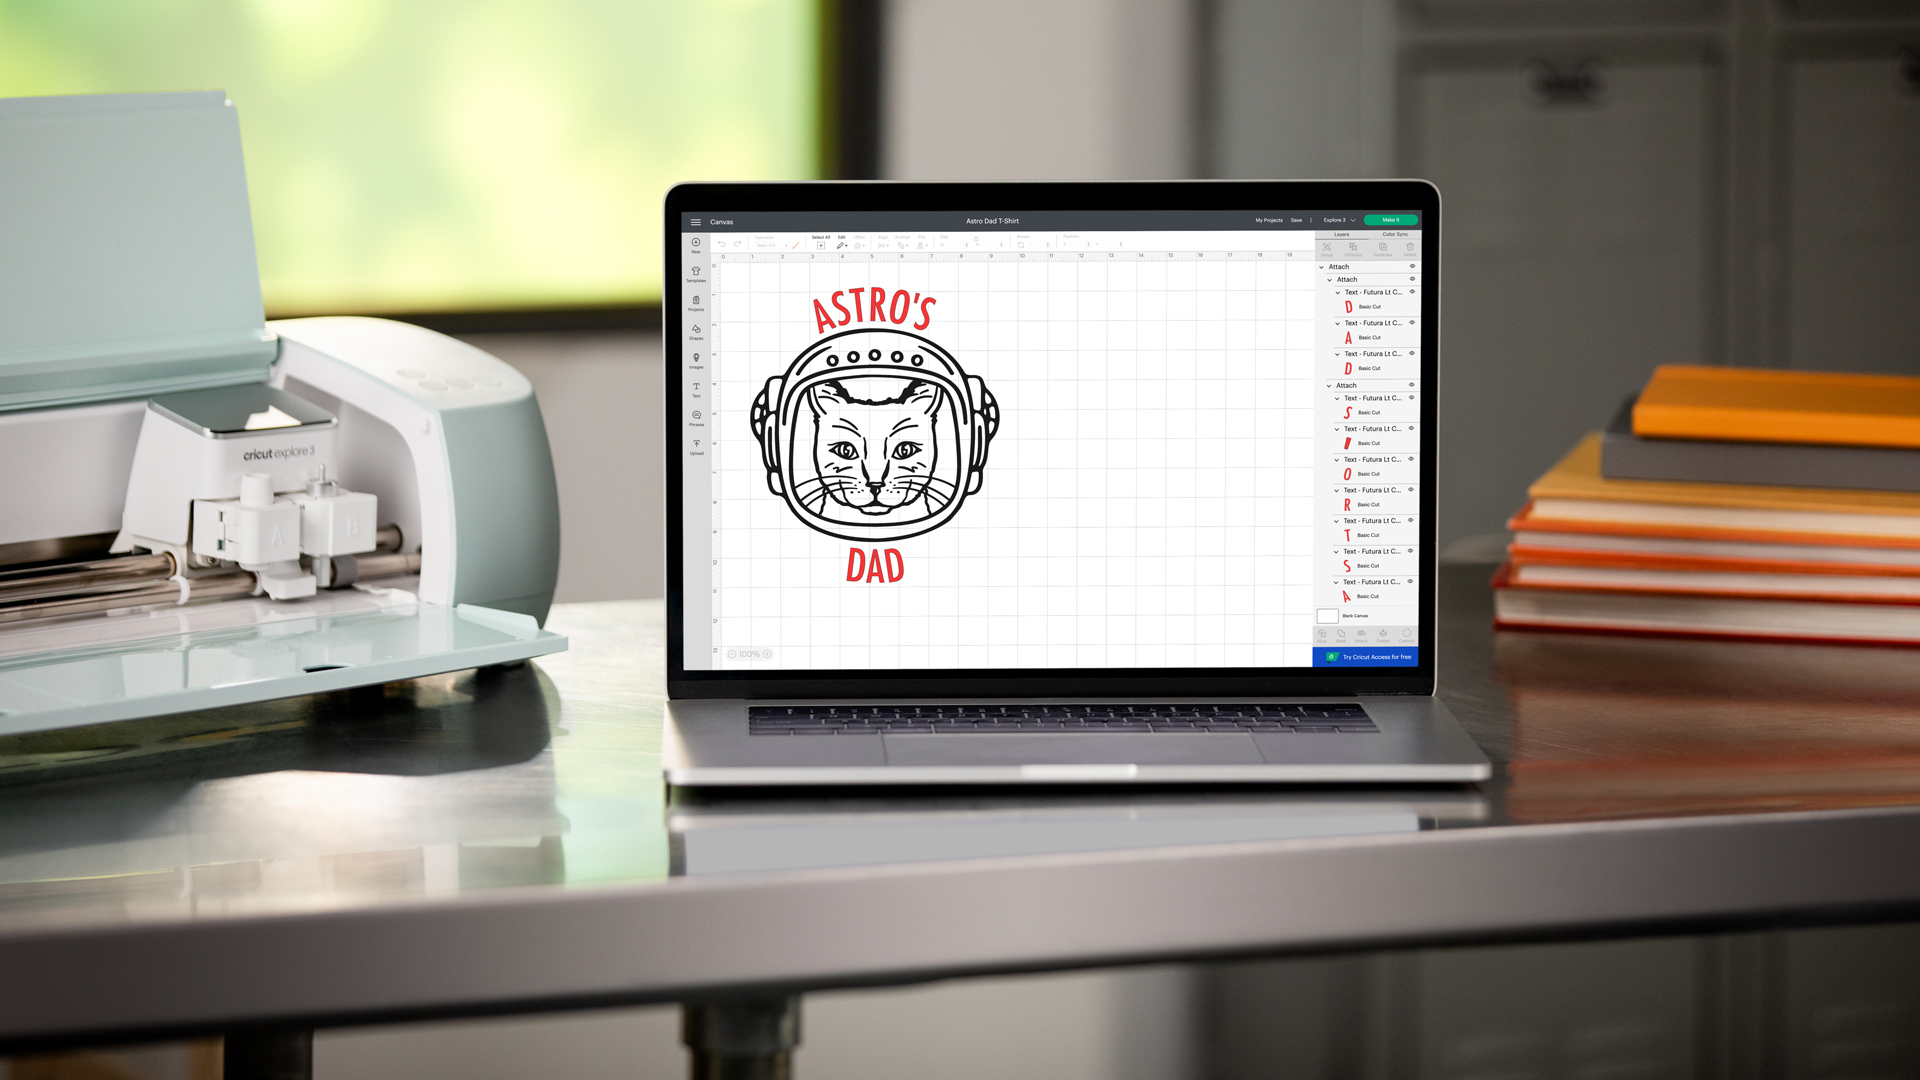
To make the “Personalized Cat Dad T-Shirt,” open up Cricut Design Space. You’ll find this design as a “ready-to-make” project, which means you can open up the project in Design Space and click “Make It” immediately, or customize it for your needs. Unless your cat is also named Astrol, chances are high that you’ll have to make some edits first.
Step 1: Prep your design
Once you’ve found the project in Cricut Design Space, click “Customize.” This lets you edit the text and illustration as you need to. We show the design in two colors, which means you’ll need two different colors of iron-on material to cut. You can make this all one color, or make it even more complex by adding additional colors to the design.
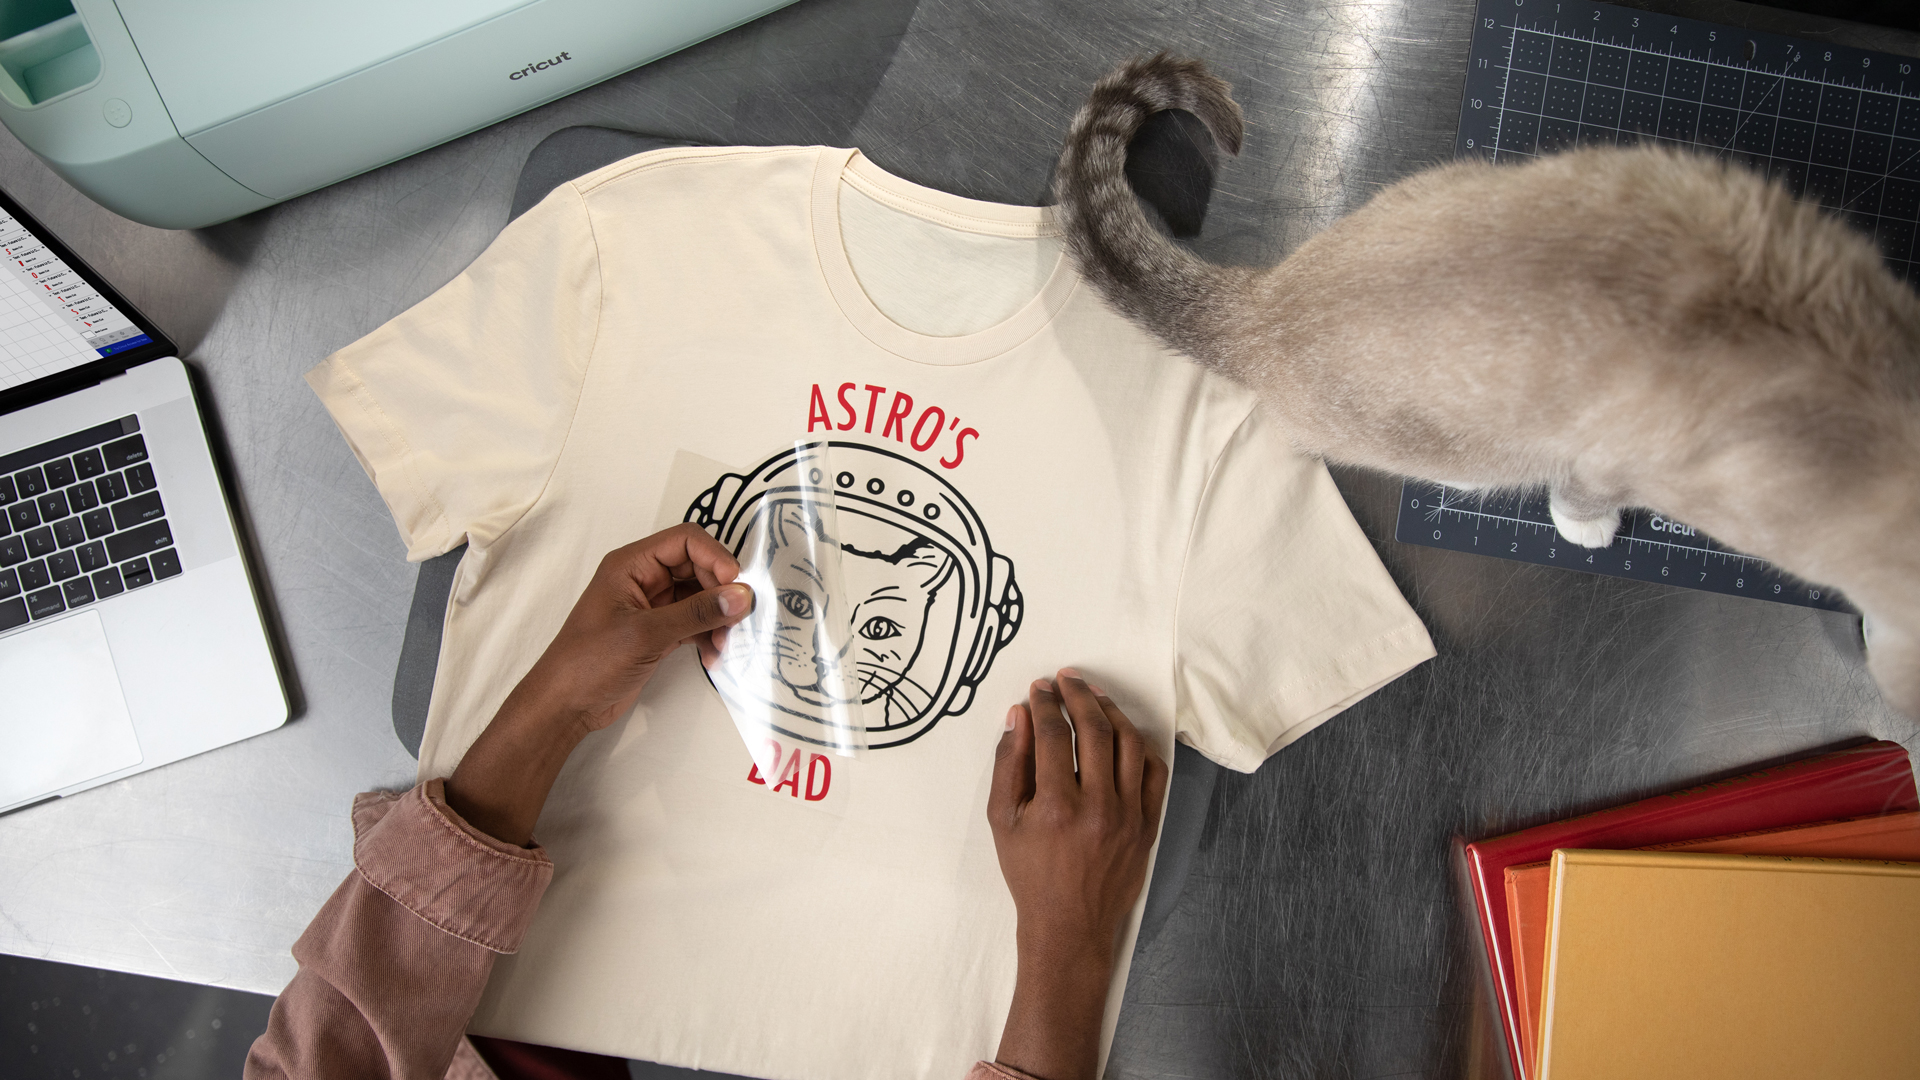
Step 2: Cut your materials
Before cutting, make sure to select “Mirror.” This is very important because if you don’t, your material will be backward after you iron it onto your shirt. When you’re cutting the material, you’re actually cutting it upside down. Since you’re cutting it upside down, the direction of the design is actually reversed when you place it right side up onto your shirt. The cut pieces of iron-on go right on the shirt and the clear liner ends up being the top layer. This liner is what protects the material from excess heat in the next step.
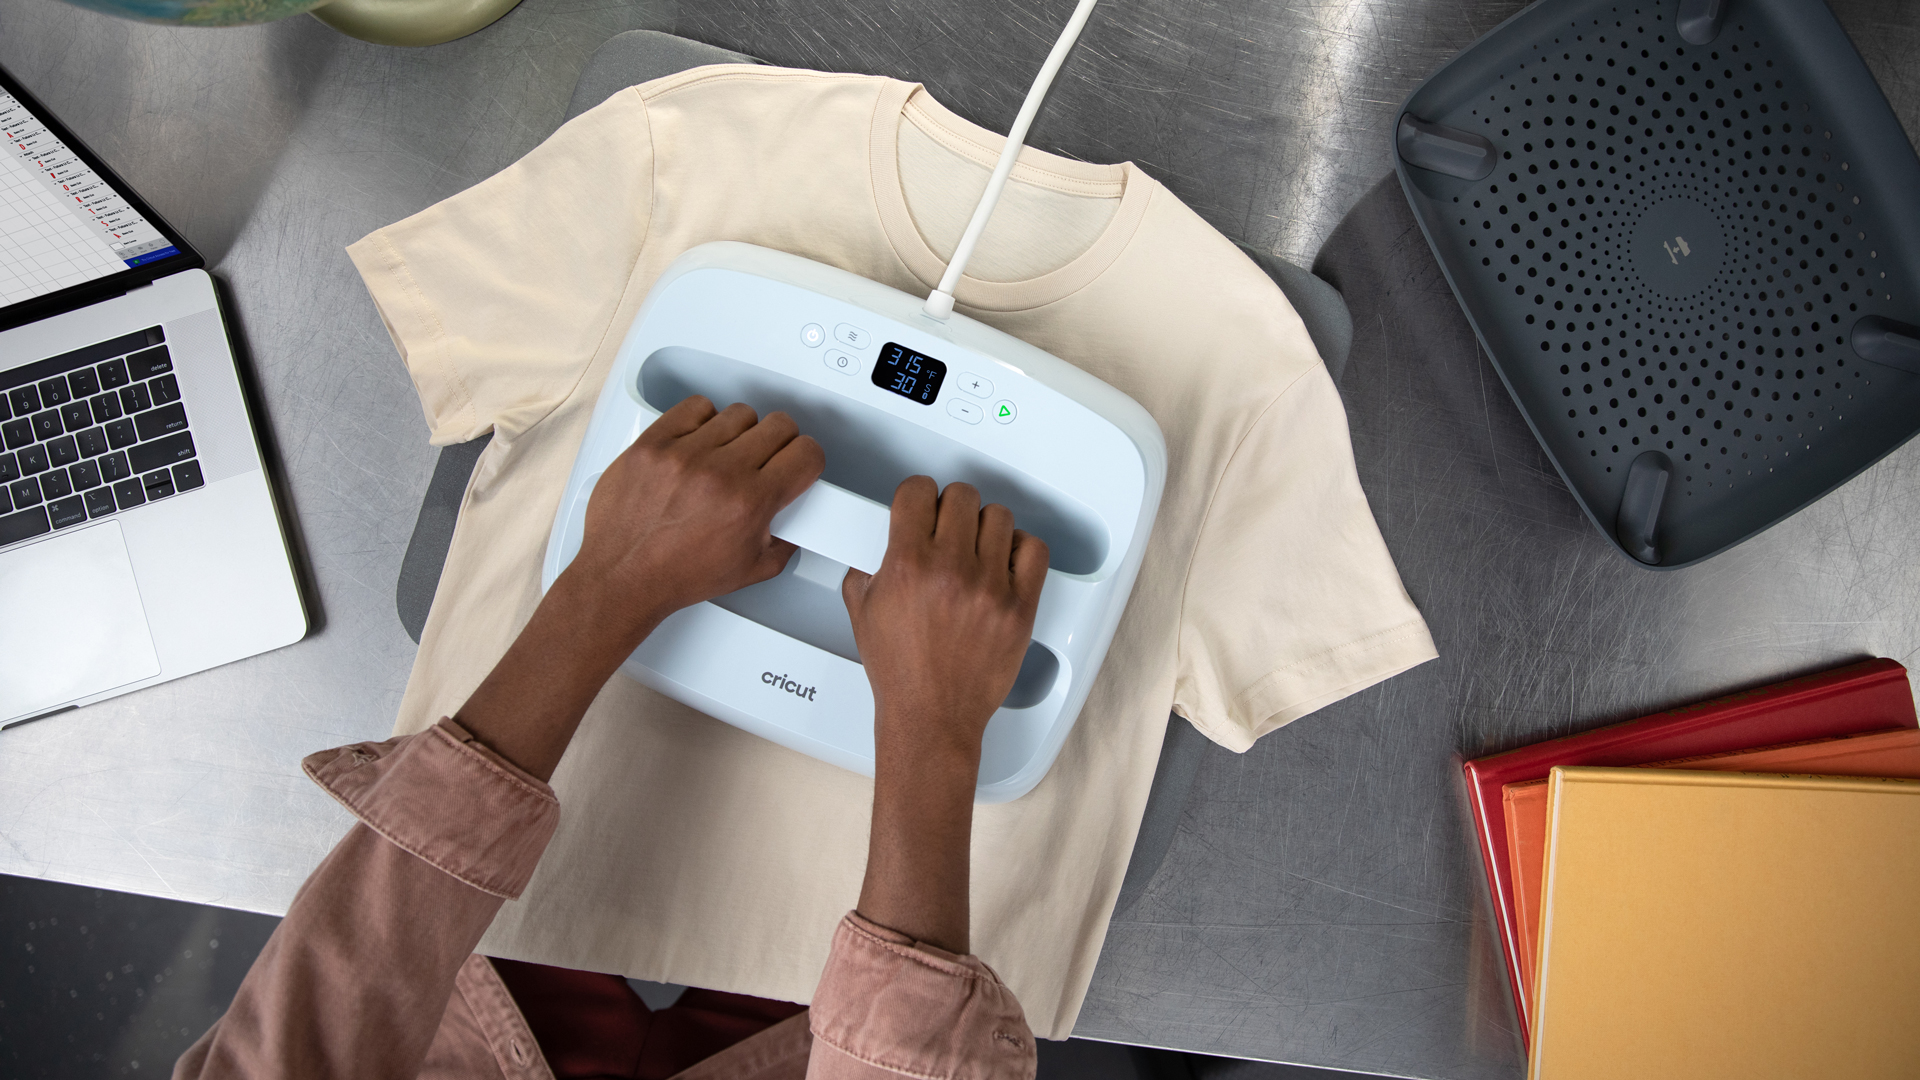
Step 3: Get ready to press
Now you’re ready to press your design onto your T-shirt! Use the Cricut Heat Guide or Cricut Heat app (which you can find in the App Store or Google Play) for the right heat settings and timing.
After letting the liner cool, peel it off from your design. Keep in mind that different materials have different “cooling” recommendations. Refer to the instructions on Cricut Heat or the heat guide so that you know when to remove your liner.
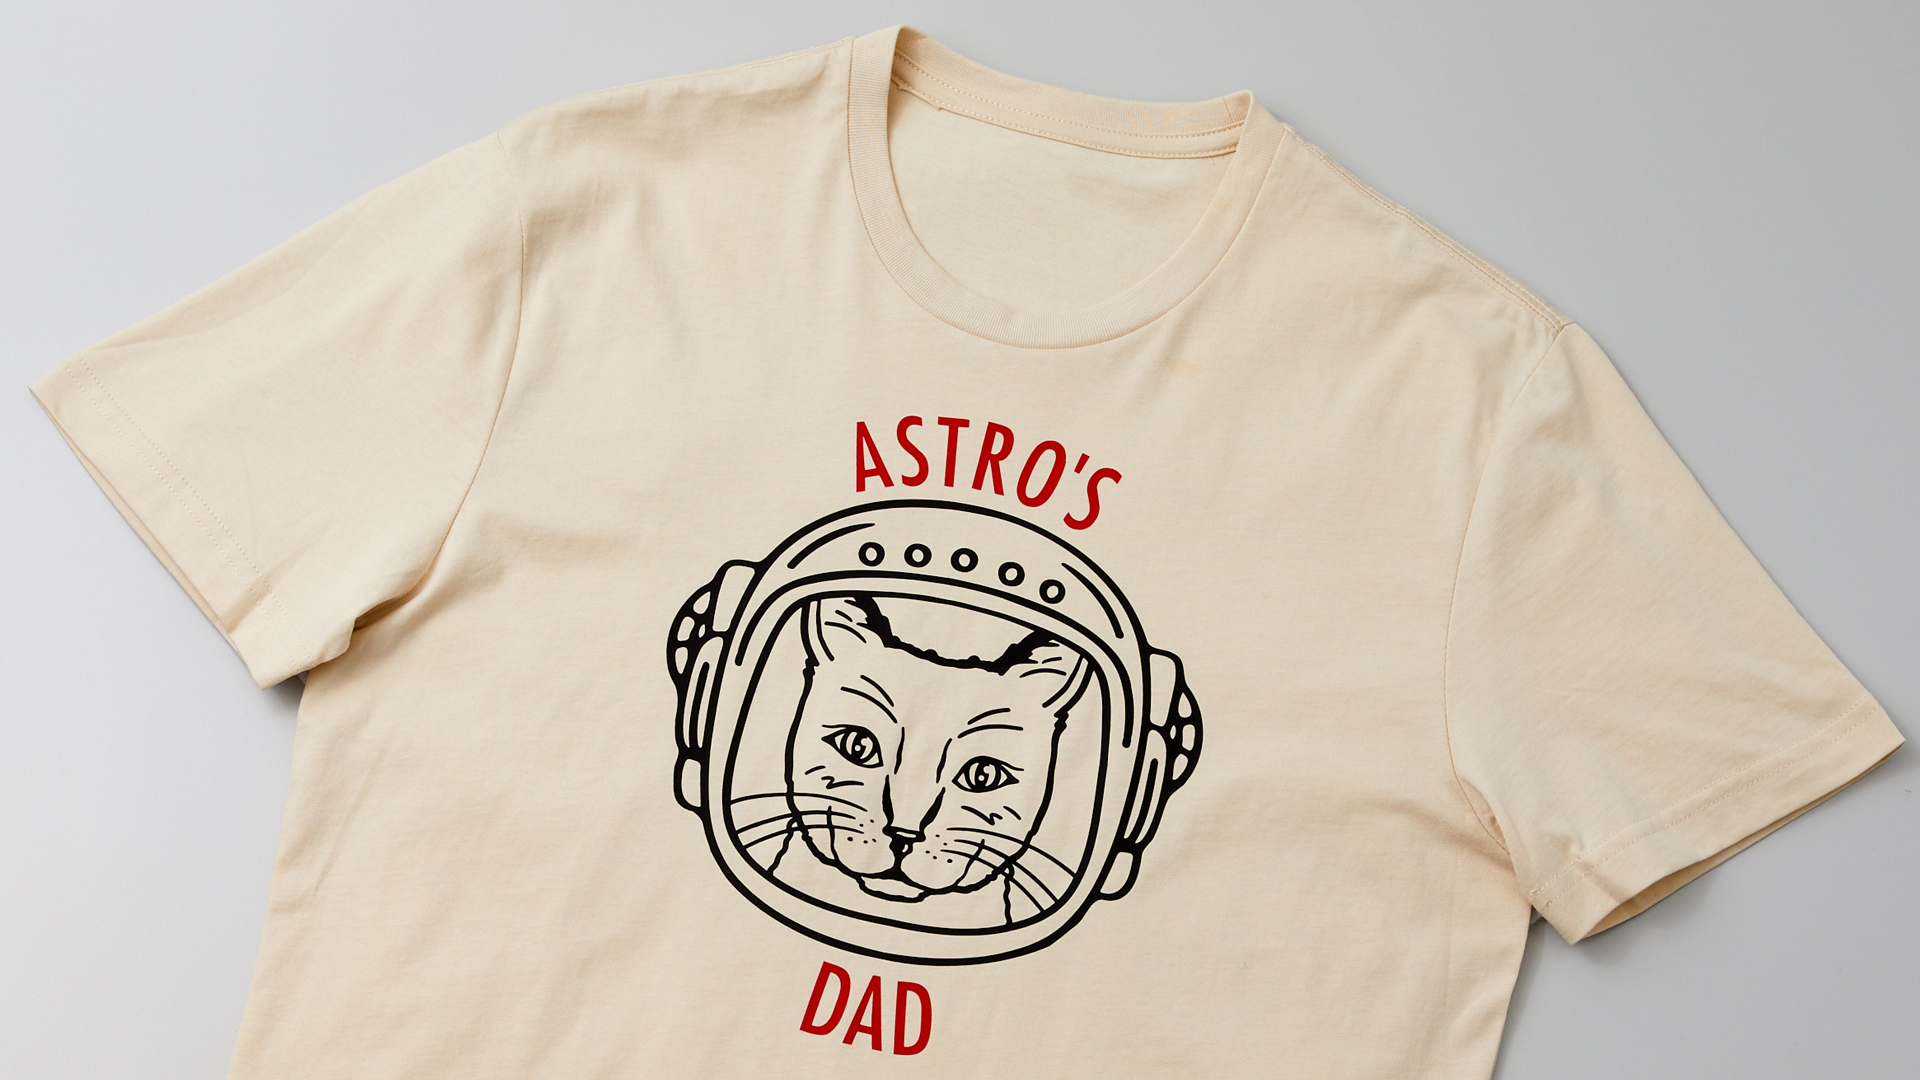
Personalized T-shirt
Your ready-to-make project from Cricut Design Space is now ready-to-wear. Take your new T-shirt and wear it proudly — that cute Astro deserves it!
What will be your next creation?
We are very curious to see what you will make. If you tag us in your posts on Instagram, your creation might be shared on our channels.
Are you already following us everywhere? (links)
- Newsletter: Inspiration, actualities and limited offers directly in your inbox. Sign up now!
- Instagram: A daily dose of creative inspiration
- YouTube: Step by step tutorials
- Facebook: live events, latest Design Space updates, shares with Facebook groups
- TikTok: fun Cricut project inspiration and exclusive tips and tricks
- Pinterest: ideal to create dedicated Cricut pins with projects ideas for later (or now)
Do you have a Cricut Access subscription? Then don't forget all of the advantages you have with it! To know more about it, read our dedicated blog article.

You Might Enjoy…